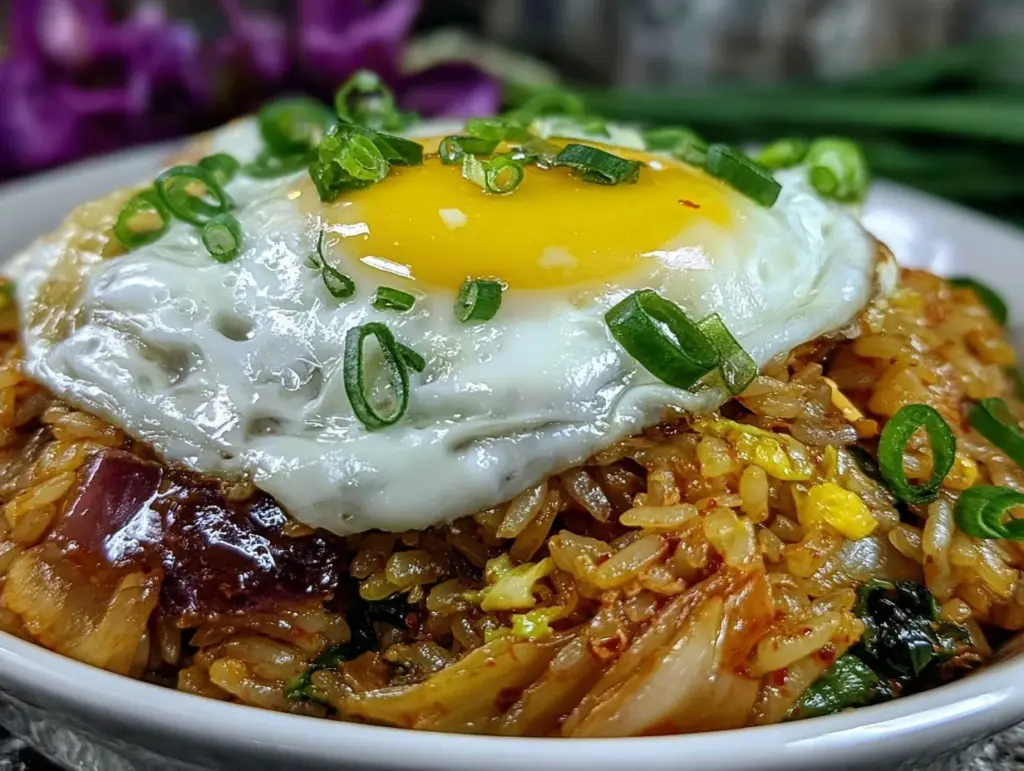
“You want kimchi fried rice for dinner? Again?” my partner teased as I stirred the sizzling skillet, the tangy aroma filling the kitchen. Honestly, I wasn’t planning to make it twice this week, but once you get hooked on this flavorful kimchi fried rice with a runny egg perched on top, it’s hard to resist. That perfect yolk breaking over the spicy, savory rice just hits a spot no other meal quite does.
One hectic evening, I found myself staring at a fridge full of odds and ends—day-old rice, half a jar of kimchi, and a few veggies. Instead of ordering takeout, I tossed everything together with what felt like a hopeful shrug. The result? A dish so satisfying and comforting that it quickly became a go-to when time’s tight but hunger’s loud.
It’s not fancy, but it’s honest food — the kind that makes you pause and savor, even when life’s messy. The balance of spicy kimchi, umami-packed soy sauce, and that silky egg yolk melting through each bite turned a simple fried rice into an addictive treat. This recipe stuck with me because it’s quick, reliable, and feels like a warm hug from the inside out.
If you’ve ever hesitated about cooking with kimchi or worried about making the perfect runny egg, I’ve got you covered. This recipe breaks it down with real kitchen-tested tips and a sprinkle of patience. Let’s trust that simple ingredients can create something memorable.
Why You’ll Love This Recipe
After making this flavorful kimchi fried rice with a runny egg more times than I can count, I’m convinced it’s one of the easiest ways to bring bold, satisfying flavor to your table. Here’s why it’s become a staple in my kitchen:
- Quick & Easy: Ready in about 20 minutes, this recipe is perfect for those busy weeknights when you want something hearty without the fuss.
- Simple Ingredients: You don’t need exotic items; most of these are pantry staples or easy to find at any grocery store.
- Perfect for Any Occasion: Whether you’re craving a cozy solo meal or need a fast dish for an unplanned guest, this fried rice fits the bill.
- Crowd-Pleaser: The spicy tang of kimchi balanced with soy sauce and that luscious runny egg always gets nods of approval from kids and adults alike.
- Unbelievably Delicious: Unlike other fried rice recipes, this one nails the texture—each grain distinct, with just the right chew and a punch of flavor.
What sets this version apart is the gentle caramelization of the kimchi and the technique of cracking the egg right on top at the end, letting it cook gently until perfectly runny. Plus, I like to add a splash of sesame oil at the finish for that nutty aroma—trust me, it’s a game-changer. This isn’t just another fried rice recipe; it’s one I return to when I want something comforting yet exciting.
And honestly, it’s the kind of meal that makes you close your eyes after the first bite and just breathe for a second. It’s easy to make and even easier to love.
What Ingredients You Will Need
This flavorful kimchi fried rice recipe uses straightforward, wholesome ingredients to pack a punch of bold taste without complicated prep. Most are pantry basics, with kimchi as the star—a fermented cabbage that brings the signature tang and heat.
- Cooked rice (2 cups / 400g): Day-old rice works best for frying because it’s drier and less sticky. I usually use jasmine rice.
- Kimchi (1 cup / 150g): Finely chopped, with some of its brine reserved to add moisture and flavor. I recommend a kimchi brand like Mother In Law’s for authentic taste.
- Vegetable oil (2 tbsp): For frying; you can substitute with sesame oil for extra flavor but watch the smoke point.
- Garlic (2 cloves): Minced, to add savory depth.
- Green onions (2 stalks): Thinly sliced, both white and green parts separated.
- Soy sauce (1.5 tbsp): Adds umami richness; low sodium works well if you prefer less salt.
- Gochujang (Korean chili paste, 1 tbsp): Optional but highly recommended for that authentic spicy kick. You can swap with sriracha in a pinch.
- Eggs (2 large): For that perfect runny egg topping; use large eggs at room temperature for best results.
- Sesame oil (1 tsp): Added at the end for a warm, nutty aroma that finishes the dish.
- Optional veggies: Diced carrots, peas, or mushrooms (about ½ cup) add texture and color if you like.
- Salt and pepper: To taste, but be cautious as soy sauce and kimchi add saltiness.
Feel free to swap out vegetables based on what you have—this recipe is forgiving and versatile. For a gluten-free version, use tamari instead of soy sauce. And if you’re avoiding eggs, a fried tofu topping works surprisingly well.
Equipment Needed
To pull off this flavorful kimchi fried rice with a runny egg, you don’t need fancy gadgets but a few staples help:
- Large non-stick skillet or wok: A wide pan ensures even cooking and enough space to toss the rice without crowding.
- Spatula: A sturdy silicone or wooden spatula helps stir-fry without scratching your pan.
- Mixing bowl: Useful for lightly beating the eggs before cooking if you prefer.
- Knife and cutting board: For chopping kimchi, garlic, and green onions.
- Measuring spoons and cups: To keep your seasoning balanced.
I’ve tried making this in cast iron pans, but non-stick works better to prevent sticking—especially when cooking the eggs. If you don’t have a wok, a large sauté pan does the trick just fine. For an extra touch, a small lid helps you gently steam the egg to get that luscious runniness.
Preparation Method
- Prep your ingredients (5 minutes): Chop the kimchi finely, mince garlic, and slice the green onions—keep the white and green parts separate. If using veggies, dice them now. Break the eggs into a small bowl and lightly whisk if you prefer.
- Heat the oil (1-2 minutes): Warm 2 tablespoons of vegetable oil over medium-high heat in your skillet. When hot, add the minced garlic and the white parts of the green onions. Stir for about 30 seconds until fragrant but not browned.
- Cook the kimchi (3-4 minutes): Toss in the chopped kimchi with a splash of its brine. Stir-fry until it softens and starts to caramelize around the edges. This step is key for unlocking that deep, tangy flavor.
- Add the rice and seasoning (5-6 minutes): Add the cold cooked rice to the skillet, breaking up any clumps with your spatula. Pour in the soy sauce and gochujang if using. Mix thoroughly to coat the rice evenly, stirring constantly to prevent sticking. If including veggies, toss them in now so they warm through.
- Cook the eggs (3-4 minutes): Push the rice mixture to one side of the pan. Add a little oil if needed, then crack the eggs directly onto the empty side. Cover with a lid and cook on medium-low until the whites set but yolks remain runny, about 3 minutes. Alternatively, you can fry eggs separately and place on top.
- Finish and serve (1-2 minutes): Drizzle sesame oil over the rice, sprinkle the green tops of the onions, and season with salt and pepper to taste. Gently slide the runny eggs over the rice. Serve immediately and watch the yolk cascade over the spicy kimchi fried rice.
If you notice the rice is sticking, lower the heat slightly and keep stirring. The caramelized bits add flavor, so don’t worry if some stick a little. Timing the egg perfectly can take a try or two, but covering the pan really helps trap steam and cooks the whites faster without overcooking the yolk.
Cooking Tips & Techniques
Cooking kimchi fried rice with a perfectly runny egg is easier than it sounds, but a few tricks make all the difference:
- Use day-old rice: Fresh rice is too moist and clumps easily. Refrigerated rice dries out a bit, giving better texture.
- Caramelize the kimchi: Don’t just toss it in cold—the slight browning adds sweetness and depth that cuts the acidity.
- Control the heat: Keep your pan at medium-high but not scorching. Too hot and the rice burns; too low and it steams and turns mushy.
- Don’t overcrowd the pan: Give the rice room to fry and crisp slightly on the edges for texture contrast.
- Egg mastery: Covering the pan while cooking eggs helps the whites set evenly without flipping. If you prefer, a gentle baste with hot oil or spooned pan juices can speed this up.
- Adjust seasoning last: Soy sauce and kimchi bring salt, so taste before adding extra salt or pepper.
I remember once rushing this recipe and skipping the caramelizing step—big mistake! The flavor lacked punch, and the rice was soggy. Taking those extra minutes truly pays off. Also, multitasking helps—while kimchi cooks, whisk your eggs or chop veggies to save time.
Variations & Adaptations
This recipe is a great canvas for all kinds of twists:
- Vegetarian: Skip any meat and add tofu cubes or extra veggies like bell peppers and snap peas for crunch.
- Protein-packed: Stir in cooked chicken, shrimp, or even use ground beef to make it heartier—similar to the savory flavor in my Korean ground beef bowls.
- Low-carb: Substitute cauliflower rice for a lighter option; just adjust cooking time since cauliflower cooks faster.
- Mild version: Reduce or omit gochujang and use milder kimchi for those sensitive to spice.
- Seasonal veggies: Swap in fresh peas or corn in summer, or shredded cabbage and carrots in winter for variation.
One variation I love is adding a drizzle of my homemade tahini dressing for a creamy, nutty contrast—see how it pairs well with my salmon bowls. It brings a whole new flavor layer without overpowering the kimchi’s brightness.
Serving & Storage Suggestions
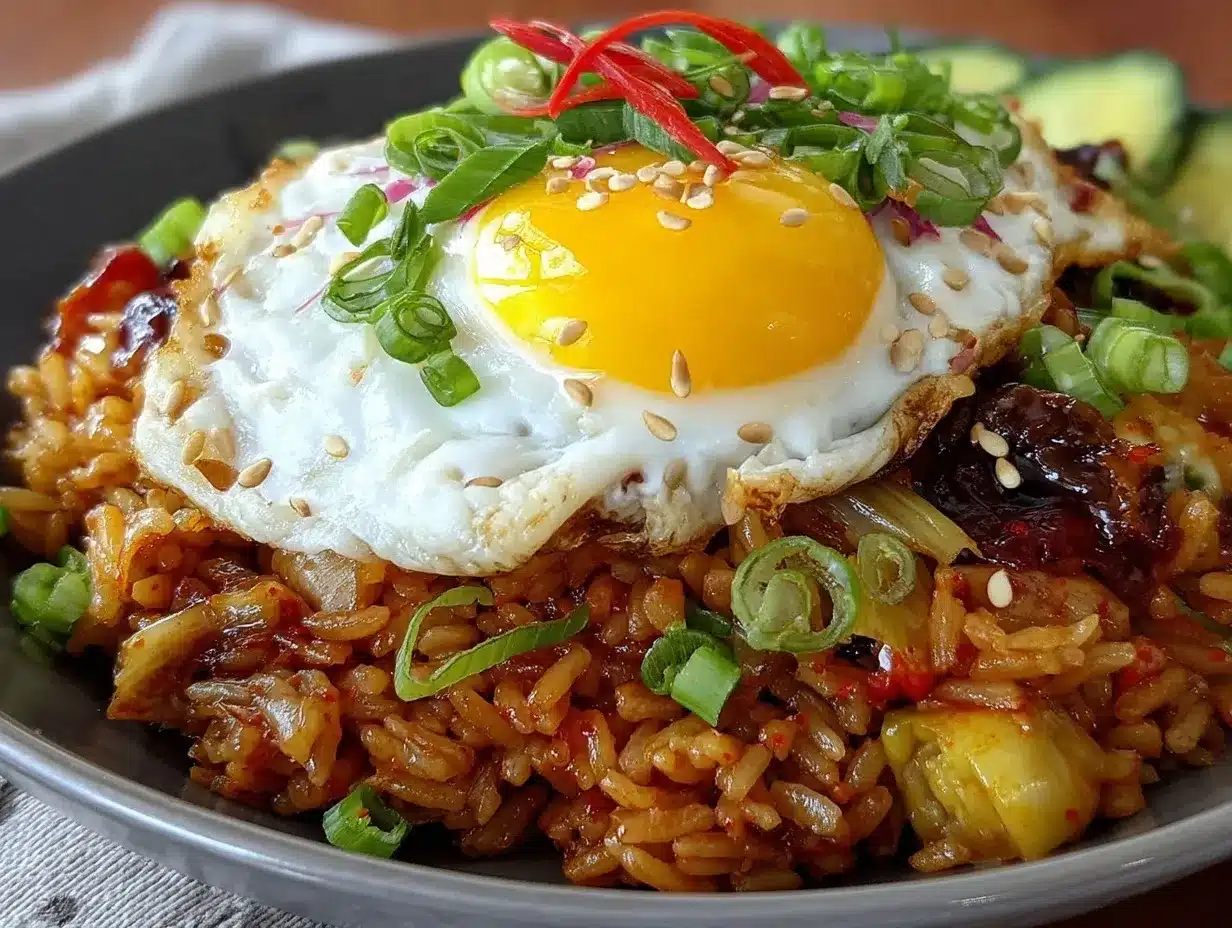
This kimchi fried rice is best served hot, straight from the pan. The runny egg is the star, so eat it while the yolk is still luscious and ready to coat every bite. Garnish with extra green onions or toasted sesame seeds for a bit of crunch and color.
It pairs wonderfully with light, fresh sides such as a crisp cucumber salad or a simple miso soup to balance the spice—my fresh Greek cucumber salad is a perfect companion. For drinks, a cold barley tea or sparkling water with lemon cuts through the richness.
Leftovers keep well in an airtight container in the refrigerator for up to 3 days. When reheating, add a splash of water and cover the pan or microwave to revive moisture. You can re-fry the rice quickly in a hot pan to crisp it back up if you like.
Keep eggs separate if you’re storing leftovers without them; reheat and fry fresh eggs when ready to serve for best texture. Over time, the kimchi flavor intensifies—some people love this, but if you prefer milder taste, eat it sooner rather than later.
Nutritional Information & Benefits
Per serving (serves 2): approximately 450 calories, 15g protein, 60g carbohydrates, and 12g fat.
Kimchi is a powerhouse ingredient—rich in probiotics from fermentation, it supports gut health and digestion. The garlic and chili peppers bring antioxidants and immune-boosting compounds. Using a runny egg adds quality protein and healthy fats, making this dish well-rounded and satisfying.
Gluten-free options are easy here by swapping soy sauce with tamari. This recipe offers a balanced mix of carbs and protein, perfect for a quick energy boost without feeling heavy. Just watch the sodium level if you’re sensitive, as kimchi and soy sauce both contribute salt.
Conclusion
Flavorful kimchi fried rice with a runny egg is one of those recipes that feels like a little secret weapon in the kitchen—simple ingredients, fast prep, and a result that feels thoughtful and comforting. Whether you’re cooking for one or feeding a hungry household, it adapts effortlessly and satisfies deeply.
Make it your own by playing with spice levels, toppings, or veggies. I guarantee once you try this, it’ll become a reliable favorite when you want bold flavor without the fuss. Personally, the way the runny yolk melts into the rice always brings a smile and a moment of quiet satisfaction.
Give it a shot, and if you tweak it, share how you made it your own. Nothing makes me happier than hearing how a recipe fits into your kitchen stories.
FAQs
- Can I use fresh rice instead of day-old rice? Fresh rice tends to be too moist and sticky for frying, so day-old rice is best to get that perfect texture.
- How do I get the egg yolk runny without undercooking the whites? Cover the pan with a lid and cook on medium-low heat until the whites set but yolks remain soft, about 3 minutes.
- Is kimchi always spicy? Most kimchi has a mild to medium heat, but some varieties are spicier. You can adjust the spice by choosing milder kimchi or reducing gochujang.
- What can I substitute for gochujang? Sriracha or a mix of chili paste with a bit of miso can work as substitutes for the spicy, umami kick.
- Can I meal prep this dish? Yes, you can prep the rice mixture ahead and store it refrigerated. Add fresh eggs when reheating for best texture and flavor.
Pin This Recipe!
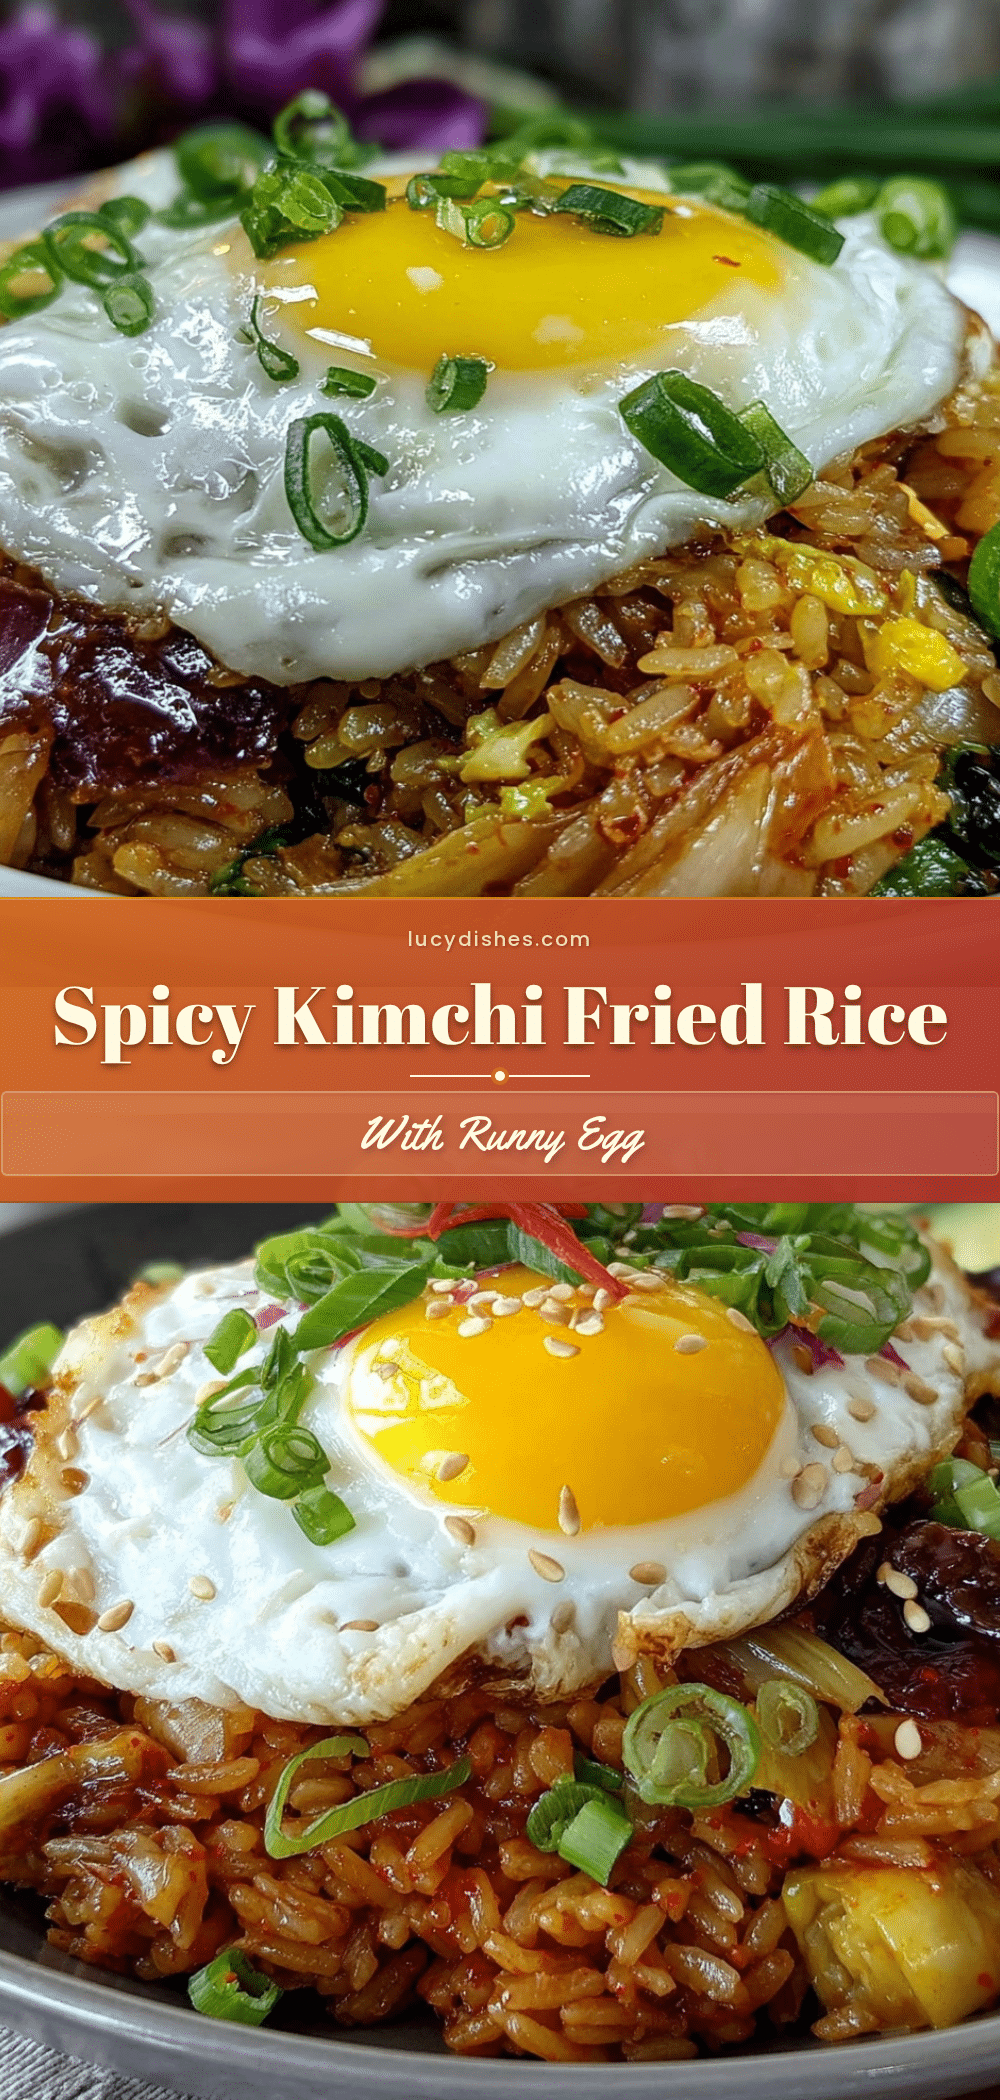
Kimchi Fried Rice Recipe Easy 5-Step Guide with Runny Egg Topping
A quick and flavorful kimchi fried rice topped with a perfectly runny egg, combining spicy, savory, and umami flavors for a comforting meal.
- Prep Time: 5 minutes
- Cook Time: 15 minutes
- Total Time: 20 minutes
- Yield: 2 servings 1x
- Category: Main Course
- Cuisine: Korean
Ingredients
- 2 cups cooked rice (day-old jasmine rice preferred)
- 1 cup kimchi, finely chopped with some brine reserved
- 2 tbsp vegetable oil (or sesame oil for extra flavor)
- 2 cloves garlic, minced
- 2 stalks green onions, thinly sliced (white and green parts separated)
- 1.5 tbsp soy sauce (low sodium recommended)
- 1 tbsp gochujang (Korean chili paste, optional)
- 2 large eggs, room temperature
- 1 tsp sesame oil
- Optional veggies: ½ cup diced carrots, peas, or mushrooms
- Salt and pepper to taste
Instructions
- Prep your ingredients: chop kimchi finely, mince garlic, slice green onions separating white and green parts, dice optional veggies, and lightly whisk eggs if preferred.
- Heat 2 tablespoons of vegetable oil over medium-high heat in a large non-stick skillet or wok. Add minced garlic and white parts of green onions; stir for about 30 seconds until fragrant.
- Add chopped kimchi with a splash of its brine. Stir-fry for 3-4 minutes until softened and caramelized around the edges.
- Add cold cooked rice to the skillet, breaking up clumps. Pour in soy sauce and gochujang if using. Mix thoroughly, stirring constantly to prevent sticking. Toss in optional veggies to warm through.
- Push rice mixture to one side of the pan. Add a little oil if needed, crack eggs directly onto the empty side, cover with a lid, and cook on medium-low until whites set but yolks remain runny, about 3 minutes. Alternatively, fry eggs separately and place on top.
- Drizzle sesame oil over the rice, sprinkle green onion tops, season with salt and pepper to taste, gently slide runny eggs over the rice, and serve immediately.
Notes
Use day-old rice for best texture. Caramelize kimchi for deeper flavor. Cover pan while cooking eggs to keep yolks runny. Adjust salt last due to salty kimchi and soy sauce. For gluten-free, substitute tamari for soy sauce. For egg-free, use fried tofu topping.
Nutrition
- Serving Size: 1 serving (half the
- Calories: 450
- Fat: 12
- Carbohydrates: 60
- Protein: 15
Keywords: kimchi fried rice, runny egg, easy dinner, Korean recipe, quick fried rice, spicy rice, gochujang, comfort food


