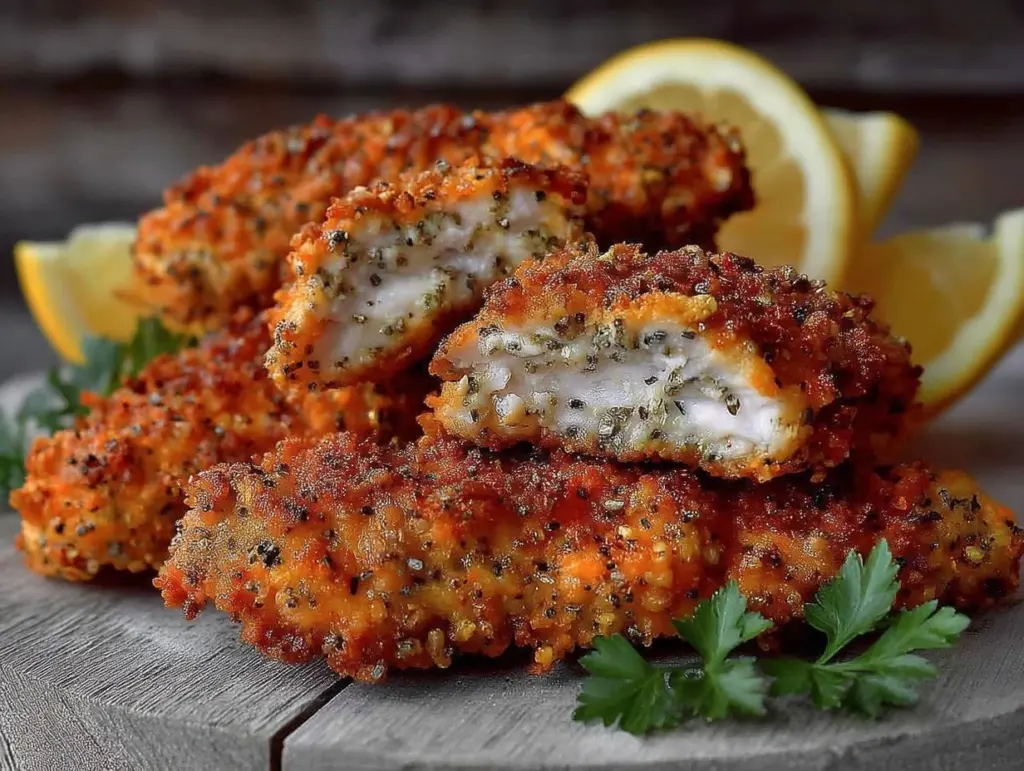
“You’re telling me these are just chicken tenders?” That’s the exact sentence I heard from my roommate the first time I whipped up this crispy lemon pepper chicken tenders recipe. Honestly, I wasn’t expecting much either. I was rushing through a chaotic weeknight, staring down the fridge wondering what could come together fast but still feel special. The whole thing started from a bit of a scramble — a forgotten dinner plan, a half-empty lemon, and craving something tangy yet crunchy.
As I dredged the chicken in a simple mix of lemon zest and cracked black pepper, I was skeptical about how this would turn out. But the smell as it hit the hot pan was instantly uplifting, sharp yet comforting like a little kitchen reset. By the time I plated those golden tenders, I noticed that my usual “quick dinner” had transformed into something that everyone wanted seconds of – even my picky eater roommate. It wasn’t just dinner; it was a tiny celebration of flavor with an easy twist.
What stuck with me long after that night was how this recipe balanced brightness and crunch in such a straightforward way. It’s the kind of dish that sneaks up on you, making you realize that fast food doesn’t have to be boring or greasy. The lemon pepper seasoning brings a lively zing, perfect for when you want to lift your spirits or impress guests without fuss.
That night, I was reminded how sometimes the simplest combinations—like fresh lemon and pepper—can turn ordinary chicken tenders into a zesty, crave-worthy meal. This recipe became my go-to when I want comfort food with a fresh kick, and honestly, I think it will earn a spot on your table too.
Why You’ll Love This Recipe
After testing countless variations, I’m confident these crispy lemon pepper chicken tenders will quickly become a favorite. Here’s why this recipe is a keeper:
- Quick & Easy: Ready in under 30 minutes, this dish fits perfectly into busy weeknights or unexpected cravings.
- Simple Ingredients: You don’t need to hunt down any specialty items—just pantry staples like lemon, pepper, and basic flour.
- Perfect for Any Occasion: Whether you’re hosting a casual get-together or need a fuss-free family dinner, these tenders deliver.
- Crowd-Pleaser: Kids and adults alike rave about the crispy exterior paired with the juicy, flavorful interior.
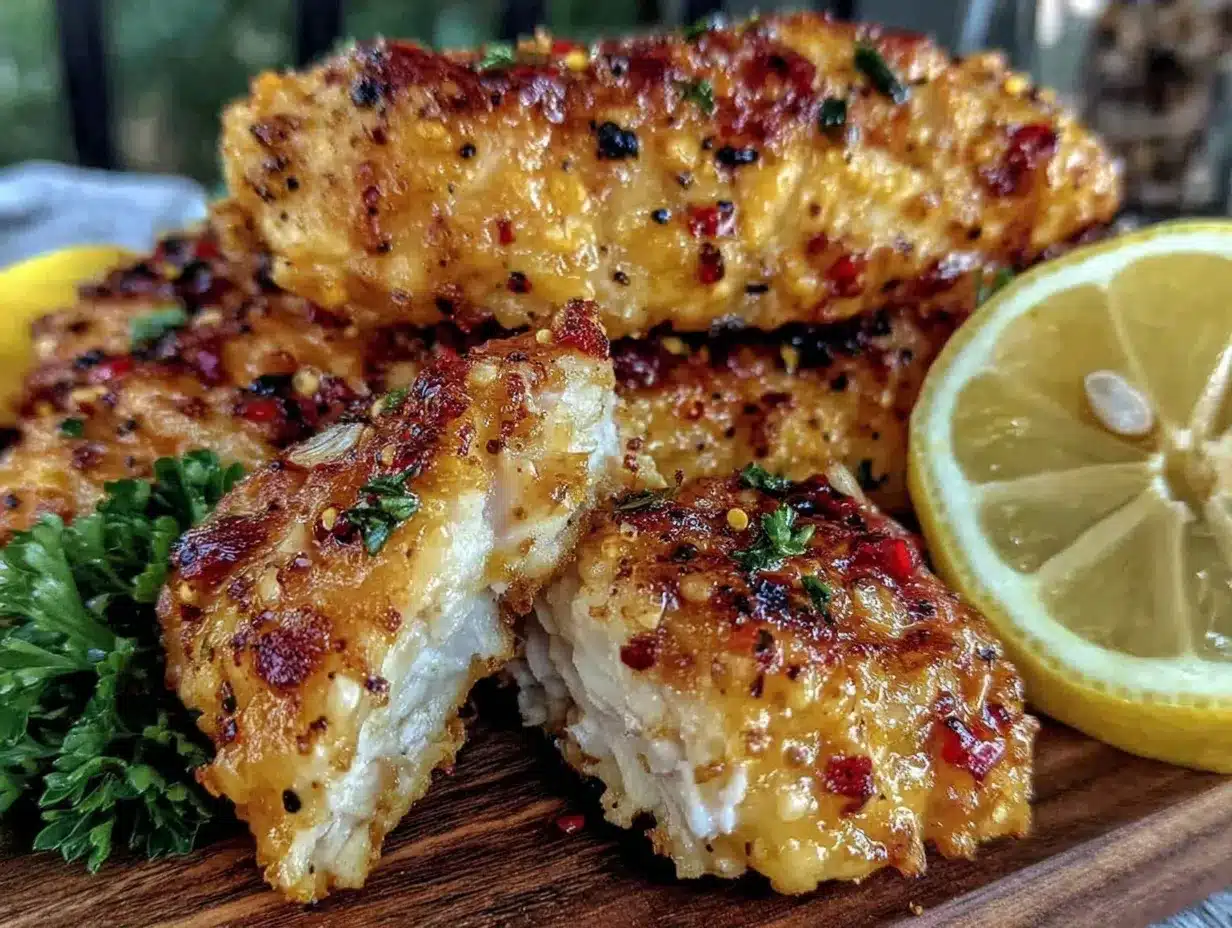
- Unbelievably Delicious: The lemon zest and cracked pepper crust hits that perfect balance of tangy, spicy, and savory that keeps you coming back for more.
What sets this recipe apart? It’s all about the technique — a light dredge in seasoned flour followed by a quick pan-fry that locks in juiciness while giving a satisfying crunch. The lemon pepper seasoning isn’t just sprinkled on; it’s blended into the coating, so every bite bursts with flavor. Plus, I like to finish it off with a little fresh lemon juice right before serving, making the zesty notes pop without overpowering the chicken.
This isn’t your typical bland chicken tender recipe. It’s a simple, reliable way to make an everyday ingredient feel a bit special. If you’ve ever loved the tang of a good lemon pepper sauce but wished for a crispy texture, well, this one’s for you.
What Ingredients You Will Need
This recipe uses straightforward, wholesome ingredients to give bold flavor and a satisfying crunch without any fuss. Most are pantry staples, so you likely have them on hand. Here’s the breakdown:
- Chicken Tenders: About 1 pound (450g) of fresh chicken tenders, trimmed and patted dry. You can swap for thin chicken breast strips if needed.
- Flour: ¾ cup (95g) all-purpose flour for the coating. For gluten-free, use almond flour or a gluten-free blend.
- Lemon Zest: Zest of 1 large lemon, preferably organic to avoid waxes. Adds that signature zesty aroma and flavor.
- Black Pepper: 1 ½ teaspoons freshly cracked black pepper. The coarser, the better—creates a nice texture and punch.
- Salt: 1 teaspoon kosher salt to season the flour and chicken evenly.
- Garlic Powder: ½ teaspoon adds subtle depth without overwhelming the lemon.
- Egg: 1 large egg, beaten, to help the flour mixture stick nicely.
- Milk: ¼ cup (60ml) whole milk or buttermilk for a tenderizing touch.
- Olive Oil or Vegetable Oil: For frying, about 2-3 tablespoons. I prefer a neutral oil with a high smoke point for crispiness without burnt flavor.
- Fresh Lemon Juice: From half a lemon, squeezed over after cooking to brighten the final dish.
Pro tip: I like to use King Arthur Flour for the coating—it gives a light, crisp crust every time. And if you want an extra punch, adding a pinch of smoked paprika to the flour mix brings a subtle warmth that’s lovely.
Equipment Needed
- Large Mixing Bowls: One for the wet ingredients and one for the flour mixture. Stainless steel or glass works best to avoid sticking.
- Whisk or Fork: For beating the egg and milk mixture smoothly.
- Shallow Plate or Baking Dish: To dredge the chicken evenly in the seasoning.
- Heavy Skillet or Frying Pan: A cast iron skillet is ideal for even heat distribution and achieving that perfect golden crust, but a non-stick pan works fine too.
- Tongs: For safely flipping the tenders during cooking without losing that crispy coating.
- Paper Towels: To drain the tenders after frying and keep them crispy.
If you don’t have a cast iron skillet, a heavy-bottomed stainless steel pan will do the trick just fine. I’ve tried it both ways, and while cast iron offers better heat retention, the non-stick is easier for cleanup. For budget-friendly options, a regular frying pan with a thick base is a good starter.
Preparation Method
- Prep the Chicken: Pat the chicken tenders dry with paper towels. This step is key — moisture is the enemy of crunch! Set aside.
- Make the Flour Mixture: In a shallow dish, combine ¾ cup (95g) all-purpose flour, lemon zest from 1 lemon, 1 ½ teaspoons cracked black pepper, 1 teaspoon kosher salt, and ½ teaspoon garlic powder. Mix well so the lemon zest and seasoning are evenly distributed. This ensures every bite has that zesty peppery kick.
- Prepare Wet Dredge: In another bowl, whisk together 1 large beaten egg and ¼ cup (60ml) milk. This combo helps the flour mix cling perfectly without being soggy.
- Coat the Chicken: Dip each tender first into the egg wash, letting excess drip off, then dredge thoroughly in the seasoned flour mixture. Press gently to make sure the coating sticks well. Set the coated tenders on a wire rack or plate while you finish the batch.
- Heat the Oil: Place 2-3 tablespoons of olive or vegetable oil in a large skillet over medium-high heat. Wait until the oil shimmers but isn’t smoking. This usually takes about 2-3 minutes. You want hot oil for that golden crunch but not so hot that it burns the coating.
- Cook the Tenders: Carefully place the coated chicken tenders in the skillet without crowding. Cook for about 3-4 minutes per side, flipping once, until golden brown and cooked through (internal temperature should reach 165°F / 74°C). The coating should be crispy and fragrant.
- Drain and Finish: Transfer cooked tenders to a plate lined with paper towels to absorb excess oil. Immediately squeeze fresh lemon juice from half a lemon over the hot tenders for a bright finish.
- Serve: Serve the tenders hot, ideally with a cooling dip or side salad to balance the zesty flavors.
Note: If your tenders cook too fast on the outside but remain raw inside, lower the heat slightly and cook a bit longer. Also, don’t skip drying the chicken first—that’s a small step that makes a huge difference in texture.
Cooking Tips & Techniques
Through trial and error, I learned some neat tricks to get these crispy lemon pepper chicken tenders just right every time. Here’s what works best:
- Dry Chicken First: Patting the tenders dry before coating prevents sogginess and helps the flour mixture stick better.
- Use Fresh Cracked Pepper: Pre-ground pepper just doesn’t have the same bright punch. Cracking your own gives a more vibrant aroma and texture.
- Don’t Overcrowd the Pan: Crowding lowers the oil temperature, leading to greasy tenders. Cook in batches if needed.
- Medium-High Heat Is Key: Too low and the coating absorbs oil; too high and it burns. Watch for that shimmering oil and adjust as you go.
- Let It Rest Briefly: After frying, letting tenders rest on paper towels for a minute keeps them crisp. I usually use this time to toss a simple salad or plate sides.
- Finish with Fresh Lemon Juice: This step brightens everything and is what really sets this recipe apart from typical fried chicken tenders.
I remember once rushing and skipping the lemon juice step — the tenders turned out fine but missing that zing that makes you close your eyes after the first bite. Lesson learned!
Variations & Adaptations
This recipe is flexible enough to suit different tastes or dietary needs. Here are some ways to mix it up:
- Gluten-Free: Substitute all-purpose flour with almond flour or a gluten-free blend. The texture will be a bit different but still deliciously crispy.
- Spicy Kick: Add ¼ teaspoon cayenne pepper or red pepper flakes to the flour mix for a touch of heat that pairs beautifully with the lemon.
- Baked Version: For a lighter take, bake the coated tenders on a greased sheet at 425°F (220°C) for 15-20 minutes, flipping halfway through. They won’t be as crispy but still tasty.
- Herb Twist: Mix in dried herbs like thyme or oregano into the flour to give an herby depth, perfect if you’re pairing with a Greek cucumber salad.
- Dipping Sauces: Try serving with homemade garlic aioli, honey mustard, or a creamy ranch to complement the zesty coating.
One of my favorite tweaks was adding a bit of smoked paprika to the flour mix for a subtle smoky undertone. It gave the tenders a sort of “barbecue” vibe without needing a sauce.
Serving & Storage Suggestions
These lemon pepper chicken tenders are best enjoyed fresh and hot, but they also store well:
- Serving: Serve immediately with a wedge of lemon and a fresh side like a crisp cucumber salad or roasted veggies. For a heartier meal, pair with creamy mashed potatoes or a light pasta like the Tuscan chicken pasta I’ve shared before.
- Storage: Keep leftovers in an airtight container in the refrigerator for up to 3 days. To keep them crispy, reheat in a skillet or oven rather than the microwave.
- Freezing: Flash freeze cooked tenders on a baking sheet, then transfer to a freezer-safe bag. They freeze well up to 2 months. Reheat from frozen in the oven at 375°F (190°C) for about 15 minutes.
- Reheating Tips: Avoid microwaving if you want to keep the crispiness. Instead, warm in a skillet with a splash of oil or in a toaster oven for best texture.
- Flavor Development: The lemon pepper flavor stays bright even after chilling, but the fresh lemon juice squeeze before serving really revives the tang.
Nutritional Information & Benefits
Here’s an estimate for a serving of 4-5 tenders (about 6 ounces/170g of chicken):
| Nutrient | Amount |
|---|---|
| Calories | 320 |
| Protein | 35g |
| Fat | 14g |
| Carbohydrates | 12g |
| Fiber | 1g |
| Sodium | 600mg |
Chicken tenders offer a great protein boost, while the lemon adds a dose of vitamin C and antioxidants. Using fresh cracked pepper provides not only flavor but also anti-inflammatory benefits. If you opt for gluten-free flours, it’s great for those with sensitivities. Just keep an eye on sodium if you’re watching salt intake.
From a wellness standpoint, this recipe balances indulgence and nutrition without complicated ingredients, perfect for anyone wanting flavorful comfort food without guilt.
Conclusion
This crispy lemon pepper chicken tenders recipe proves that quick meals don’t have to be boring or bland. It’s an easy, reliable way to get a flavorful dinner on the table that feels fresh and satisfying. I love how the lemon zest and cracked black pepper come together to brighten each bite, turning simple chicken into something memorable.
Feel free to tweak the seasoning or try the baked version to suit your style. Whatever you do, I hope this recipe brings a little spark to your dinner rotation—just like it did on that hectic night when I first stumbled upon it.
If you try it, I’d love to hear how you customize your tenders or what sides you pair them with. Share your thoughts and tweaks below so we can keep this flavor train rolling together.
FAQs About Crispy Lemon Pepper Chicken Tenders
Can I use chicken breasts instead of tenders?
Yes! Slice chicken breasts into strips about 1-inch thick and follow the same coating and cooking method.
What’s the best oil for frying these tenders?
Use oils with a high smoke point like vegetable oil, canola oil, or light olive oil. They help achieve crispiness without burning.
How do I keep the tenders crispy after cooking?
Drain them on paper towels and avoid stacking while hot. Reheat in a skillet or oven to bring back crispiness instead of microwaving.
Can I make these ahead of time?
Yes, you can prep and coat the chicken ahead, then refrigerate for a few hours before cooking. Cook fresh for the best texture.
What dipping sauces go well with lemon pepper chicken tenders?
Try garlic aioli, honey mustard, ranch, or even a spicy sriracha mayo for tasty pairings.
Pin This Recipe!
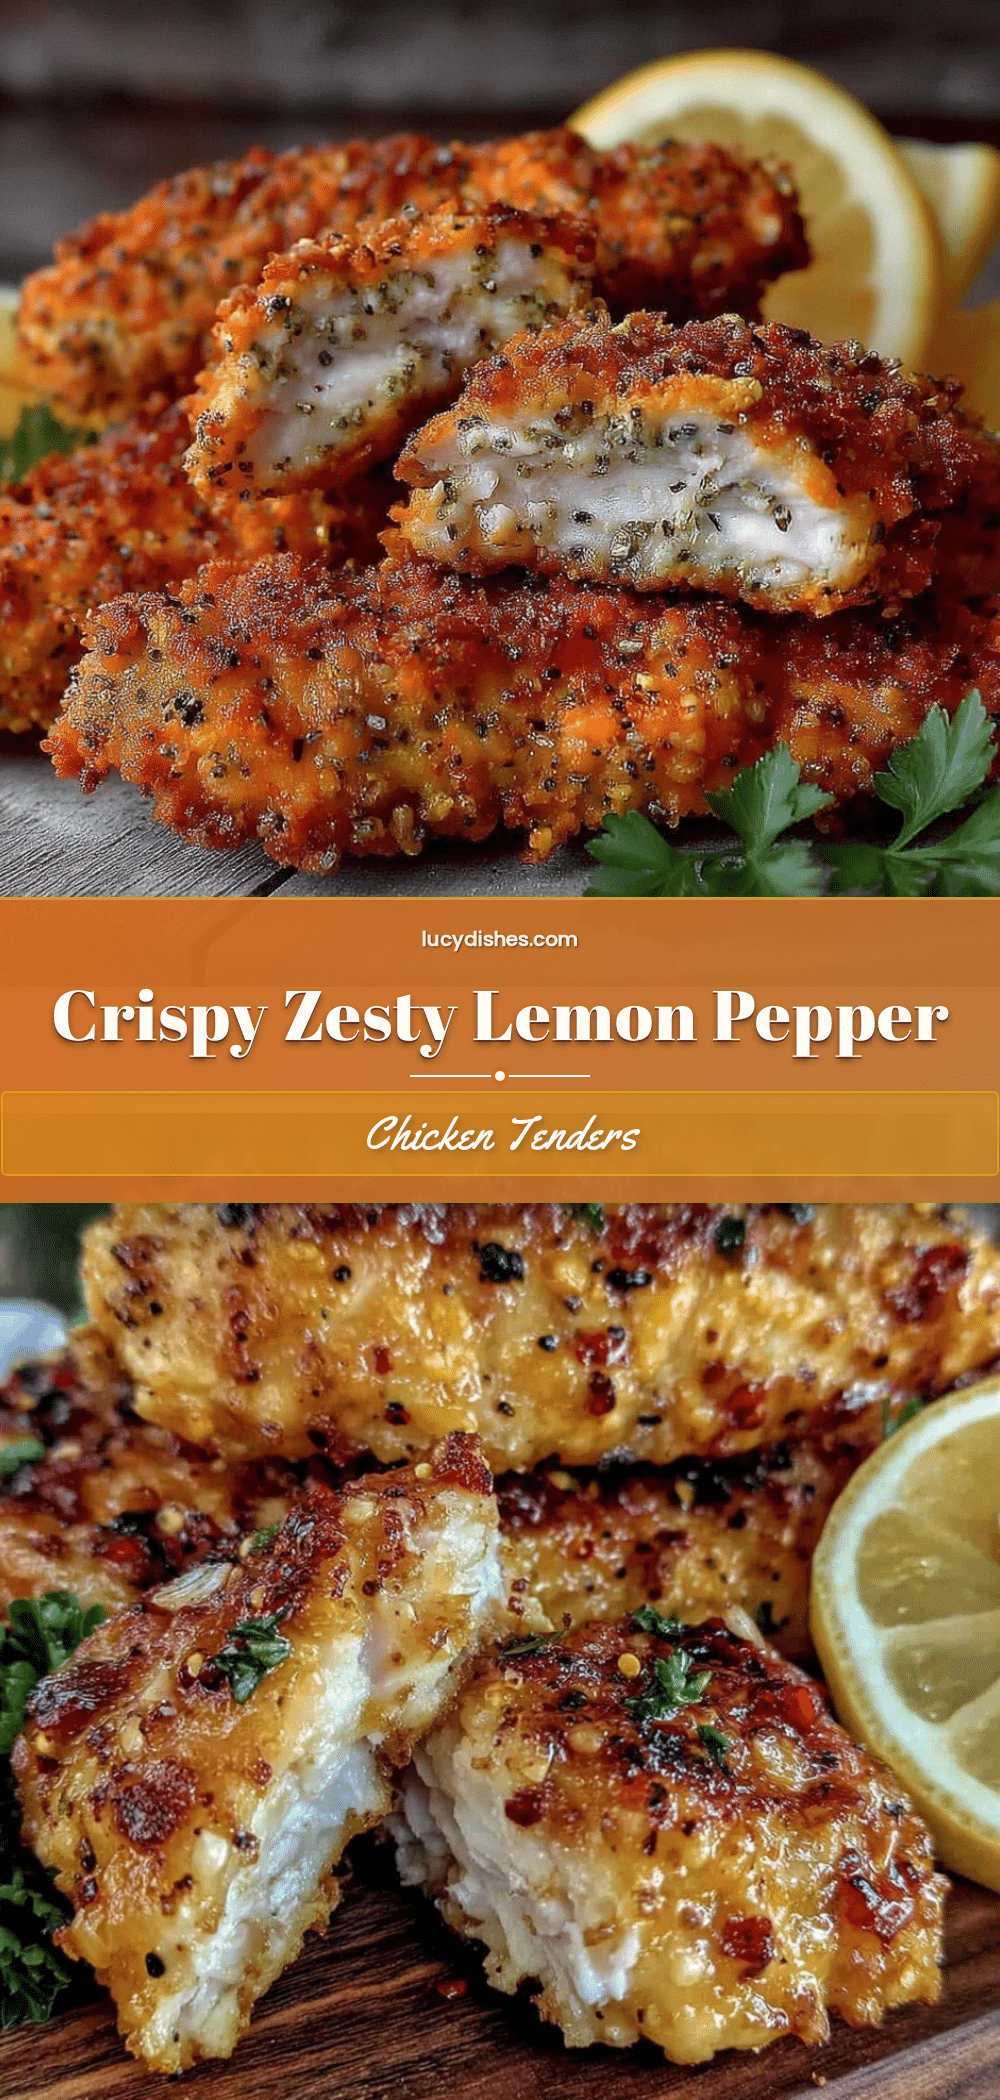
Crispy Lemon Pepper Chicken Tenders

A quick and easy recipe for crispy chicken tenders coated in a zesty lemon pepper seasoned flour and pan-fried to golden perfection. Perfect for busy weeknights or casual gatherings.
- Prep Time: 10 minutes
- Cook Time: 15 minutes
- Total Time: 25 minutes
- Yield: 4 servings 1x
- Category: Main Course
- Cuisine: American
Ingredients
- 1 pound (450g) fresh chicken tenders, trimmed and patted dry
- 3/4 cup (95g) all-purpose flour (substitute almond flour or gluten-free blend for gluten-free)
- Zest of 1 large lemon
- 1 1/2 teaspoons freshly cracked black pepper
- 1 teaspoon kosher salt
- 1/2 teaspoon garlic powder
- 1 large egg, beaten
- 1/4 cup (60ml) whole milk or buttermilk
- 2–3 tablespoons olive oil or vegetable oil for frying
- Fresh lemon juice from half a lemon
Instructions
- Pat the chicken tenders dry with paper towels to remove moisture.
- In a shallow dish, combine flour, lemon zest, cracked black pepper, kosher salt, and garlic powder. Mix well.
- In another bowl, whisk together the beaten egg and milk.
- Dip each chicken tender into the egg wash, letting excess drip off, then dredge thoroughly in the seasoned flour mixture. Press gently to ensure coating sticks. Set coated tenders aside on a wire rack or plate.
- Heat 2-3 tablespoons of oil in a large skillet over medium-high heat until shimmering but not smoking (about 2-3 minutes).
- Place coated tenders in the skillet without overcrowding. Cook for 3-4 minutes per side until golden brown and cooked through (internal temperature 165°F / 74°C).
- Transfer cooked tenders to a plate lined with paper towels to drain excess oil.
- Immediately squeeze fresh lemon juice over the hot tenders.
- Serve hot with your choice of dipping sauce or side.
Notes
Patting the chicken dry is essential for a crispy coating. Use freshly cracked black pepper for best flavor. Avoid overcrowding the pan to maintain oil temperature and crispiness. Finish with fresh lemon juice for a bright, zesty flavor. For gluten-free, substitute flour with almond flour or a gluten-free blend. To keep tenders crispy when reheating, warm in a skillet or oven instead of microwave.
Nutrition
- Serving Size: About 4-5 tenders (6
- Calories: 320
- Sodium: 600
- Fat: 14
- Carbohydrates: 12
- Fiber: 1
- Protein: 35
Keywords: chicken tenders, lemon pepper chicken, crispy chicken, quick dinner, easy chicken recipe, pan-fried chicken, weeknight meal, gluten-free option


