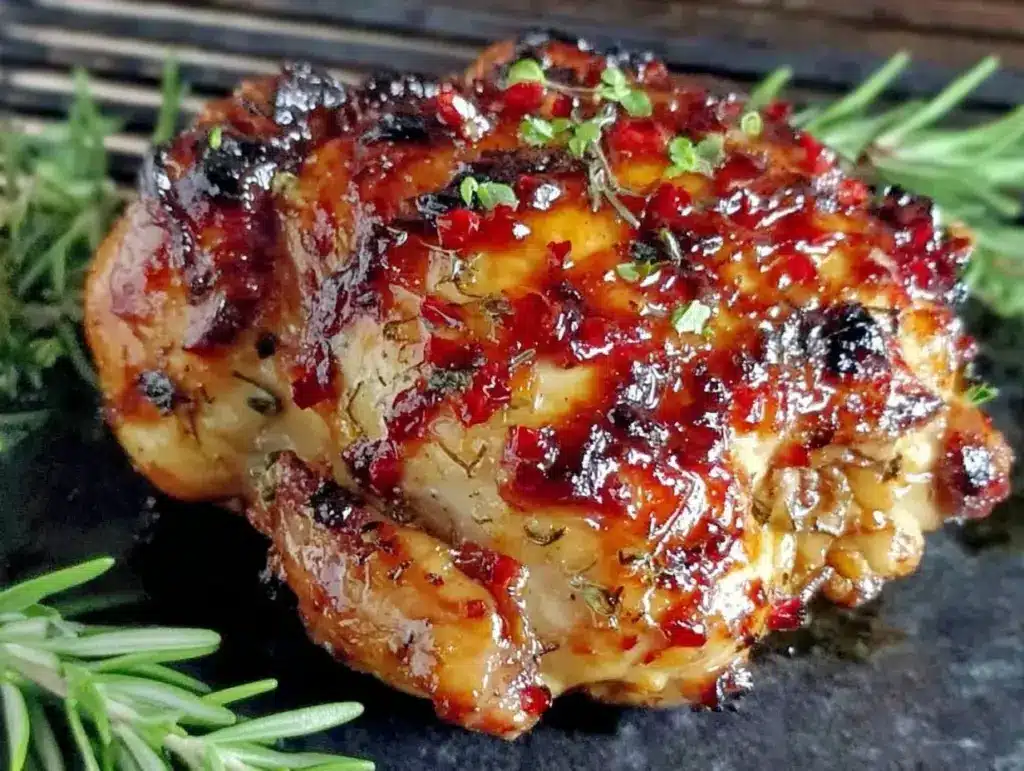
“You gotta try the beer can chicken,” my buddy said with a grin, balancing a cold brew in one hand and a whole chicken in the other. I was skeptical—how could a chicken perched on a beer can actually turn out juicy and crispy? Honestly, I thought it was just a backyard BBQ gimmick until I gave it a shot one restless Saturday afternoon. The grill was already fired up from some crispy chicken broccoli rice casserole experiments, so I figured, why not try this one too? The scent of the beer mingling with the smoky grill was oddly comforting, and the golden, crackly skin that emerged… well, that’s when I stopped doubting. It wasn’t just crispy, it was downright addictive.
That first bite—juicy meat that practically melted off the bone, paired with a skin that shattered with every chew—made me realize this recipe wasn’t just a fluke. The beer can method keeps the chicken moist from the inside, while the grill’s heat crisps the outside beautifully. Since then, this chicken has become my go-to for casual weekends, impressing friends without needing a fuss. It’s one of those recipes where you get to kick back, enjoy the sizzle, and then savor a meal that feels both rustic and gourmet.
Something about the quiet anticipation while the chicken grills, the gentle hissing of the beer steaming inside, and the smoky aroma that fills the air always makes me pause. It’s comfort food, sure, but it’s also a little celebration every time I fire up the grill. If you’re looking for a dish that’s effortless yet delivers on flavor and texture, this crispy beer can chicken on the grill might just become your new favorite too.
Why You’ll Love This Crispy Beer Can Chicken Recipe
This recipe isn’t just a crowd-pleaser — it’s the kind of dish you’ll find yourself making over and over (I know I don’t mind repeating it multiple times a week). Here’s why:
- Quick & Easy: From prep to finish, it takes about 1 hour 15 minutes, with less than 15 minutes of hands-on time. Perfect for those laid-back weekends or spontaneous get-togethers.
- Simple Ingredients: No need for fancy spices or exotic ingredients. You likely have everything already, including a can of your favorite beer.
- Perfect for Outdoor Grilling: Whether you’re hosting a backyard party or just craving that smoky flavor, this recipe shines on the grill.
- Crowd-Pleaser: The crispy skin and juicy interior get rave reviews from kids and adults alike — it’s a winner every time.
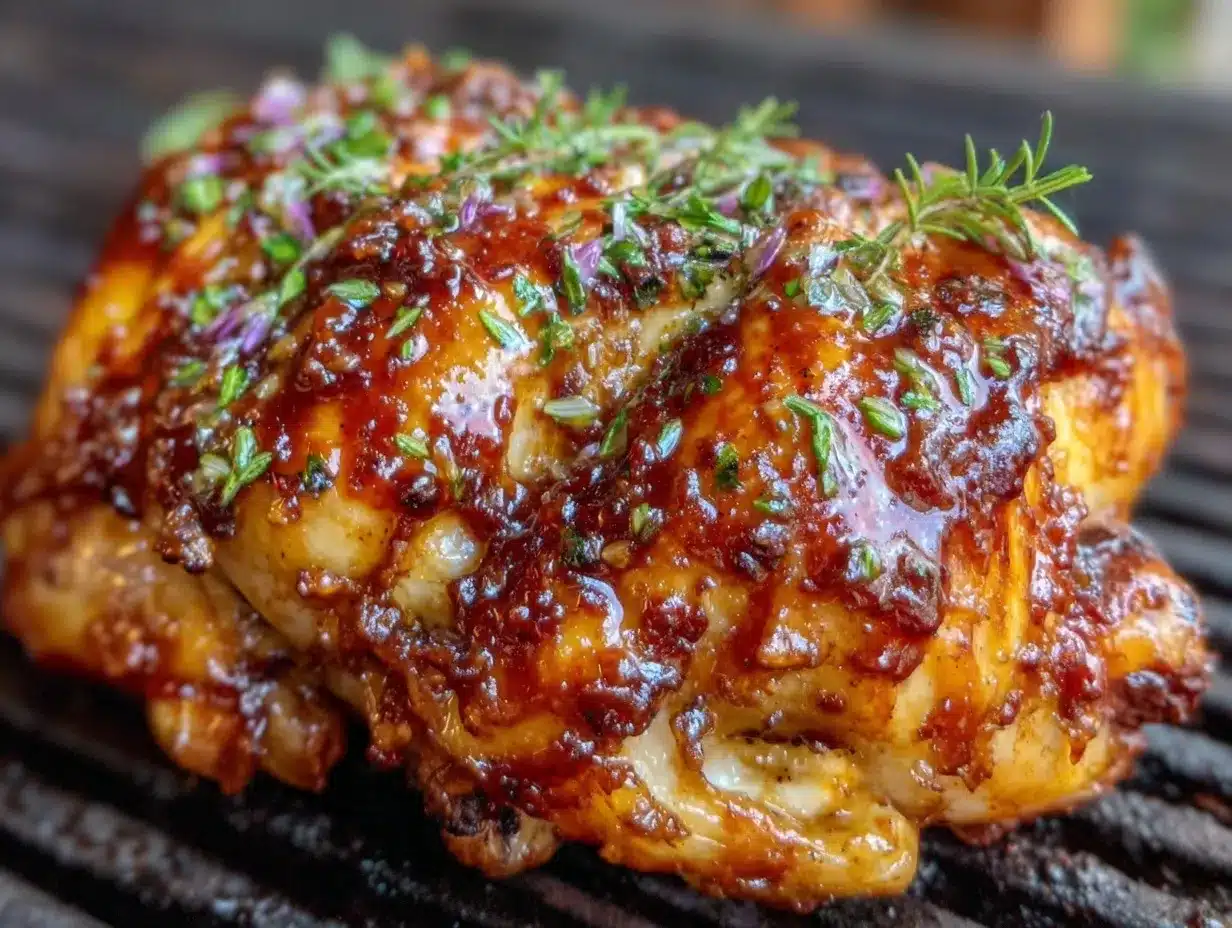
- Unbelievably Delicious: The beer steams the chicken from the inside, creating a moist, tender texture while the outside crisps up to perfection.
What sets this recipe apart is the balance between simplicity and that smoky, crispy magic. I use a blend of paprika, garlic powder, and a pinch of cayenne for just the right kick without overpowering the chicken’s natural flavor. Plus, the trick of letting the beer steam inside the bird keeps the meat tender and juicy in a way I haven’t achieved with many other grilling methods. It’s comfort food with a slight twist, and it always feels special — like you’re treating yourself even when you’re just cooking for one or two.
This recipe has stuck with me because it’s reliable and ridiculously tasty without being complicated. Whether it’s a casual dinner or a festive meal, it promises juicy grill perfection every time.
What Ingredients You Will Need
This crispy beer can chicken recipe relies on straightforward, wholesome ingredients that play together to create big flavor with minimal hassle. The pantry staples and fresh touches combine for that golden, crispy skin and juicy meat.
- Whole chicken (about 4 to 5 pounds / 1.8 to 2.3 kg) – fresh or thawed; a good-quality bird makes a difference. I prefer organic when I can.
- Beer can (12 oz / 355 ml) – a standard can of your favorite lager or pale ale works great; avoid dark beers that might overpower the flavor.
- Olive oil or vegetable oil (2 tablespoons) – helps the seasoning stick and promotes crispiness.
- Salt (1 tablespoon) – kosher salt is ideal for even seasoning.
- Black pepper (1 teaspoon) – freshly ground, for that subtle heat.
- Paprika (2 teaspoons) – adds smokiness and color; smoked paprika is a nice option if you want to amplify the grill flavor.
- Garlic powder (1 teaspoon) – for savory depth.
- Onion powder (1 teaspoon) – rounds out the seasoning blend.
- Cayenne pepper (¼ teaspoon, optional) – just a hint of heat to wake up the palate.
- Lemon (1, halved) – optional, but placing lemon halves inside the cavity adds bright aroma while grilling.
- Fresh herbs like thyme or rosemary (a few sprigs) – optional, tucked inside the bird for an herbal note.
For this recipe, I recommend sticking to the basics because the beer can technique really shines on its own. That said, feel free to swap out olive oil with avocado oil for a higher smoke point or use a gluten-free beer if dietary needs require. When picking your chicken, I’ve found that smaller birds cook more evenly on the grill, so keep an eye on size if you’re shopping.
Equipment Needed
- Charcoal or gas grill: Either works, though charcoal adds a nice smoky flavor that pairs beautifully with this recipe.
- Beer can chicken holder (optional): This gadget stabilizes the chicken on the can, but you can also do it with the can alone if you’re careful.
- Meat thermometer: Essential for checking doneness; I use an instant-read digital thermometer to avoid guesswork.
- Long-handled tongs: For safely handling the hot chicken and turning it if needed.
- Aluminum foil: Handy for tenting the chicken after grilling to let it rest.
- Mixing bowl: For combining your spice rub.
Not everyone owns a dedicated beer can chicken stand, and that’s fine — I’ve done it plenty of times with just a sturdy beer can and a clean grill rack. For those on a budget, skipping the holder won’t ruin your meal, just be sure the chicken is balanced well before cooking. Also, keeping your meat thermometer calibrated will save you from overcooked or undercooked disasters down the road.
Preparation Method
- Preheat your grill: Aim for indirect medium heat around 375°F (190°C). For charcoal grills, bank the coals to one side; for gas grills, turn on half the burners.
- Prepare the chicken: Remove giblets and pat the chicken dry inside and out with paper towels. Dry skin crisps better, so don’t skip this.
- Mix the spice rub: In a bowl, combine 1 tablespoon kosher salt, 1 teaspoon black pepper, 2 teaspoons paprika, 1 teaspoon garlic powder, 1 teaspoon onion powder, and ¼ teaspoon cayenne pepper if using. Stir well.
- Oil and season the chicken: Rub the entire chicken with 2 tablespoons olive oil, then coat evenly with the spice blend, making sure to get under the skin where possible for extra flavor.
- Insert lemon and herbs: Stuff the cavity with lemon halves and herb sprigs if desired. This adds moisture and a subtle fragrance.
- Prepare the beer can: Open the beer and pour out (or drink!) about a quarter of it. Place the can on a stable surface and carefully lower the chicken onto the can so it sits upright, with the can inside the cavity.
- Place on grill: Position the chicken upright on the grill over indirect heat. Close the lid and cook for about 1 hour to 1 hour 15 minutes. The grill should maintain around 375°F (190°C) during cooking.
- Check temperature: Insert a meat thermometer into the thickest part of the thigh without touching bone. It should read 165°F (74°C) when done.
- Rest the chicken: Carefully remove the chicken from the grill and let it rest tented with foil for 10-15 minutes before carving. This helps juices redistribute.
Watch for flare-ups and rotate the chicken if one side seems hotter to avoid burning. The skin should be a deep golden brown and crackly. If it’s not quite crispy enough, you can finish it off with a few minutes of direct heat, but keep a close eye to prevent charring.
Cooking Tips & Techniques
One trick I learned the hard way is drying the chicken thoroughly before seasoning. Moist skin steams instead of crisps, and that’s just no fun. You want the skin to shatter with a satisfying crunch, so don’t rush this step.
Managing your grill temperature is key. Indirect heat prevents burning the outside while the inside cooks through. If you’re using a gas grill, turning off one burner and placing the chicken over the unlit side mimics oven roasting but with a smoky twist.
Don’t skimp on the resting time — I know it’s tempting to carve right away, but resting seals in those precious juices. I’ve lost count of how many times I got impatient and ended up with dry chicken.
If you want to amp up flavor, consider brining the chicken for a few hours before seasoning. It adds a nice depth, but it’s not necessary for a juicy outcome thanks to the beer can steaming effect.
Multitasking tip: While the chicken cooks, you can whip up a fresh side like a harvest grain salad bowl or prepare a quick snack like ham and dill pickle pinwheel roll-ups to keep guests happy.
Variations & Adaptations
Want to switch things up? Here are some ways to tailor this recipe:
- Herb & Citrus Twist: Swap lemon for orange or lime and add fresh rosemary and thyme inside the cavity for a fragrant variation.
- Spicy Kick: Increase the cayenne or add chili powder and smoked paprika for a bolder flavor profile.
- Gluten-Free Option: Use a gluten-free beer or substitute the can with a vertical roaster designed for poultry.
- Low-Sodium Version: Reduce the salt in the rub and add more herbs and spices like cumin, coriander, or garlic for flavor without sodium.
- Oven-Baked Adaptation: If grilling isn’t an option, roast the chicken upright in a preheated oven at 375°F (190°C) for about 1 hour 20 minutes, basting occasionally.
I’ve personally tried marinating the chicken overnight in a mix of beer, garlic, and herbs before seasoning, which made the flavors even deeper while keeping the texture perfect. Experiment and find what suits your taste best!
Serving & Storage Suggestions
Serve this crispy beer can chicken hot off the grill with your favorite sides. It pairs beautifully with grilled vegetables, creamy mashed potatoes, or a fresh salad like the chicken and veggie bowl I often enjoy for a lighter option.
Leftovers keep well in the refrigerator for up to 3 days. Store the chicken in an airtight container and reheat gently in the oven at 325°F (160°C) to preserve moisture and crispiness. Avoid microwaving if you want to keep that crackly skin intact.
Flavors actually deepen after a day or two, making the leftovers perfect for sandwiches or salads. You can also shred the chicken and toss it with BBQ sauce for a quick meal.
Nutritional Information & Benefits
This recipe offers a balanced meal rich in protein and moderate in fat, thanks to the skin-on chicken. A 4-ounce (113 g) serving of roasted chicken provides approximately 220 calories, 25 grams of protein, and 12 grams of fat, mostly unsaturated if olive oil is used. The beer used inside the cavity imparts flavor but minimal alcohol remains after cooking.
Chicken is a great source of B vitamins and selenium, essential for energy and immune support. Using fresh herbs adds antioxidants and subtle nutrients without extra calories.
For those mindful of carbs, this recipe fits nicely into low-carb and gluten-free diets, especially when paired with non-starchy veggies or grain alternatives.
Conclusion
Crispy beer can chicken on the grill is one of those recipes that feels both simple and surprisingly special. It’s a way to enjoy tender, juicy chicken with a skin so crispy it practically sings. I love how it brings people together — whether for an impromptu weekend meal or a laid-back gathering with friends.
Don’t hesitate to customize the herbs, spices, or beer type to make it your own. This recipe has a way of becoming a reliable favorite, one that you reach for when you want fuss-free flavor with a hint of wow.
If you’ve tried this recipe or have your own twist, I’d love to hear about it in the comments. Sharing those little tweaks is what makes cooking fun and personal. So fire up your grill, grab a cold one, and enjoy the juicy, crispy magic!
FAQs about Crispy Beer Can Chicken on the Grill
Do I have to use beer for this recipe?
You can substitute beer with soda, apple juice, or even water, but beer adds a unique aroma and helps tenderize the chicken from the inside.
How do I know when the chicken is done?
Use a meat thermometer inserted into the thickest part of the thigh. The internal temperature should reach 165°F (74°C) for safe consumption.
Can I use this method in the oven?
Yes! Place the chicken upright on a roasting rack or use a vertical roaster and bake at 375°F (190°C) for about 1 hour 20 minutes.
What if I don’t have a grill? Can I still make this?
While grilling adds smoky flavor, you can roast it in the oven as mentioned above. The crispy skin might be slightly less smoky but still delicious.
Is it safe to drink the beer from the can after cooking?
No, the beer inside the can steams and cooks during grilling, so it’s not safe or palatable to drink afterward.
Pin This Recipe!
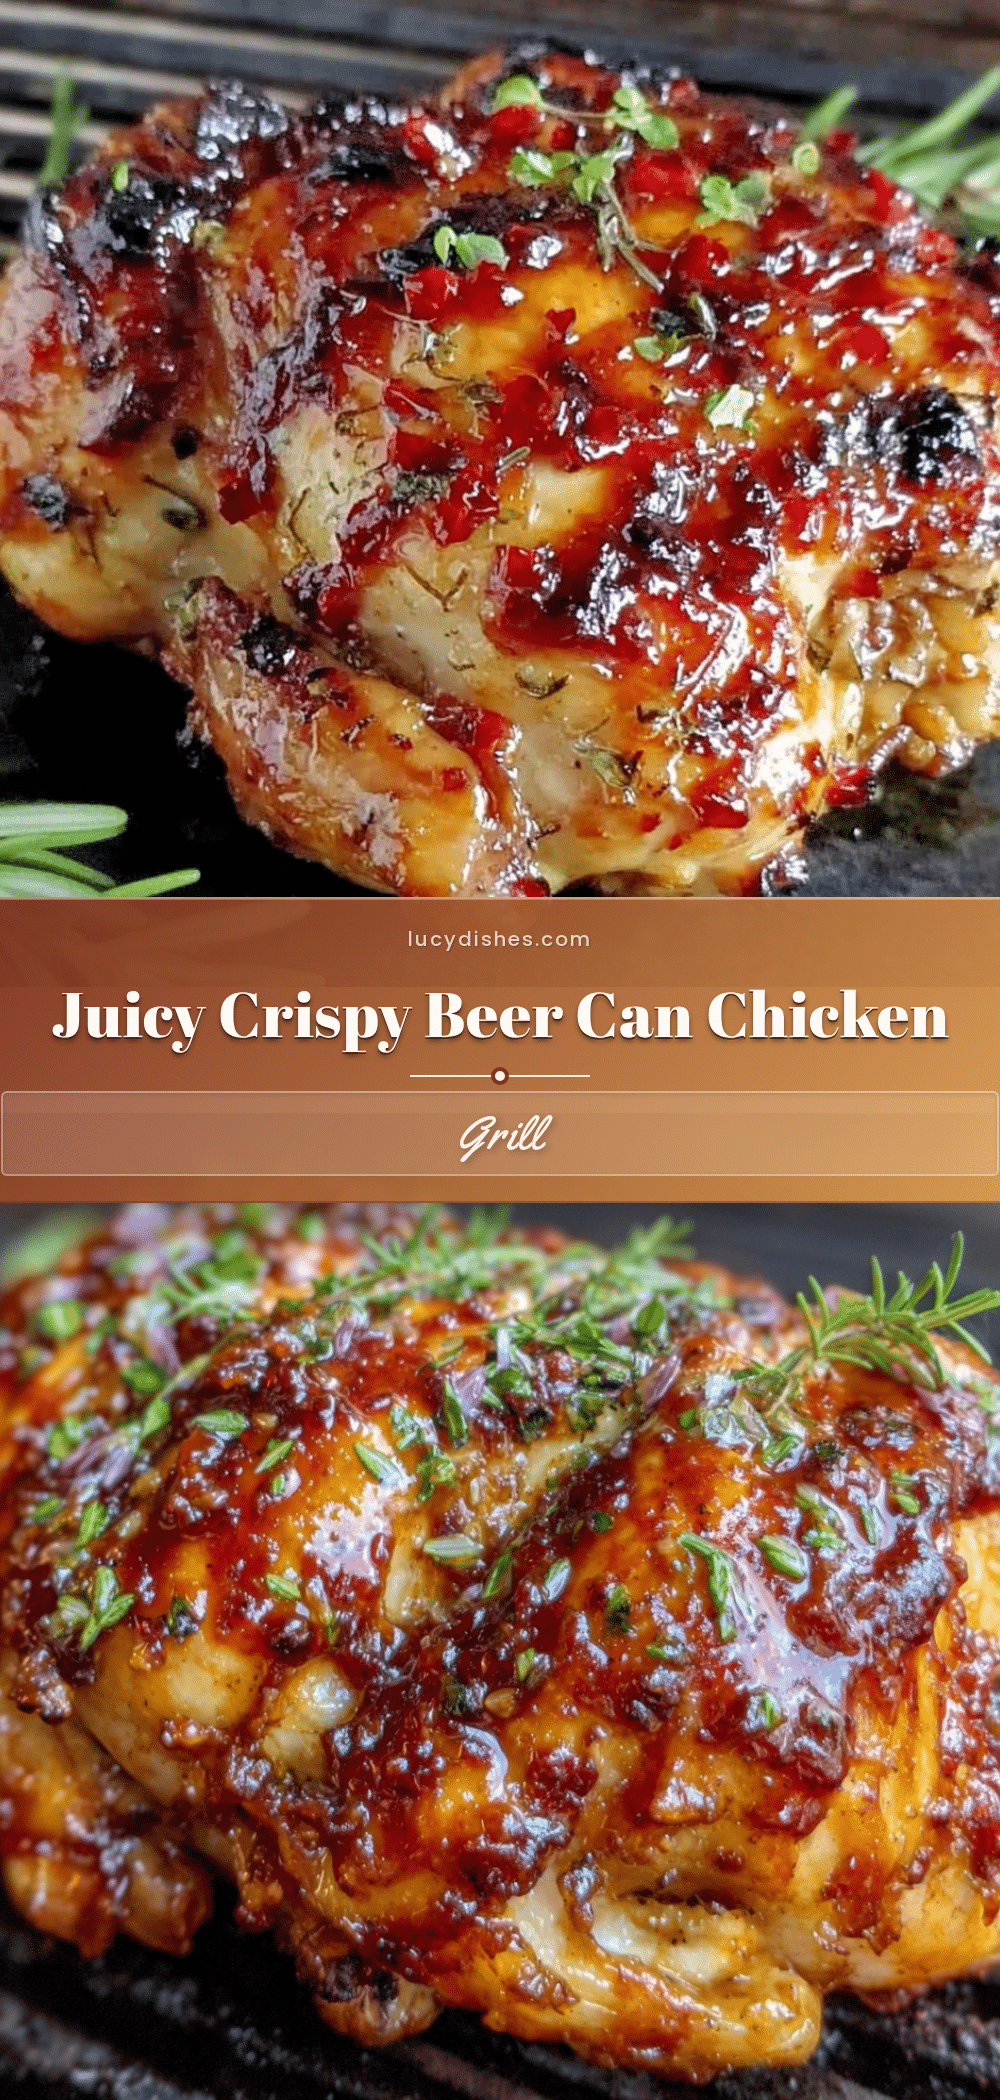
Crispy Beer Can Chicken
A simple and flavorful grilled whole chicken cooked upright on a beer can for juicy meat and crispy skin, perfect for casual weekends and backyard BBQs.
- Prep Time: 15 minutes
- Cook Time: 1 hour 15 minutes
- Total Time: 1 hour 30 minutes
- Yield: 4 to 6 servings
- Category: Main Course
- Cuisine: American
Ingredients
- Whole chicken (4 to 5 pounds / 1.8 to 2.3 kg), fresh or thawed
- Beer can (12 oz / 355 ml) of lager or pale ale
- Olive oil or vegetable oil (2 tablespoons)
- Kosher salt (1 tablespoon)
- Black pepper (1 teaspoon), freshly ground
- Paprika (2 teaspoons), smoked paprika optional
- Garlic powder (1 teaspoon)
- Onion powder (1 teaspoon)
- Cayenne pepper (1/4 teaspoon, optional)
- Lemon (1, halved, optional)
- Fresh herbs like thyme or rosemary (a few sprigs, optional)
Instructions
- Preheat your grill to indirect medium heat around 375°F (190°C). For charcoal grills, bank the coals to one side; for gas grills, turn on half the burners.
- Remove giblets from the chicken and pat dry inside and out with paper towels.
- In a mixing bowl, combine kosher salt, black pepper, paprika, garlic powder, onion powder, and cayenne pepper if using. Stir well.
- Rub the entire chicken with olive oil, then coat evenly with the spice blend, including under the skin where possible.
- Stuff the cavity with lemon halves and herb sprigs if desired.
- Open the beer can and pour out or drink about a quarter of it. Place the can on a stable surface and carefully lower the chicken onto the can so it sits upright.
- Place the chicken upright on the grill over indirect heat. Close the lid and cook for about 1 hour to 1 hour 15 minutes, maintaining around 375°F (190°C).
- Check doneness by inserting a meat thermometer into the thickest part of the thigh without touching bone; it should read 165°F (74°C).
- Remove the chicken from the grill and let it rest tented with foil for 10-15 minutes before carving.
Notes
Dry the chicken thoroughly before seasoning to ensure crispy skin. Maintain indirect heat to avoid burning. Rest the chicken after cooking to redistribute juices. You can finish with direct heat for extra crispiness but watch carefully to prevent charring. Substitute beer with soda, apple juice, or water if desired. Oven roasting upright at 375°F for about 1 hour 20 minutes is an alternative.
Nutrition
- Serving Size: 4 oz (113 g) cooked
- Calories: 220
- Fat: 12
- Protein: 25
Keywords: beer can chicken, grilled chicken, crispy chicken, backyard BBQ, easy chicken recipe, juicy chicken, beer can cooking


