“You’ve got to try making your own tortillas,” my coworker said one afternoon, casually passing me a warm, slightly rustic tortilla filled with grilled chicken. I was skeptical. I mean, tortillas? From scratch? I’d always pegged them as one of those things better left to the pros—or at least the supermarket aisle. But as soon as that first bite melted in my mouth, something clicked. The smell of toasted corn, the gentle chewiness, the slight char—all felt so honest, so grounding.
That evening, in my cramped kitchen, I rolled up my sleeves and gave it a shot, armed with just masa harina, water, and a bit of patience. The first few felt stiff and cracked, sure, but then one morning, after tweaking water temps and pressing techniques, I made a batch so soft and flexible it surprised even me. Honestly, it became a little obsession that week—I couldn’t stop making these easy homemade corn tortillas from scratch, even on busy nights when I barely had time to eat.
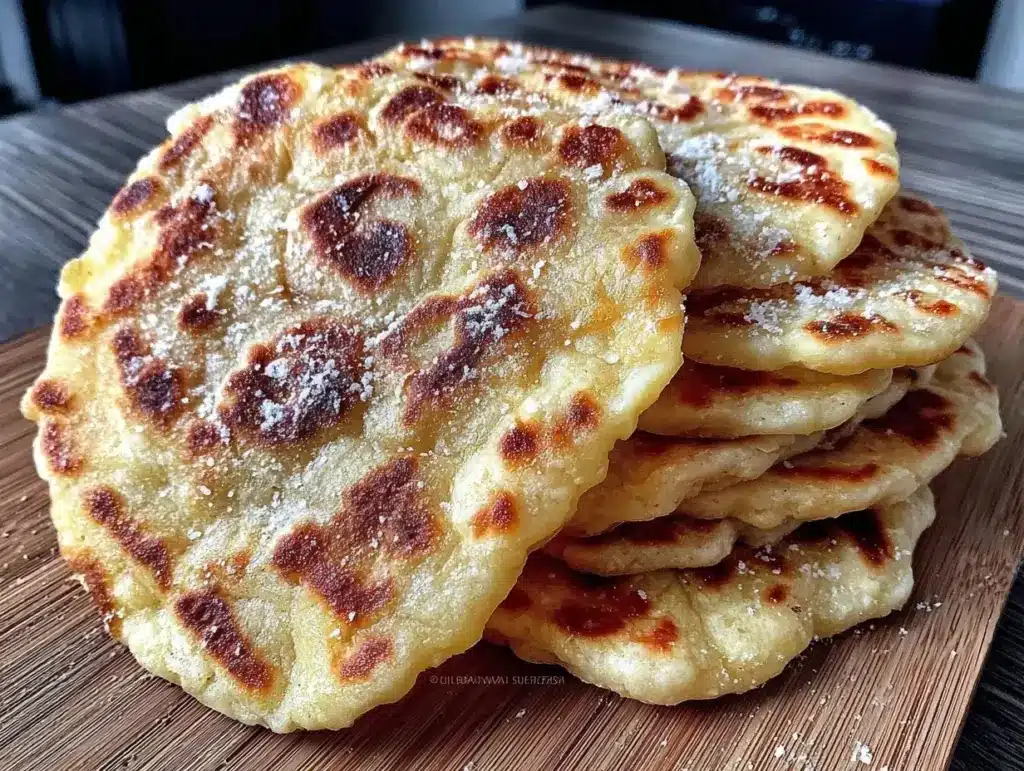
It might sound simple, but there’s something quietly satisfying about transforming a handful of humble ingredients into these round, golden disks that cradle salsa, beans, or just butter and salt. It’s not just about the tortillas themselves; it’s the ceremony, the rhythm of pressing and cooking, the smell that fills the kitchen and makes the whole day feel a bit cozier. This recipe stuck with me because it’s approachable, no fancy tools needed, just a bit of love and a couple of simple steps to get you there.
So, if you’re like me and sometimes crave a little kitchen magic without fuss, this is for you. Let’s make tortillas that feel homemade—not just in name but in every tender, warm bite.
Why You’ll Love This Recipe
Trust me, after making these easy homemade corn tortillas from scratch a handful of times, I can say they’re a game-changer. Here’s why I keep coming back to this recipe:
- Quick & Easy: The entire process takes about 30 minutes, perfect for busy weeknights or spontaneous taco nights when you want fresh tortillas without the wait.
- Simple Ingredients: Masa harina, water, and a pinch of salt—no need for complicated or hard-to-find items. I always keep Bob’s Red Mill masa harina on hand for consistent results.
- Perfect for Any Occasion: Whether it’s a casual family dinner, a taco party, or a cozy solo meal, these tortillas fit right in.
- Crowd-Pleaser: My friends can’t believe these are homemade when I serve them, and kids love how soft and pliable they are.
- Unbelievably Delicious: The toasted corn flavor is so authentic and comforting, it turns simple fillings into something special.
What sets this recipe apart? Instead of rushing the dough or overcomplicating the process, I focus on perfecting the dough’s hydration and the pressing technique. I also skip heavy oils or additives, keeping the tortillas light yet sturdy. The result? A tender but resilient tortilla that doesn’t tear when you fill it up. It’s the kind of recipe that makes you pause mid-bite and just savor the moment—comfort food, honest and straightforward.
Plus, once you’ve mastered these, pairing them with dishes like a slow-cooker carnitas or a fresh crunchy salad feels like a fiesta every time.
What Ingredients You Will Need
This recipe uses simple, wholesome ingredients to deliver bold flavor and a satisfying texture without fuss. You likely have most of these in your pantry or can easily pick them up at any grocery store.
- Masa Harina (2 cups / 240 g): The star of the show. This finely ground corn flour is specially treated to bring out that authentic corn flavor. I recommend Bob’s Red Mill or King Arthur brands for best texture.
- Warm Water (about 1 1/4 cups / 300 ml): The temperature matters here—too cold and the dough won’t come together, too hot and it can cook the masa prematurely. Lukewarm to warm water works perfectly.
- Salt (1/2 teaspoon): Just enough to enhance the natural corn sweetness without overpowering.
- Optional: A teaspoon of vegetable oil or melted butter: Adds a touch of richness and helps with pliability, but I often skip this for a truly traditional feel.
If you want to switch things up, you can swap masa harina for blue corn masa to give your tortillas a beautiful hue and a slightly nuttier flavor. For a gluten-free option, this recipe is naturally suitable since masa harina contains no wheat.
Equipment Needed
Honestly, making easy homemade corn tortillas from scratch doesn’t require fancy equipment, which is part of the charm.
- Tortilla Press: A game-changer for even, thin tortillas. I use a simple cast iron press, but plastic ones work fine too. If you don’t have one, a heavy skillet or rolling pin will do.
- Mixing Bowl: For combining masa harina and water comfortably.
- Non-stick Skillet or Cast Iron Pan: You want a flat, heavy-bottomed pan that can get hot enough to toast the tortillas evenly without burning.
- Plastic Wrap or Parchment Paper: To line your tortilla press, preventing sticking and helping you shape the tortillas smoothly.
- Spatula or Tongs: For flipping the tortillas without messing up their shape.
I once tried using wax paper instead of plastic wrap, but it was too slippery to handle. Also, don’t forget to keep your skillet well-seasoned if it’s cast iron. A well-maintained pan is key to getting that perfect, lightly charred tortilla surface.
Preparation Method
- Combine Masa Harina and Salt: In your mixing bowl, stir together 2 cups (240 g) of masa harina and 1/2 teaspoon of salt until evenly distributed. This usually takes about 1-2 minutes.
- Add Warm Water Gradually: Pour approximately 1 1/4 cups (300 ml) of warm water slowly into the masa while mixing with your hand or a spoon. The dough should start to come together within 2-3 minutes. If it feels too dry or crumbly, add a tablespoon more water at a time.
- Knead the Dough: Use your hands to knead the dough for about 3-4 minutes until it feels soft but not sticky. It should hold together like playdough. If it’s sticky, sprinkle a little masa harina; if too dry, add water sparingly.
- Rest the Dough: Cover the dough with a damp cloth and let it rest for 20-30 minutes. This step hydrates the masa fully and makes the tortillas more pliable.
- Divide and Shape: Pinch off golf ball-sized pieces (about 1.5 ounces / 45 g each) from the dough and roll them into smooth balls. Cover them with plastic wrap to prevent drying.
- Press the Tortillas: Line your tortilla press with plastic wrap or parchment paper. Place a dough ball in the center and press down firmly to flatten it into a thin, round tortilla about 6 inches (15 cm) in diameter.
- Cook on Hot Skillet: Heat your skillet over medium-high heat until hot (about 2-3 minutes). Place the tortilla on the skillet and cook for about 30-45 seconds until the edges lift slightly and brown spots appear. Flip and cook the other side for another 30 seconds. Flip once more briefly—this third flip puffs the tortilla slightly, ensuring it’s cooked through and soft.
- Keep Warm: Stack cooked tortillas in a clean kitchen towel to keep warm and moist while you finish the batch. Serve immediately or store for later.
Pro tip: If your tortillas crack when folding, your dough may be too dry or pressed too thin. Add a bit more water next time and press just enough to flatten without tearing.
Cooking Tips & Techniques
Making tortillas by hand can feel intimidating at first, but a few tricks help get it right every time.
- Water Temperature Is Key: Lukewarm water helps the masa hydrate properly without cooking it prematurely. I learned the hard way that too-hot water leads to crumbly dough.
- Don’t Skip Resting: Resting the dough for at least 20 minutes makes a huge difference in flexibility and texture. You’ll notice the difference immediately when cooking.
- Pressing Technique: Use gentle but firm pressure on the tortilla press—too hard and the dough tears; too light and the tortilla won’t be thin enough. If using a rolling pin, roll from the center outward evenly.
- Pan Heat Control: Medium-high heat works best. Too low and tortillas come out dry and pale; too hot and they burn before cooking through. Preheating the skillet well is essential.
- Stacking Warm Tortillas: Wrapping cooked tortillas in a towel keeps them soft and warm. I sometimes place the stack in a tortilla warmer or low oven if serving later.
- Practice Makes Perfect: I found my first few batches were uneven, but after a couple tries, the rhythm of shaping and cooking felt natural.
Variations & Adaptations
Once you’ve mastered the basic easy homemade corn tortillas from scratch, you can experiment with these fun twists:
- Blue Corn Tortillas: Swap regular masa harina with blue corn masa for a beautiful color and earthier flavor. Great for festive occasions or when you want something a bit different.
- Flavored Dough: Add a pinch of smoked paprika, cumin, or chili powder to the dough for a subtle spicy kick—perfect if you’re serving tacos with bold fillings like Thai basil chicken.
- Grain-Free Option: While traditional corn tortillas are naturally gluten-free, you can try mixing in a small amount of almond flour for extra tenderness, though this changes the flavor and texture slightly.
- Mini Tortillas: Make smaller tortillas (about 3 inches / 7.5 cm) for bite-sized snacks or taco hors d’oeuvres, perfect for parties.
- Freezer-Friendly: Stack tortillas separated by parchment and freeze for up to a month. Thaw at room temperature and warm in a skillet or microwave before serving.
One variation I tried recently involves brushing the cooked tortillas with a little garlic butter, giving them a savory boost that pairs beautifully with dishes like Carrabba’s Chicken Bryan for an unexpected twist.
Serving & Storage Suggestions
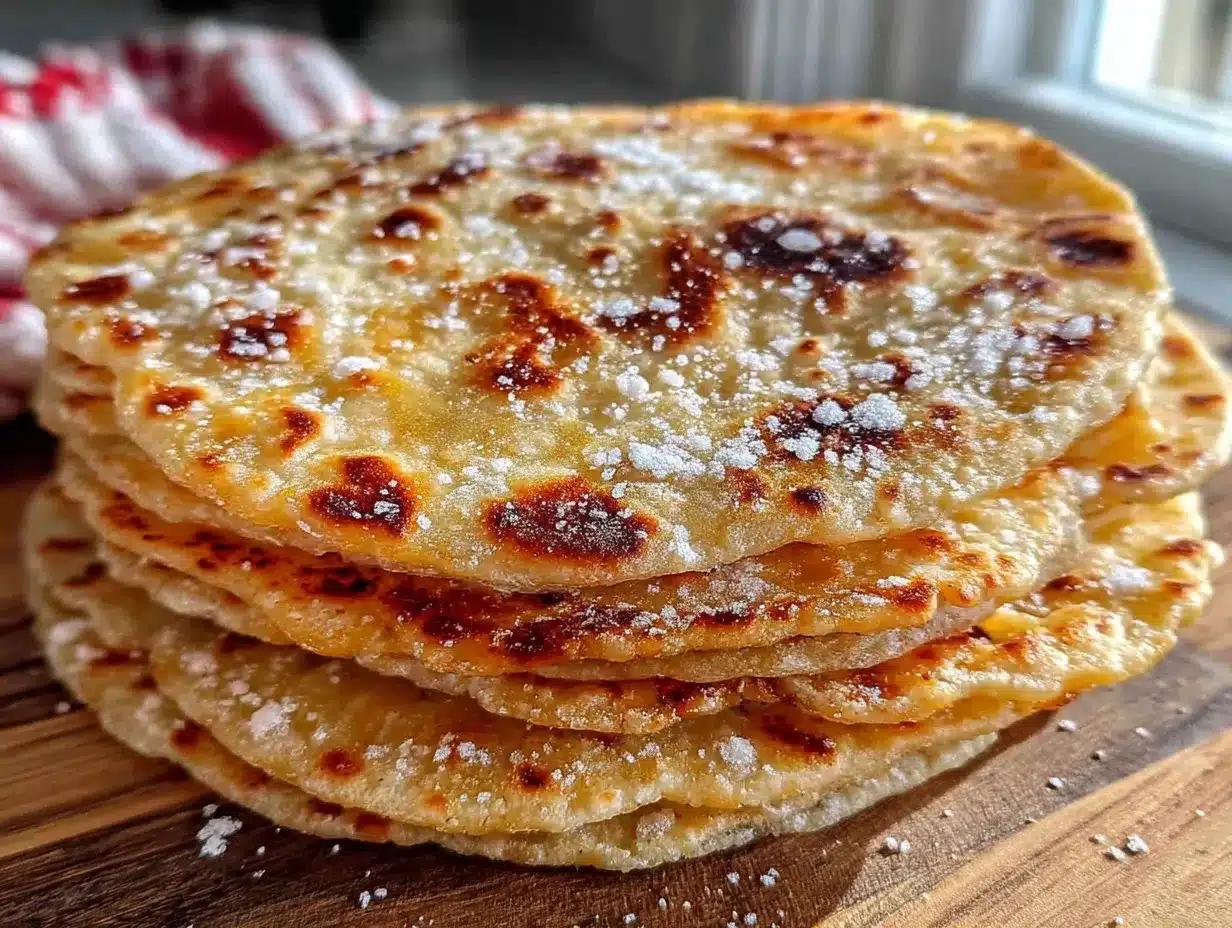
Serve your homemade corn tortillas warm, straight off the skillet, ideally wrapped in a towel to keep them soft. They’re perfect vessels for tacos, quesadillas, or even dipping into soups like a hearty chicken tortilla soup.
If you’re not eating them right away, stack the tortillas with parchment paper between each to prevent sticking, then wrap tightly in foil or plastic wrap. Store in the refrigerator for up to 3 days.
For longer storage, freeze the stacked tortillas in an airtight bag for up to a month. When ready to eat, thaw overnight in the fridge or at room temperature for about an hour.
To reheat, pop tortillas individually into a hot dry skillet for about 20 seconds per side or wrap in a damp paper towel and microwave for 30 seconds. They’ll soften up nicely and regain that fresh, pliable texture.
Over time, the flavors mellow and deepen, making these tortillas just as good the next day—perfect for batch-cooking and quick meals.
Nutritional Information & Benefits
Each tortilla (about 6-inch diameter) contains roughly:
| Calories | 60-70 |
|---|---|
| Carbohydrates | 13-15 g |
| Fiber | 2 g |
| Protein | 1-2 g |
| Fat | 0.5 g (optional oil adds more) |
These corn tortillas are naturally gluten-free and made from whole grain corn, offering a decent source of fiber and essential minerals like magnesium and phosphorus.
Compared to store-bought tortillas loaded with preservatives and added fats, homemade versions give you control over ingredients and freshness. They fit nicely into balanced diets, including vegetarian and vegan lifestyles.
From a personal wellness perspective, I love making these as a base for meals that feel nourishing yet light, avoiding processed carbs while still satisfying taco cravings.
Conclusion
Making easy homemade corn tortillas from scratch is one of those small kitchen wins that feels bigger than it is. With just a few simple ingredients and a little practice, you get warm, soft tortillas that taste miles better than anything store-bought.
Feel free to adjust water amounts, press thickness, or even add spices to make this recipe your own. Honestly, every batch I make ends up a little different, and that’s part of the joy.
For me, it’s not just about the tortillas—it’s about slowing down, getting my hands in the dough, and savoring that comforting aroma filling the kitchen. If you give this a try, I’d love to hear how your tortillas turned out or what fillings you paired them with—drop a comment and share your experience!
Here’s to many cozy meals and homemade moments.
Frequently Asked Questions
What is the difference between masa harina and regular cornmeal?
Masa harina is treated with lime (calcium hydroxide), which changes the corn’s flavor and texture, making it suitable for tortillas. Regular cornmeal is just ground dried corn and won’t bind properly for tortillas.
Can I make this recipe without a tortilla press?
Absolutely! Use a rolling pin or gently press the dough ball between two pieces of parchment paper or plastic wrap. It might take a bit more effort but works just fine.
How do I know when the tortilla is cooked?
Watch for small brown spots and slight puffing. Each side usually takes about 30-45 seconds to cook on medium-high heat.
Can I freeze homemade corn tortillas?
Yes, stack them with parchment paper in between and freeze in an airtight bag for up to a month. Thaw before reheating.
Why do my tortillas crack when I fold them?
Cracking usually means the dough is too dry or the tortillas are pressed too thin. Try adding a bit more water next time and don’t over-press.
Pin This Recipe!
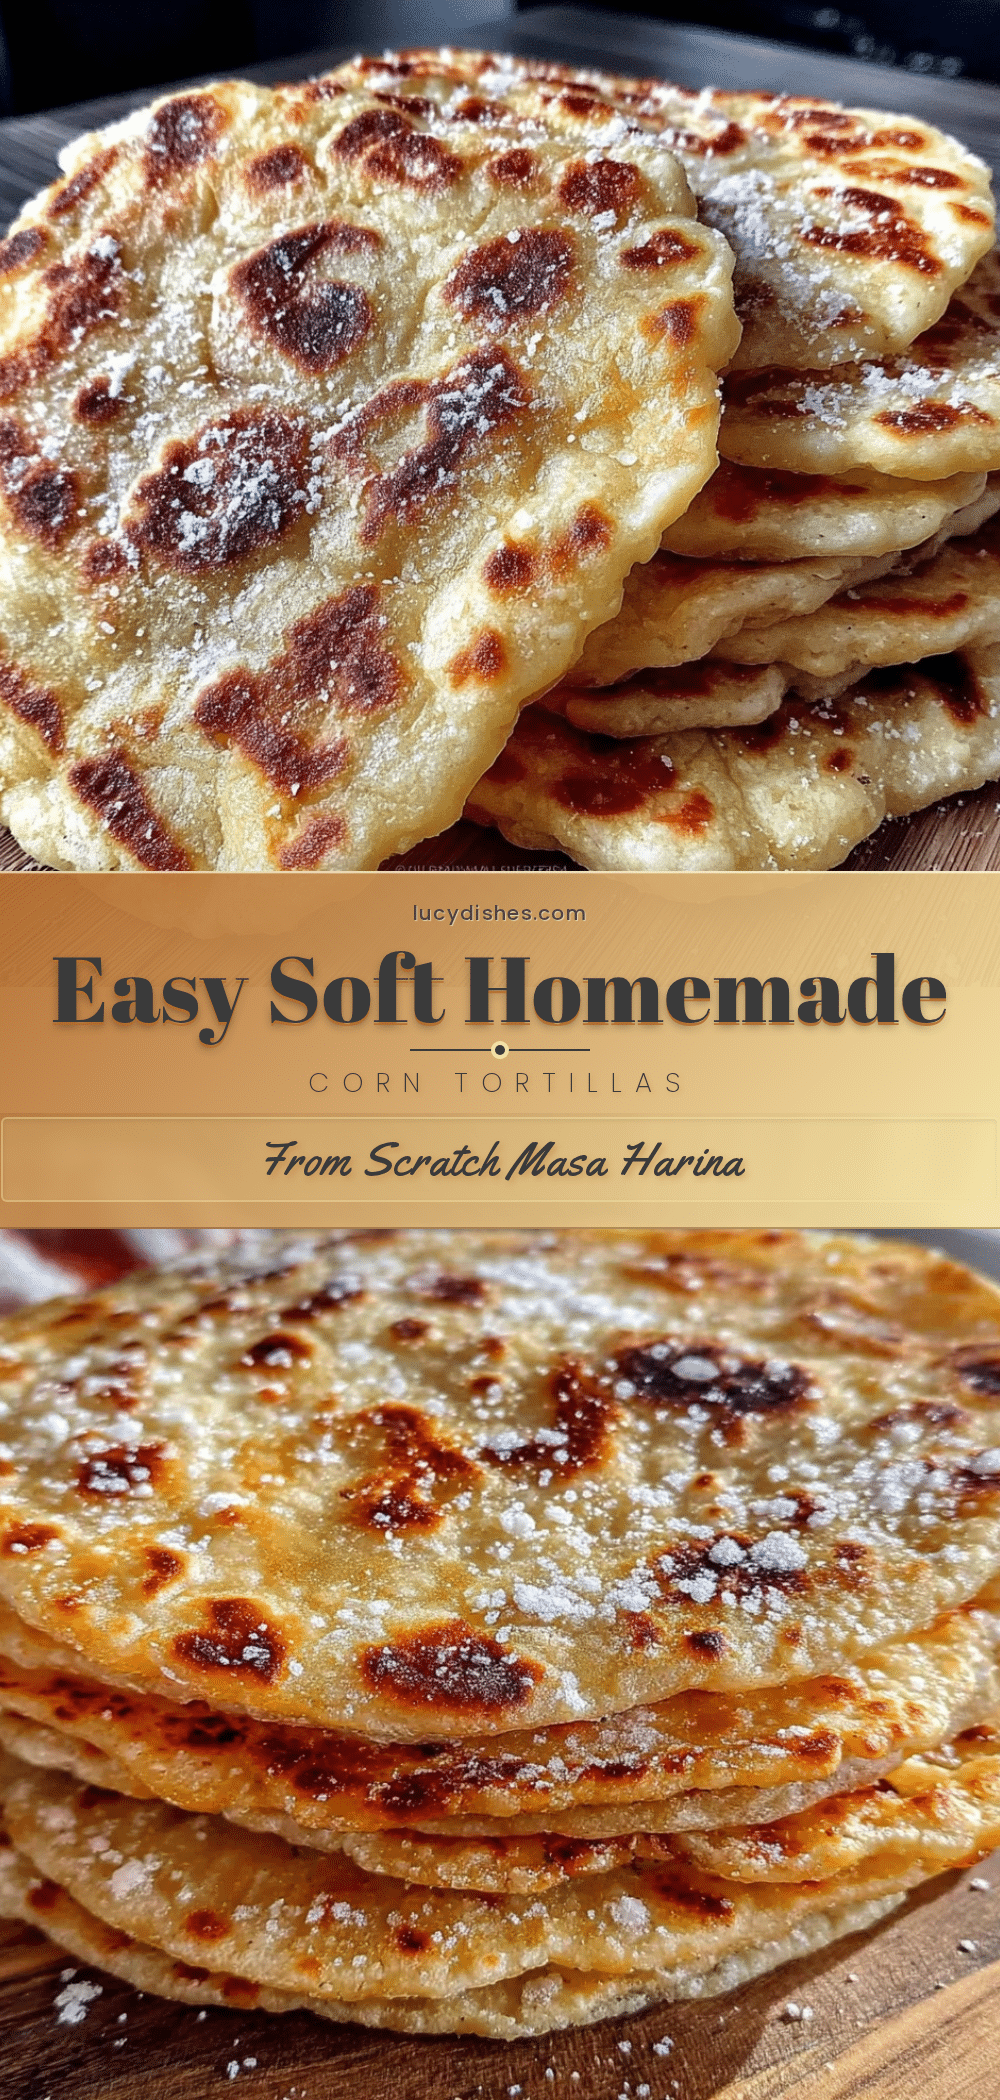
Easy Homemade Corn Tortillas from Scratch
A simple and authentic recipe for making soft, flexible corn tortillas from scratch using masa harina, water, and salt. Perfect for tacos, quesadillas, and more.
- Prep Time: 10 minutes
- Cook Time: 20 minutes
- Total Time: 30 minutes
- Yield: 12 tortillas 1x
- Category: Main Course
- Cuisine: Mexican
Ingredients
- 2 cups (240 g) masa harina
- 1 1/4 cups (300 ml) warm water
- 1/2 teaspoon salt
- Optional: 1 teaspoon vegetable oil or melted butter
Instructions
- Combine 2 cups (240 g) masa harina and 1/2 teaspoon salt in a mixing bowl until evenly distributed.
- Gradually add about 1 1/4 cups (300 ml) warm water to the masa while mixing with your hand or spoon until dough starts to come together (2-3 minutes). Add more water by tablespoon if too dry.
- Knead the dough by hand for 3-4 minutes until soft but not sticky. Adjust with masa harina or water as needed.
- Cover the dough with a damp cloth and let rest for 20-30 minutes to hydrate.
- Divide dough into golf ball-sized pieces (about 1.5 ounces / 45 g each) and roll into smooth balls. Cover with plastic wrap to prevent drying.
- Line a tortilla press with plastic wrap or parchment paper. Place a dough ball in the center and press firmly to flatten into a 6-inch (15 cm) tortilla.
- Heat a non-stick skillet or cast iron pan over medium-high heat until hot (2-3 minutes). Cook tortilla for 30-45 seconds until edges lift and brown spots appear. Flip and cook the other side for 30 seconds. Flip once more briefly to puff the tortilla.
- Stack cooked tortillas in a clean kitchen towel to keep warm and moist. Serve immediately or store for later.
Notes
Use lukewarm water to hydrate the masa properly without cooking it prematurely. Resting the dough for 20-30 minutes improves pliability. If tortillas crack, add more water next time and avoid pressing too thin. Keep skillet well-seasoned if using cast iron for best results.
Nutrition
- Serving Size: 1 tortilla (6-inch d
- Calories: 65
- Sodium: 120
- Fat: 0.5
- Carbohydrates: 14
- Fiber: 2
- Protein: 1.5
Keywords: corn tortillas, homemade tortillas, masa harina, gluten-free tortillas, easy tortillas, Mexican recipe, tortilla press


