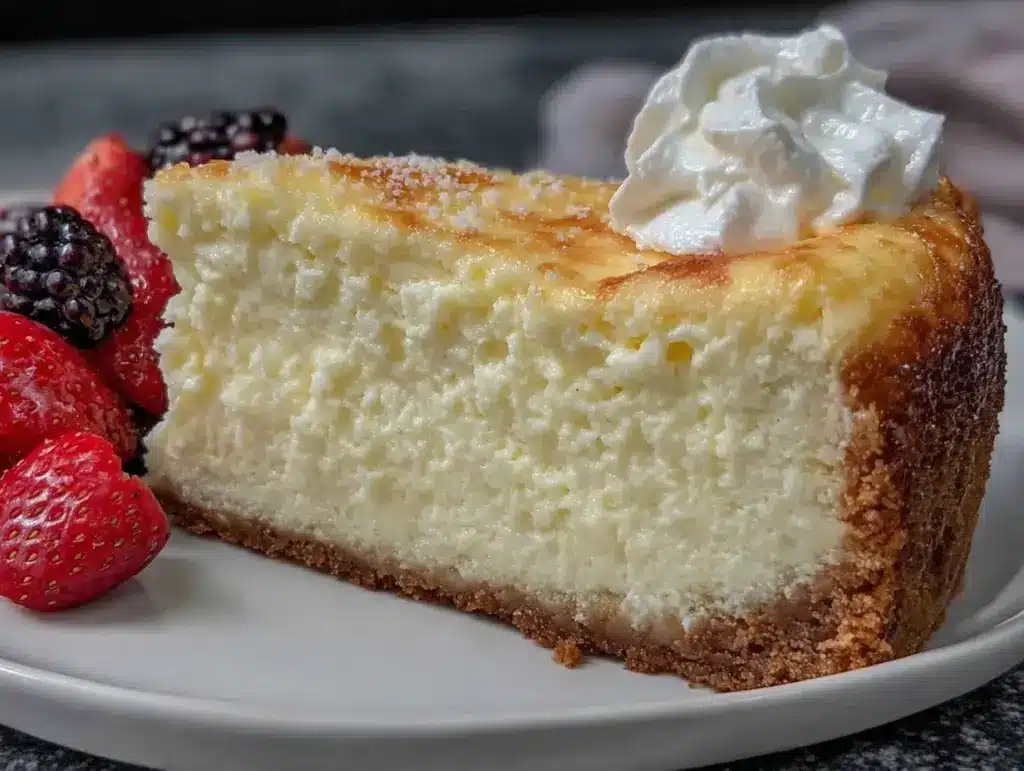
Let me tell you, when that signature scent of vanilla and cream cheese starts wafting from my pressure cooker, it’s almost impossible not to sneak a peek before the timer goes off. The rich, tangy aroma fills my kitchen, wrapping every corner in what feels like pure, nostalgic comfort. The first time I made this Ultra Creamy Pressure Cooker New York Cheesecake, I was instantly hooked—even before the first bite. There’s just something magical about seeing that tall, golden crown of cheesecake set perfectly, knowing you didn’t have to fuss with a water bath or worry about cracking.
Honestly, this recipe takes me right back to the days when I was knee-high to a grasshopper, standing on a wobbly chair in my grandma’s kitchen, watching her fuss over the oven for hours. She used to say that cheesecake was “an act of patience and love”—and she wasn’t wrong. But let’s face it, modern life doesn’t always leave us time for slow oven baking (and I wish I’d discovered the Instant Pot method years ago). I first stumbled upon this pressure cooker trick during a rainy weekend, determined to recreate that classic New York cheesecake without the drama. That was the kind of moment where you pause, take a deep breath, and just smile because you know you’re onto something truly special.
My family couldn’t stop sneaking slices off the cooling rack—my teenage son even tried to claim the last piece for “research purposes” (I can’t really blame him). This cheesecake has become a staple for family gatherings, birthday surprises, and those days when you need a sweet treat to brighten up your Pinterest dessert board. It’s dangerously easy, feels like a warm hug on a plate, and gets rave reviews every time. I’ve tested this recipe more times than I can count—purely in the name of research, of course. If you’re a cheesecake lover (or just need an impressive, easy dessert), you’re going to want to bookmark this one.
Why You’ll Love This Ultra Creamy Pressure Cooker New York Cheesecake
After countless batches and a few hilarious kitchen mishaps, I can confidently say this is my go-to cheesecake recipe. Here’s why you’ll love it just as much as I do:
- Quick & Easy: Ready in under 90 minutes—from prep to chill. Perfect for last-minute gatherings, weeknight cravings, or when you simply don’t want to wait for hours.
- Simple Ingredients: No fancy shopping trips needed. If you’ve got cream cheese, eggs, and sugar, you’re halfway there.
- Perfect for Any Occasion: This cheesecake shines at potlucks, cozy family dinners, birthdays, or holiday brunches. It’s a showstopper without the stress.
- Crowd-Pleaser: Adults and kids alike rave about the creamy texture and classic flavor. It’s one of those desserts that disappears faster than you’d expect.
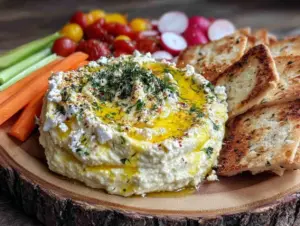
- Unbelievably Delicious: The combination of rich cream cheese, a touch of vanilla, and the buttery graham crust? Next-level comfort food. Each bite is silky, tangy, and just sweet enough.
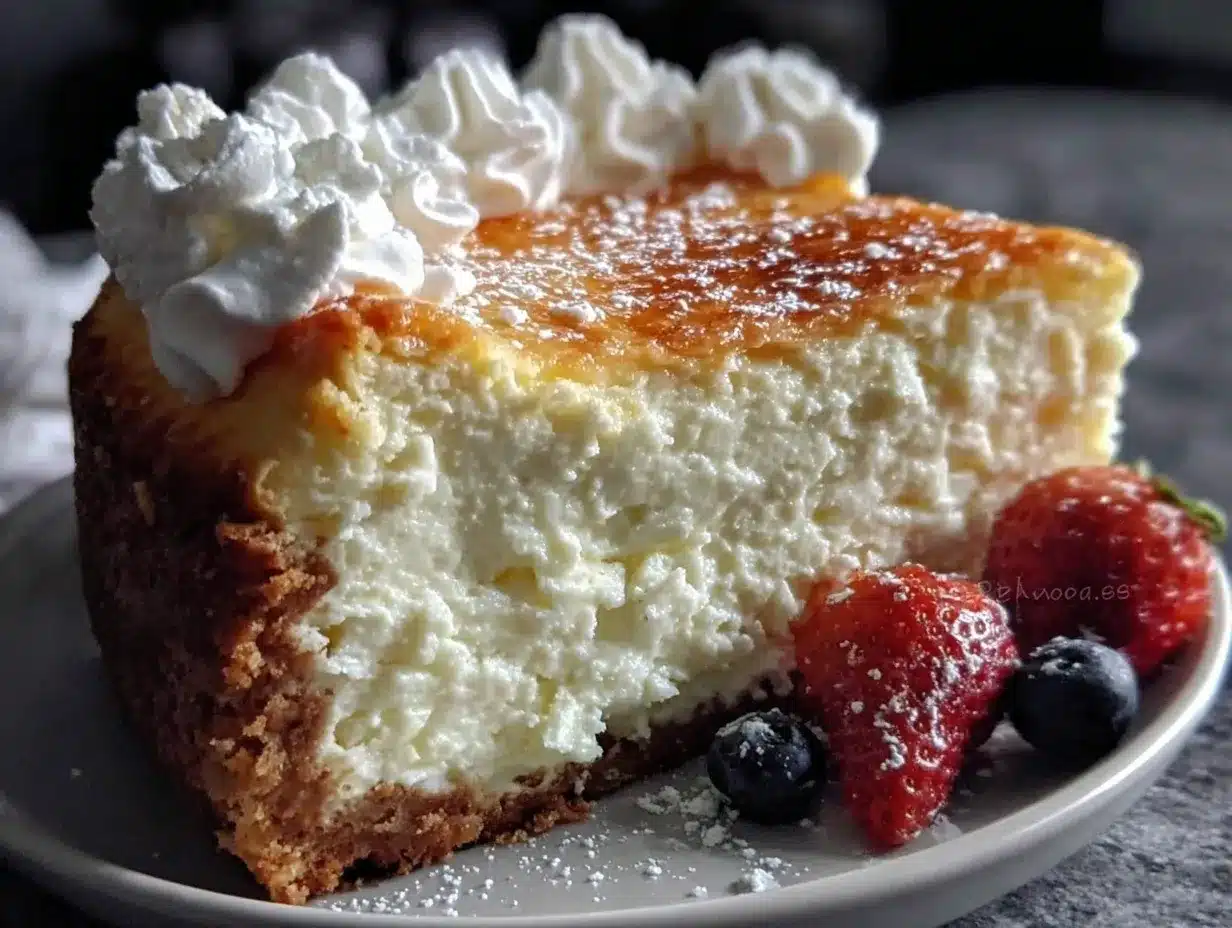
What sets this Ultra Creamy Pressure Cooker New York Cheesecake apart is the gentle, consistent heat of the Instant Pot. You get that classic New York texture—dense yet creamy, free of cracks, and oh-so-smooth. No oven drama, no water bath balancing act, just perfect results every time. My secret? A splash of sour cream and a bit of cornstarch, which keep the filling ultra silky without being heavy. This isn’t just another cheesecake—it’s the one you’ll crave on repeat.
For me, this cheesecake has become more than a dessert. It’s a little slice of joy that turns an ordinary day into something memorable. Whether you’re aiming to impress guests or simply want a treat that feels like home, this recipe delivers soul-soothing satisfaction every single time. Close your eyes after the first bite—you’ll see what I mean!
What Ingredients You Will Need
This Ultra Creamy Pressure Cooker New York Cheesecake calls for simple, honest ingredients that work together to create a dreamy, classic dessert. Most are pantry staples, and there’s plenty of room to play with swaps if needed. Here’s what you’ll need:
For the Graham Cracker Crust:
- 1 cup (100g) graham cracker crumbs (classic flavor, or swap in digestive biscuits)
- 2 tablespoons (25g) granulated sugar (adds a touch of sweetness)
- 4 tablespoons (60g) unsalted butter, melted (for a rich, crisp base)
- Pinch of salt (balances the sweetness and sharpens flavor)
For the Cheesecake Filling:
- 2 pounds (900g) cream cheese, full-fat, softened (I always use Philadelphia for the best texture)
- 1 cup (200g) granulated sugar (classic sweetness—don’t skimp!)
- 3 large eggs, room temperature (helps with smooth blending)
- 1 cup (240g) sour cream, room temperature (adds tang and silkiness)
- 2 teaspoons pure vanilla extract (for that unmistakable New York flavor)
- 2 tablespoons (16g) cornstarch (keeps the filling set and creamy)
- Pinch of salt (rounds out the flavors)
For the Optional Topping:
- 1/2 cup (120g) sour cream (for a classic tangy layer)
- 2 tablespoons (25g) sugar (just enough to sweeten)
- 1/2 teaspoon vanilla extract (optional, but I love the extra boost)
Ingredient Notes and Substitutions:
- Use gluten-free graham crackers for a gluten-free crust.
- Swap sour cream for Greek yogurt if you want a lighter twist.
- Dairy-free cream cheese and yogurt work, too—just expect a slightly different texture.
- For summer, fresh berry compote makes an excellent topping instead of the classic sour cream layer.
- If you’re out of cornstarch, arrowroot powder does the trick as well.
I usually stick with brand-name cream cheese for the best result, but if you’re pinching pennies, store brands can work in a pinch. Just make sure everything’s at room temperature before mixing—trust me, it makes all the difference.
Equipment Needed
You don’t need a fancy kitchen to make this Ultra Creamy Pressure Cooker New York Cheesecake. Here’s what I use every time:
- Instant Pot/Pressure Cooker (6 or 8 quart): Essential for the gentle, even cooking. I use the 6-quart since it fits my springform pan perfectly.
- 7-inch (18cm) Springform Pan: The classic cheesecake pan. If you only have a 6-inch, just fill to 3/4 full and adjust the cook time slightly.
- Mixing Bowls: One for the crust, one for the filling.
- Electric Mixer or Stand Mixer: For super smooth batter. You can use a hand whisk, but your arm might get tired!
- Measuring Cups & Spoons: Precision matters here.
- Silicone Spatula: For scraping every last bit of batter.
- Aluminum Foil: To cover the pan and prevent condensation.
- Trivet/Rack: Comes with most Instant Pots. Elevates the pan above the water.
If you don’t have a springform pan, a push-pan works well—just be careful during unmolding. I’ve used both, and sometimes cheaper pans need a little extra TLC. Make sure to wash your pan thoroughly between uses; leftover butter residue can affect crust crispness. For budget-friendly options, check online—there are loads of affordable springform pans that do the job just fine.
Preparation Method
- Prepare the Pan
Grease a 7-inch (18cm) springform pan with butter or nonstick spray. Line the bottom with parchment for easy release.
Tip: If you’re worried about leaks, wrap the outside of the pan in foil. - Make the Crust
In a bowl, combine 1 cup (100g) graham crumbs, 2 tablespoons (25g) sugar, 4 tablespoons (60g) melted butter, and a pinch of salt. Mix until it’s the texture of wet sand.
Press evenly into the bottom of the pan. Use the bottom of a glass to compact.
Chill in the freezer while you prep the filling (about 10 minutes). - Mix the Filling
In a large mixing bowl, beat 2 pounds (900g) cream cheese until smooth. Add 1 cup (200g) sugar and beat until fluffy (2 minutes).
Scrape down the bowl with a spatula.
Add 3 eggs, one at a time, mixing on low after each. Don’t overmix.
Blend in 1 cup (240g) sour cream, 2 teaspoons vanilla, 2 tablespoons (16g) cornstarch, and a pinch of salt. Mix just until smooth.
Tip: Batter should be creamy, with no lumps. - Pour & Smooth
Pour filling over the chilled crust. Tap pan gently on the counter to release bubbles.
Smooth the top with a spatula. - Prepare for Cooking
Cover the pan tightly with aluminum foil. This keeps condensation off the top.
Pour 1 cup (240ml) water into the Instant Pot. Place trivet/rack in the bottom.
Set pan on trivet. - Pressure Cook
Lock lid. Set to high pressure for 35 minutes.
Tip: If your pan is deeper, add 5 minutes. For a shallower pan, subtract 3 minutes. - Natural Release
When timer beeps, let pressure release naturally (about 15 minutes).
Remove pan carefully—it’s hot! - Cool & Set
Uncover and let cheesecake cool in the pan for 1 hour at room temperature.
Run a thin knife around the edge to loosen.
Refrigerate for at least 4 hours (overnight is best).
Tip: Don’t rush chilling—this is where the texture becomes ultra creamy. - Optional Topping
Stir together 1/2 cup (120g) sour cream, 2 tablespoons (25g) sugar, and 1/2 teaspoon vanilla.
Spread gently over chilled cheesecake and return to fridge for 30 minutes. - Slice & Serve
Remove from pan. Slice with a hot, clean knife for perfect edges.
Wipe knife between cuts for neat slices.
If your cheesecake has a slight jiggle in the center after cooking, that’s normal—it sets as it cools. If it looks loose or runny, return to the Instant Pot for 5 more minutes and repeat the cooling process. For a firmer crust, bake it at 350°F (175°C) for 5 minutes before filling, but honestly, I rarely bother—freezing does the trick.
Cooking Tips & Techniques
- Make sure all ingredients are at room temperature—cold cream cheese can cause lumps. I learned this the hard way (lumpy cheesecakes are no fun to eat).
- Don’t overmix after adding eggs. Overbeating can introduce air bubbles, which sometimes cause cracks or a grainy texture. Gentle mixing means a smoother, silkier cheesecake.
- Cover the pan tightly with foil. I once skipped this step and ended up with a soggy top—lesson learned!
- Always tap the pan before cooking to release trapped air. Those air pockets? They can create little holes in the finished cake.
- Naturally releasing the pressure is key. Quick release can make the cheesecake shrink or split, so patience is worth it.
- For multitasking, prep your crust while the cream cheese softens. I usually measure everything out ahead, so I’m not scrambling mid-recipe.
- If you want super clean slices (for those Pinterest photos), dip your knife in hot water and wipe clean between each cut.
Consistency comes from sticking with full-fat ingredients and letting the cheesecake cool fully before slicing. I’ve rushed the chill time before and regretted it—trust me, overnight is best. If you get a crack, don’t stress—cover it with fruit, whipped cream, or the optional sour cream topping. No one will know!
Variations & Adaptations
- Gluten-Free: Swap graham crackers for gluten-free cookies or almond flour. Works like a charm—my cousin (who’s gluten-sensitive) loves this version.
- Dairy-Free: Use plant-based cream cheese and coconut yogurt. The texture is a bit lighter, but still creamy and delicious.
- Seasonal Twists: Top with fresh berries in summer, spiced apple compote in fall, or cranberry-orange sauce at the holidays. You can also swirl in 1/4 cup fresh fruit puree before cooking for a marbled effect.
- Chocolate Lovers: Add 1/3 cup (60g) melted dark chocolate to the filling for a decadent twist. I tried this once for my husband’s birthday and it was a hit!
- Low-Carb: Use almond flour crust and your favorite sugar substitute. The filling stays creamy, just a touch less sweet.
For different methods, you can bake this cheesecake in the oven at 325°F (163°C) for about 55 minutes if you don’t have a pressure cooker. Just use a water bath and keep an eye on the edges. I often customize the topping based on what’s in season or who’s coming over—this recipe is made for experimenting!
Serving & Storage Suggestions
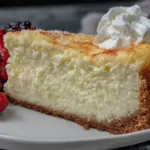
This Ultra Creamy Pressure Cooker New York Cheesecake is best served chilled, straight from the fridge. I like to slice it about 30 minutes before serving so it’s just cool but not icy cold—that’s when the flavors really shine. Garnish with fresh berries, a drizzle of caramel, or a dollop of whipped cream for extra flair.
Pair it with strong coffee, cold brew, or a glass of sparkling wine for a special treat. If you’re serving at a party, cut smaller slices—this cheesecake is rich and filling. For presentation, use a cake stand or a marble board (it always gets attention at potlucks and brunches).
To store, cover the cheesecake tightly with plastic wrap or place in an airtight container. It keeps well in the fridge for up to 5 days. For longer storage, freeze individual slices for up to 1 month; thaw overnight in the fridge. Reheat (if desired) by letting slices sit at room temperature, but never microwave—it changes the texture.
The flavors deepen and meld after a day or two, so leftovers are often even better. If you’re lucky enough to have any left, that is!
Nutritional Information & Benefits
Each slice (1/8 of the cheesecake) has approximately:
- Calories: 420
- Protein: 8g
- Carbs: 38g
- Fat: 28g
- Sugar: 28g
Key health benefits come from the protein and calcium in cream cheese and eggs. Using full-fat dairy means you get more satiety, and the addition of sour cream boosts probiotics. For gluten-free or low-carb options, subbing almond flour or sugar alternatives can reduce carbs significantly.
Potential allergens include dairy, eggs, and gluten (unless using gluten-free crust). As someone who watches sugar, I appreciate that this recipe can be adapted for lower-carb lifestyles. Enjoy in moderation—cheesecake isn’t diet food, but it’s a wonderful, soul-soothing treat.
Conclusion
If you’re searching for the ultimate Ultra Creamy Pressure Cooker New York Cheesecake, this recipe is absolutely worth trying. It’s easy, reliable, and delivers all the classic comfort without the kitchen drama. Customize the crust, tweak the filling, and make it your own—there’s room to play here.
I love this cheesecake for its simplicity, flavor, and the pure joy it brings to my family. It’s become our go-to for celebrations, cozy nights, and those “just because” dessert cravings. Give it a whirl, and let me know how you adapt it for your taste buds.
Drop your questions or variations in the comments, share your Insta-worthy cheesecake photos, and let’s keep the cheesecake conversation going. Happy baking, and remember—sometimes the simplest recipes are the ones that make the best memories!
FAQs
Can I use a different pan size in my Instant Pot?
Yes, you can use a 6-inch pan (fill 3/4 full and reduce cook time by 3-4 minutes) or an 8-inch pan (increase cook time by 5 minutes). Make sure your pan fits comfortably on the trivet inside your pressure cooker.
How do I prevent cracks in my cheesecake?
Don’t overmix the eggs, cover with foil, and let the pressure release naturally. Chilling overnight also helps set the texture and minimize cracks. If you get a crack, just cover it with topping or fruit—no one will notice.
Can I make this Ultra Creamy Pressure Cooker New York Cheesecake ahead of time?
Absolutely! It tastes even better after chilling for 24 hours. Make ahead and store tightly wrapped in the fridge until ready to serve.
Is it possible to freeze leftovers?
Yes! Slice the cheesecake, wrap each piece tightly, and freeze for up to a month. Thaw overnight in the refrigerator. The texture stays creamy and delicious.
Can I use low-fat ingredients for a lighter cheesecake?
You can, but the texture will be less creamy and more prone to cracks. Full-fat cream cheese and sour cream are best for that classic, ultra creamy result. If you need a lighter option, swap sour cream for Greek yogurt and use a sugar substitute.
Pin This Recipe!
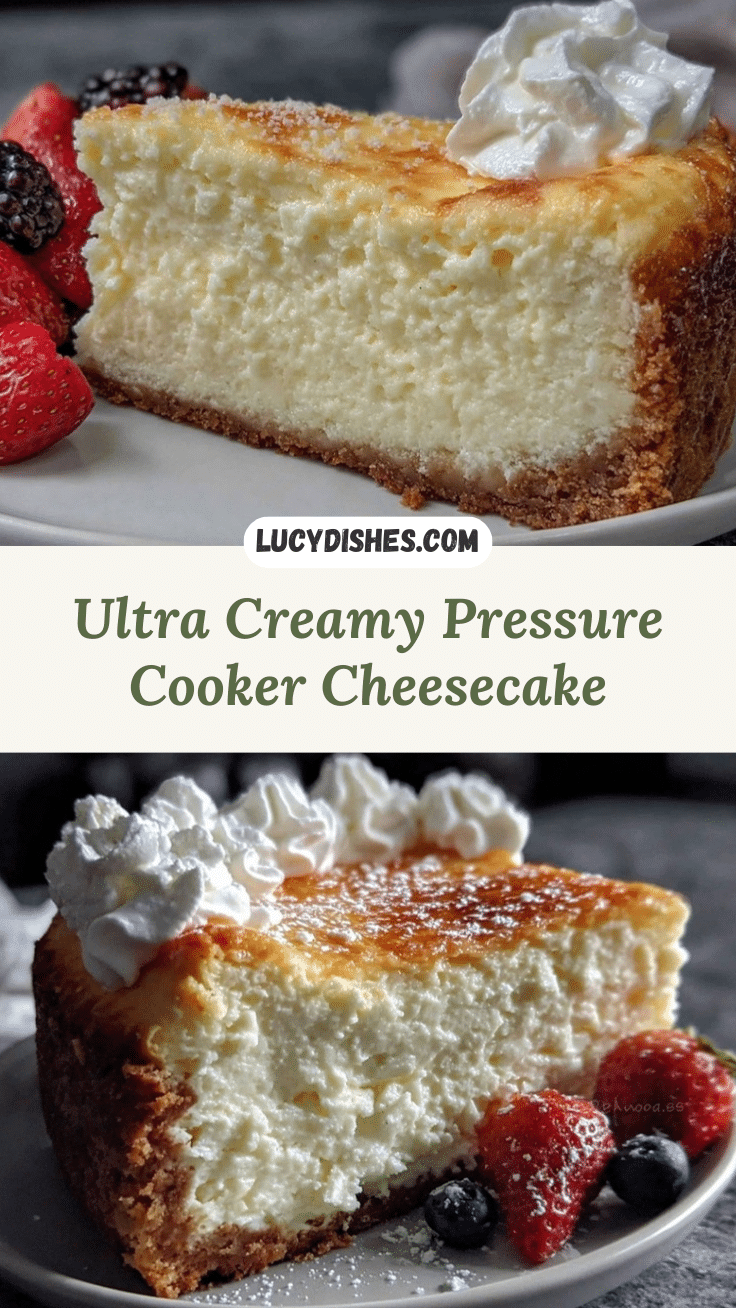
Ultra Creamy Pressure Cooker New York Cheesecake
This ultra creamy New York-style cheesecake is made effortlessly in the Instant Pot, delivering a dense yet silky texture without the fuss of a water bath or oven drama. It’s a crowd-pleasing dessert perfect for celebrations, family gatherings, or any time you crave classic comfort food.
- Prep Time: 20 minutes
- Cook Time: 35 minutes
- Total Time: 5 hours 10 minutes
- Yield: 8 servings 1x
- Category: Dessert
- Cuisine: American
Ingredients
- 1 cup graham cracker crumbs
- 2 tablespoons granulated sugar
- 4 tablespoons unsalted butter, melted
- Pinch of salt
- 2 pounds cream cheese, full-fat, softened
- 1 cup granulated sugar
- 3 large eggs, room temperature
- 1 cup sour cream, room temperature
- 2 teaspoons pure vanilla extract
- 2 tablespoons cornstarch
- Pinch of salt
- 1/2 cup sour cream (optional topping)
- 2 tablespoons sugar (optional topping)
- 1/2 teaspoon vanilla extract (optional topping)
Instructions
- Grease a 7-inch springform pan with butter or nonstick spray. Line the bottom with parchment paper.
- Combine graham cracker crumbs, sugar, melted butter, and a pinch of salt in a bowl. Mix until the texture resembles wet sand.
- Press the mixture evenly into the bottom of the pan. Chill in the freezer for about 10 minutes.
- In a large mixing bowl, beat cream cheese until smooth. Add sugar and beat until fluffy, about 2 minutes.
- Scrape down the bowl. Add eggs one at a time, mixing on low after each addition. Do not overmix.
- Blend in sour cream, vanilla extract, cornstarch, and a pinch of salt. Mix just until smooth.
- Pour the filling over the chilled crust. Tap the pan gently to release air bubbles and smooth the top.
- Cover the pan tightly with aluminum foil.
- Pour 1 cup water into the Instant Pot. Place the trivet/rack in the bottom and set the pan on top.
- Lock the lid and set to high pressure for 35 minutes.
- Allow the pressure to release naturally for about 15 minutes. Carefully remove the pan.
- Uncover and let the cheesecake cool in the pan for 1 hour at room temperature. Run a thin knife around the edge to loosen.
- Refrigerate for at least 4 hours, preferably overnight.
- For the optional topping, stir together sour cream, sugar, and vanilla extract. Spread over the chilled cheesecake and refrigerate for 30 minutes.
- Remove from pan and slice with a hot, clean knife, wiping between cuts for neat slices.
Notes
For best results, use full-fat cream cheese and sour cream at room temperature. Do not overmix after adding eggs to avoid cracks. Chilling overnight yields the creamiest texture. For gluten-free, use gluten-free graham crackers. For a firmer crust, bake at 350°F for 5 minutes before filling. Customize toppings with fresh berries, fruit compote, or whipped cream.
Nutrition
- Serving Size: 1 slice (1/8 of chee
- Calories: 420
- Sugar: 28
- Sodium: 320
- Fat: 28
- Saturated Fat: 16
- Carbohydrates: 38
- Protein: 8
Keywords: cheesecake, instant pot, pressure cooker, New York cheesecake, creamy dessert, easy cheesecake, classic cheesecake, family dessert, holiday dessert