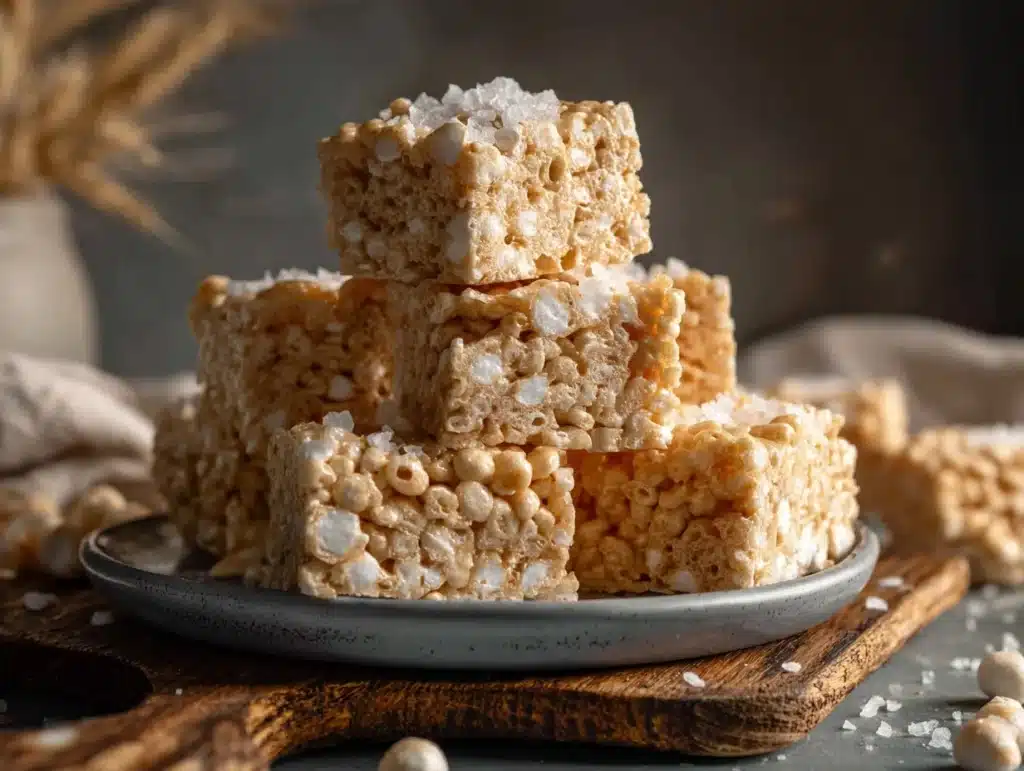
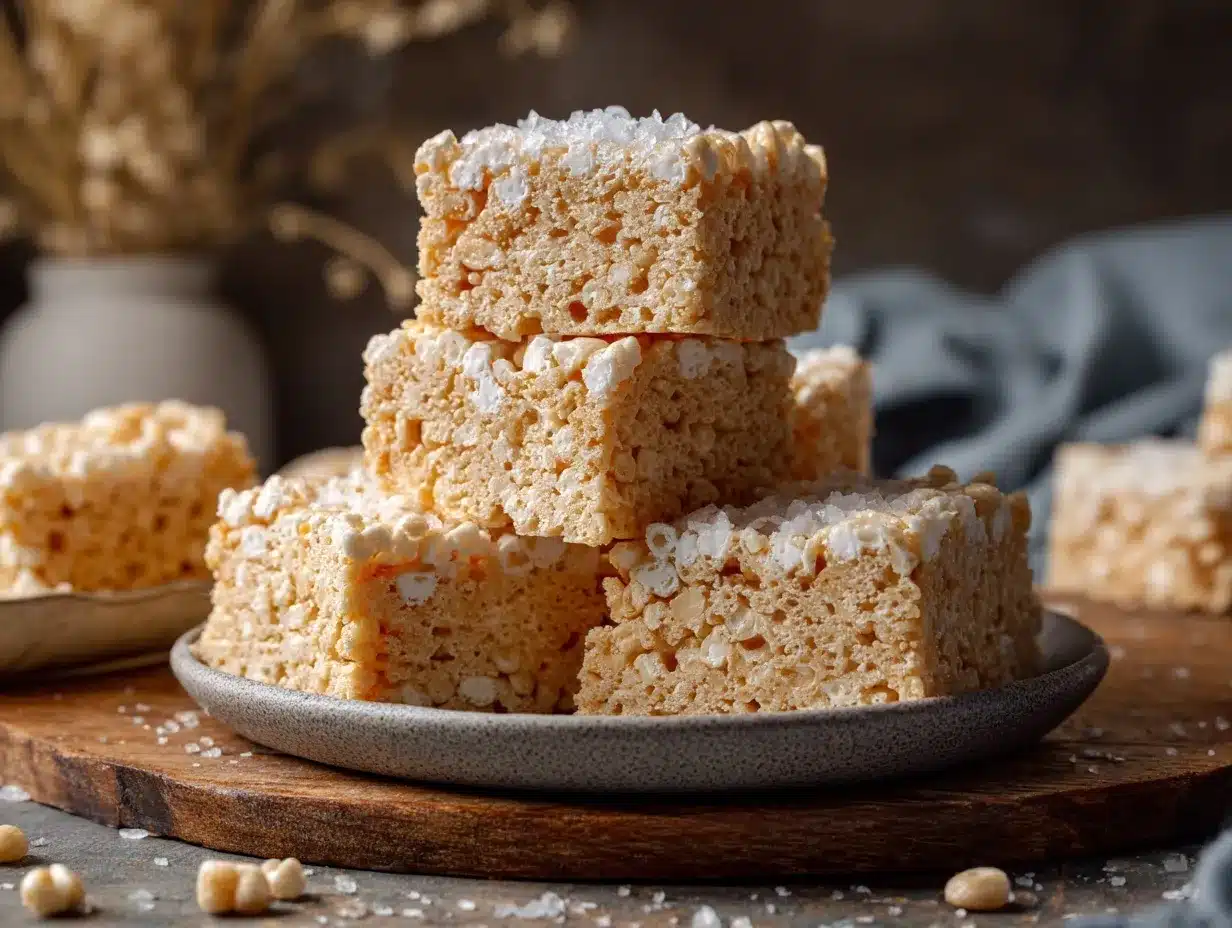
The nutty aroma of brown butter, the crackle of Rice Krispies, and the gooey stretch of melted marshmallows – these irresistible Rice Krispie Treats with Brown Butter are a game-changer. I remember the first time I tried this twist; it was like my childhood favorite had grown up with me, offering an elevated (but super easy) treat for every sweet tooth. This recipe is simple, decadent, and perfect for sharing with friends or indulging all on your own.
Whether you’re craving something nostalgic or looking to impress at your next get-together, brown butter takes this classic dessert to a whole new level. Trust me, once you try these, you’ll never go back to the original version. Let’s dive into the recipe that’s about to become your new go-to!
Why You’ll Love This Recipe
- Rich, Nutty Flavor: The brown butter adds depth and a slightly caramel-like nuttiness, making these treats anything but ordinary.
- Quick & Easy: This recipe comes together in under 20 minutes, perfect for last-minute dessert cravings or busy schedules.
- Minimal Ingredients: You only need five basic ingredients – things you probably already have on hand!
- Perfect for Any Occasion: These treats work for birthday parties, potlucks, or as a midnight snack.
- Crowd-Pleaser: Everyone, from kids to adults, will be reaching for seconds. You may want to make a double batch!
This recipe stands out because of the brown butter twist. It’s the secret ingredient that turns a simple dessert into something truly magical. The nutty undertones pair beautifully with the sweetness of the marshmallows, creating a well-balanced treat that’s not too sugary or overwhelming. Plus, if you’ve ever felt like traditional Rice Krispie Treats lacked texture or complexity, this version fixes that problem with one simple step. It’s the ultimate comfort food reimagined.
What Ingredients You Will Need
This recipe uses easy-to-find ingredients that might already be sitting in your pantry. Each one plays a key role in creating the perfect Rice Krispie Treats with Brown Butter.
- Unsalted Butter: 6 tablespoons (browning it adds a nutty, rich flavor).
- Mini Marshmallows: 10 ounces (use fresh marshmallows for maximum gooeyness).
- Vanilla Extract: 1 teaspoon (for a touch of warmth and depth).
- Salt: A generous pinch (balances the sweetness beautifully).
- Rice Krispies Cereal: 6 cups (for that signature crispy texture).
If you want to mix things up, feel free to add extras like chocolate chips, sprinkles, or crushed pretzels. For a gluten-free version, double-check that your cereal is certified gluten-free. And if you’re vegan, you can swap the butter for a plant-based option and use vegan marshmallows.
Equipment Needed
You don’t need fancy tools to make these treats – just the basics will do!
- Large Saucepan: Perfect for melting the butter and marshmallows.
- Wooden Spoon or Silicone Spatula: Helps mix everything together without sticking.
- 9×13-Inch Baking Dish: For shaping and cooling the treats.
- Parchment Paper: Makes cleanup a breeze and prevents sticking.
No parchment paper? No problem! You can lightly grease the dish with butter or cooking spray instead. If you don’t have a large saucepan, a deep skillet works just as well. I’ve even used a stockpot in a pinch – just make sure it’s big enough to hold all the cereal and marshmallow mixture.
Preparation Method
- Brown the Butter: In a large saucepan, melt the butter over medium heat. Once melted, keep cooking, stirring frequently, until the butter starts to foam and turns golden brown. You’ll smell a wonderful nutty aroma – that means it’s ready! Be careful not to burn it.
- Add the Marshmallows: Lower the heat to medium-low and add the marshmallows. Stir constantly until they’re completely melted and smooth. If you notice any lumps, keep stirring – they’ll melt down eventually.
- Mix in Vanilla and Salt: Remove the pan from heat and stir in the vanilla extract and salt. This step adds extra depth to the flavor.
- Add the Cereal: Working quickly, pour in the Rice Krispies cereal. Stir gently but thoroughly until the cereal is evenly coated with the marshmallow mixture.
- Transfer to the Baking Dish: Pour the mixture into your prepared 9×13-inch dish. Use a spatula or your hands (lightly greased) to press it down evenly. Don’t pack it too tightly – you want them to stay light and chewy.
- Cool and Cut: Let the treats cool completely at room temperature for about 30 minutes. Once set, cut into squares or rectangles and enjoy!
If the mixture starts sticking to your hands or spatula, lightly grease them with butter or spray. And remember – work quickly with the marshmallow mixture before it sets!
Cooking Tips & Techniques
- Use Fresh Marshmallows: Stale marshmallows won’t melt properly, so make sure they’re soft and fresh.
- Don’t Skip the Browning: Browning the butter is the key to that rich, nutty flavor. Watch it closely to avoid burning.
- Prep Ahead: Measure out your ingredients before starting. Once the marshmallows melt, you’ll need to work quickly!
- Light Pressure: Don’t press the mixture too firmly into the pan – overpacking can make the treats too dense.
- Optional Add-Ins: Fold in extras like mini chocolate chips or chopped nuts at the end for added texture.
One of my favorite tricks? Use a silicone spatula for mixing – it’s less likely to stick than a wooden spoon. And if you’re making these for a crowd, consider cutting them into smaller bite-sized pieces for easier serving.
Variations & Adaptations
This recipe is incredibly versatile. Here are a few ideas to customize it:
- Chocolate Lovers: Add 1/2 cup of mini chocolate chips while mixing in the cereal for a chocolaty twist.
- Seasonal Fun: Stir in holiday-themed sprinkles or candies for festive Rice Krispie Treats.
- Gluten-Free Version: Use a certified gluten-free cereal to make these safe for everyone.
- Peanut Butter Swirl: Mix in 1/4 cup of creamy peanut butter with the melted marshmallows for a nutty kick.
- Vegan Option: Swap the butter for plant-based margarine and use vegan marshmallows.
I once added crushed pretzels for extra crunch, and it was a hit! Feel free to experiment based on your preferences or what you have on hand.
Serving & Storage Suggestions
Rice Krispie Treats with Brown Butter are best enjoyed at room temperature, but here’s how to make the most of them:
- Serving: Serve them as-is or drizzle with melted chocolate for added flair. Pair with a glass of milk or a cup of coffee.
- Storage: Store leftovers in an airtight container at room temperature for up to 3 days. Avoid refrigeration as it can make them hard.
- Freezing: Wrap individual treats in plastic wrap, then place them in a freezer-safe bag for up to 2 months. Thaw at room temperature before serving.
- Reheating: If they feel too firm, pop them in the microwave for 5-10 seconds to soften slightly.
The flavors actually deepen after a day, so if you can resist eating them all immediately, they’re even better the next day!
Nutritional Information & Benefits
Per serving (1 square):
- Calories: Approximately 120
- Fat: 4g
- Carbohydrates: 20g
- Protein: 1g
Brown butter adds a dose of healthy fats and antioxidants, while the Rice Krispies provide a satisfying crunch without overwhelming the calorie count. For those watching sugar intake, you could experiment with sugar-free marshmallows.
Conclusion
These irresistible Rice Krispie Treats with Brown Butter are everything you love about the classic dessert, but with a grown-up, gourmet twist. They’re easy to make, endlessly customizable, and guaranteed to impress anyone lucky enough to snag a piece. Whether you’re whipping them up for a party, indulging in a solo treat, or making memories with your kids, this recipe is worth every bite.
If you try these, I’d love to hear your thoughts! Leave a comment below or tag me on social media to show off your creations. Trust me – once you make these, they’ll become a permanent part of your dessert rotation. Happy baking!
FAQs
Can I use regular marshmallows instead of mini marshmallows?
Yes, regular marshmallows will work just fine. They may take a bit longer to melt, so be patient and stir constantly.
Why does my butter burn when browning?
Browning butter requires close attention. Keep the heat at medium and stir frequently. Once it starts smelling nutty and turns golden, remove it from heat immediately.
Can I make these ahead of time?
Absolutely! These treats stay fresh for up to 3 days in an airtight container, making them perfect for prepping in advance.
How do I prevent the mixture from sticking?
Using a non-stick pan and greasing your spatula or hands can help. Parchment paper in the baking dish is also a lifesaver!
Can I add other flavors to the recipe?
Yes! Try adding cinnamon, nutmeg, or even a splash of bourbon for a unique twist. The possibilities are endless!
Pin This Recipe!
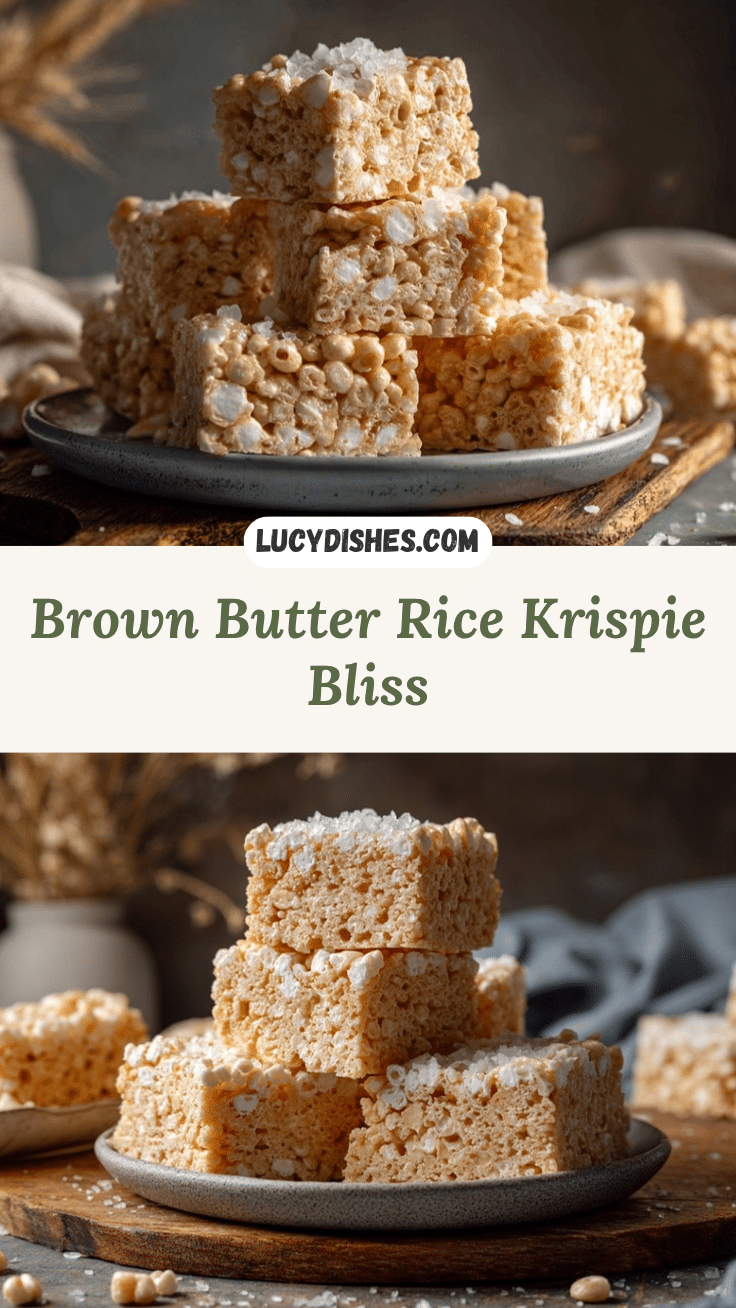
Irresistible Rice Krispie Treats Recipe with Brown Butter Secrets
These irresistible Rice Krispie Treats with Brown Butter are a game-changer, offering a grown-up twist on a childhood favorite with a nutty, caramel-like flavor.
- Prep Time: 5 minutes
- Cook Time: 15 minutes
- Total Time: 20 minutes
- Yield: 12 servings 1x
- Category: Dessert
- Cuisine: American
Ingredients
- 6 tablespoons unsalted butter
- 10 ounces mini marshmallows
- 1 teaspoon vanilla extract
- A generous pinch of salt
- 6 cups Rice Krispies cereal
Instructions
- In a large saucepan, melt the butter over medium heat. Once melted, keep cooking, stirring frequently, until the butter starts to foam and turns golden brown. Be careful not to burn it.
- Lower the heat to medium-low and add the marshmallows. Stir constantly until they’re completely melted and smooth.
- Remove the pan from heat and stir in the vanilla extract and salt.
- Pour in the Rice Krispies cereal and stir gently but thoroughly until the cereal is evenly coated with the marshmallow mixture.
- Pour the mixture into a prepared 9×13-inch baking dish. Use a spatula or your hands (lightly greased) to press it down evenly. Don’t pack it too tightly.
- Let the treats cool completely at room temperature for about 30 minutes. Once set, cut into squares or rectangles and enjoy.
Notes
[‘Use fresh marshmallows for maximum gooeyness.’, ‘Brown the butter carefully to avoid burning.’, ‘Measure out all ingredients before starting to work quickly with the marshmallow mixture.’, ‘Don’t press the mixture too firmly into the pan to keep the treats light and chewy.’, ‘Optional add-ins like mini chocolate chips or chopped nuts can be folded in for added texture.’]
Nutrition
- Serving Size: 1 square
- Calories: 120
- Fat: 4
- Carbohydrates: 20
- Protein: 1
Keywords: Rice Krispie Treats, Brown Butter, Marshmallows, Easy Dessert, No-Bake, Sweet Treats