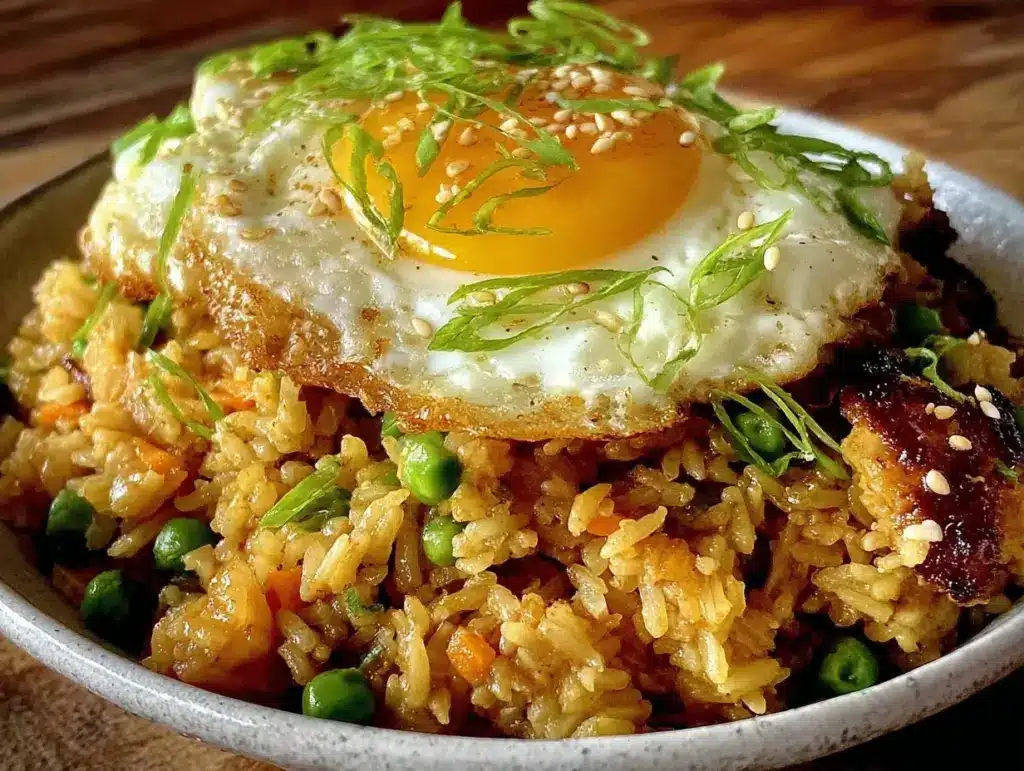
“You’re telling me the secret to crispy fried rice is just leftover rice?” I asked, raising an eyebrow as my friend scooped a generous helping from the pan. We were in her tiny apartment kitchen, and honestly, I was skeptical. I’d been burned by soggy, bland homemade fried rice attempts more times than I care to admit. But that afternoon, something about the sizzling sound, the faint caramelized aroma, and the golden edges of those grains made me pause.
She laughed, tossing in an egg and a splash of soy sauce with a casual flair. “Trust me, it’s better than takeout.” I figured it was just friendly boasting, but when I took my first bite, the crunch beneath the soft chew, the perfect seasoning, and that homey egg folded right in—well, you know that moment when you realize you’ve been missing out? Yeah, that.
Since then, I’ve been caught in a bit of an obsession phase, making this crispy better-than-takeout fried rice with egg at least twice a week. It’s become my go-to comfort food for late nights and those “what’s for dinner?” moments when the fridge looks bare. There’s something quietly satisfying about nailing the texture and flavor that usually only the best takeout spots get right. No fancy ingredients, no complicated steps—just a humble, crispy rice dish that feels like a little celebration on a plate.
And honestly? It’s stuck with me because it’s one of those dishes you don’t have to think twice about. It’s forgiving, quick, and somehow still feels like a treat. I’m pretty sure this recipe will find a spot in your kitchen rotation too.
Why You’ll Love This Recipe
After testing this crispy better-than-takeout fried rice with egg recipe more times than I can count, I can say with confidence that it’s a keeper for so many reasons:
- Quick & Easy: Ready in about 20 minutes, it’s perfect for busy weeknights or whenever you need a fast, satisfying meal.
- Simple Ingredients: Mostly pantry staples like day-old rice, eggs, soy sauce, and a few fresh veggies—no last-minute grocery runs needed.
- Perfect for Any Occasion: Whether it’s a solo dinner, a casual family meal, or even a potluck contribution, it fits right in.
- Crowd-Pleaser: Kids, adults, picky eaters—you name it, this fried rice gets thumbs up all around.
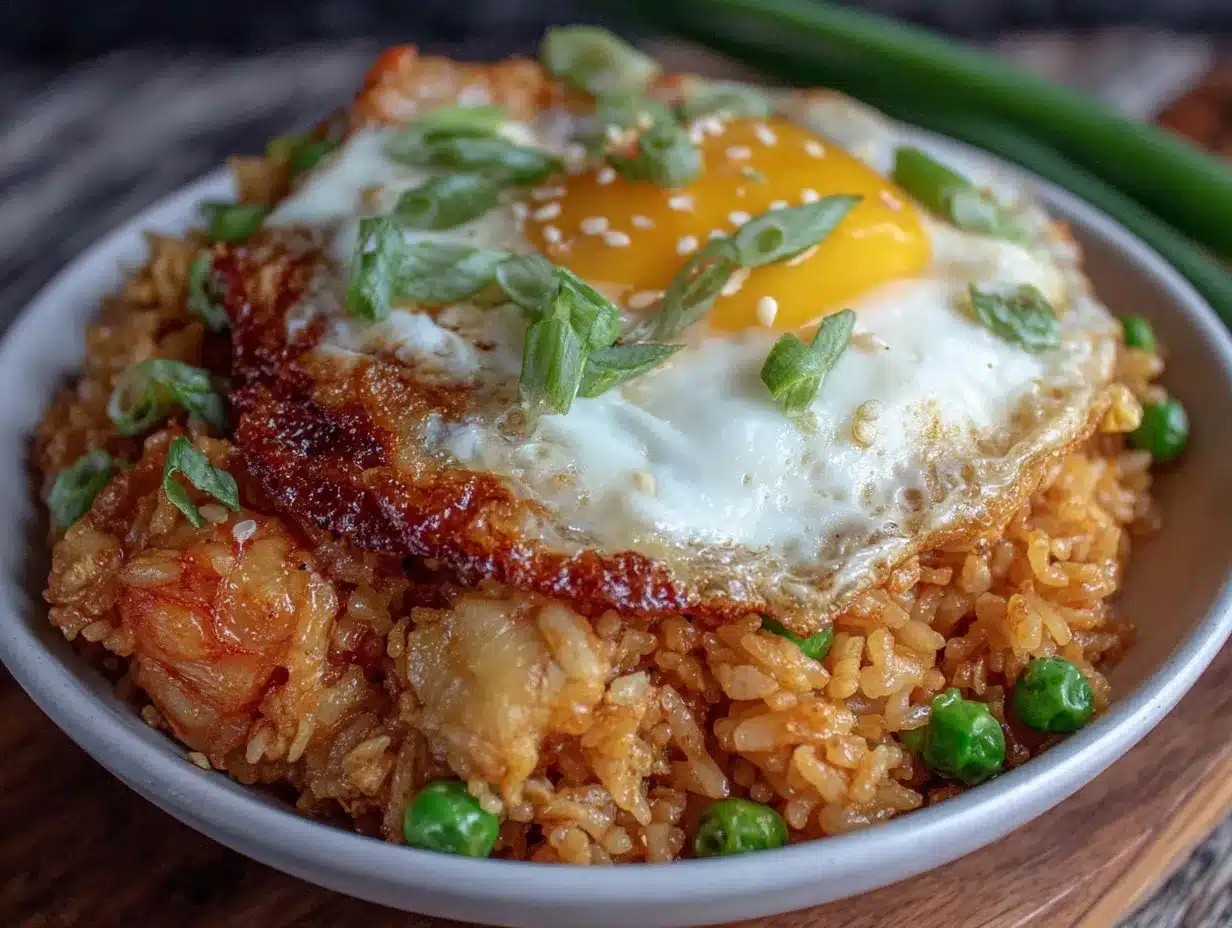
- Unbelievably Delicious: That crispy texture paired with the savory egg and umami-packed sauce makes it way better than your average takeout.
What really sets this recipe apart is the technique: using cold, day-old rice and cooking it in a hot pan until the edges crisp up just right. Plus, adding the egg directly to the pan creates those little pockets of richness that feel like a secret indulgence. It’s not just fried rice—it’s fried rice with personality.
Plus, it’s forgiving. I’ve tweaked the seasonings to perfection, so it’s balanced and flavorful without needing a laundry list of sauces or spices. It’s one of those recipes that makes you close your eyes after the first bite and just savor the moment.
What Ingredients You Will Need
This recipe uses simple, wholesome ingredients to deliver bold flavor and satisfying texture without fuss. Most are pantry staples, which makes it easy to throw together on the fly. Here’s what you’ll need:
- Day-old cooked white rice: About 3 cups (450g) – Using rice that’s been refrigerated overnight is key for that perfect crispiness. Jasmine or long-grain rice works best.
- Eggs: 2 large, beaten – Adds richness and binds the rice together.
- Vegetable oil: 2 tablespoons – For frying. I prefer neutral oils like canola or grapeseed for a clean flavor.
- Soy sauce: 2 tablespoons – Use regular or low-sodium based on your preference. I often grab Kikkoman for consistent taste.
- Oyster sauce: 1 tablespoon (optional) – Adds depth and slight sweetness. Lee Kum Kee is my go-to brand.
- Garlic: 2 cloves, minced – For that aromatic punch.
- Green onions: 2 stalks, sliced thin – Adds freshness and color.
- Frozen peas and carrots: ½ cup (about 75g) – Convenient and adds texture plus a pop of sweetness.
- Sesame oil: 1 teaspoon – For finishing, giving a toasty, nutty note.
- Salt and black pepper: To taste – Balances the flavors.
If you want to swap the peas and carrots for fresh veggies, just saute finely chopped bell peppers, corn, or even shredded cabbage. For a gluten-free option, use tamari instead of soy sauce. And if you’re avoiding oyster sauce, a splash of hoisin or extra soy sauce works just fine.
Equipment Needed
For this crispy better-than-takeout fried rice with egg, you don’t need much:
- Wok or large non-stick skillet: A wok’s sloped sides are perfect for tossing ingredients quickly, but a heavy-bottomed skillet works great too.
- Spatula or wooden spoon: For stirring and scraping up those caramelized bits.
- Mixing bowl: To beat the eggs before adding them.
- Measuring spoons: For precise soy sauce and oil amounts.
If you don’t have a wok, a large cast iron pan can help get a nice sear. I’ve also used a stainless steel skillet with success, just make sure it’s hot enough before adding the rice. And a good-quality non-stick pan keeps cleanup easy.
Preparation Method
- Prepare your rice: If you haven’t got leftover rice, cook 1½ cups (270g) of uncooked rice according to package instructions, then spread it out on a tray to cool thoroughly, ideally refrigerating overnight. This helps dry out the grains for crisping later. (About 10 minutes active prep)
- Beat the eggs: In a small bowl, whisk 2 large eggs with a pinch of salt until smooth. Set aside.
- Heat your pan: Place your wok or skillet over medium-high heat and add 1 tablespoon of vegetable oil. Let it get hot but not smoking (you should feel the heat if you hover your hand above it). (1-2 minutes)
- Cook the eggs: Pour in the beaten eggs, tilting the pan to spread evenly. Let them set slightly for about 30 seconds, then scramble gently with your spatula until just cooked but still tender. Remove the eggs from the pan and set aside.
- Increase heat and add oil: Add the remaining 1 tablespoon of vegetable oil to the pan and crank the heat to high. This step is crucial for that crispy edge. (30 seconds to 1 minute)
- Sauté garlic and veggies: Toss in the minced garlic and cook until fragrant, about 15 seconds. Quickly add the frozen peas and carrots, stirring for another minute until heated through.
- Add the rice: Add cold, day-old rice to the pan, breaking up any clumps with your spatula. Spread it out evenly and let it sit undisturbed for about 2 minutes to crisp up on the bottom. (This is the magic step!) Then stir and repeat a couple of times more for even crispiness, about 5-7 minutes total.
- Season: Drizzle soy sauce and oyster sauce (if using) evenly over the rice. Stir to combine, making sure every grain is coated. Taste and adjust salt and pepper as needed.
- Add cooked eggs back: Return the scrambled eggs to the pan along with sliced green onions. Toss gently to mix and heat through for another minute.
- Finish with sesame oil: Remove from heat and drizzle sesame oil over the rice for that final layer of flavor. Give it one last gentle toss.
- Serve: Spoon onto plates while hot and enjoy immediately for the best texture.
Pro tip: If your rice sticks too much, it’s probably not dry enough or the pan isn’t hot enough. Patience with letting the rice sit undisturbed helps build that crispy crust.
Cooking Tips & Techniques
Getting that perfect crispy texture with fried rice is a bit like mastering a simple dance—timing and heat are everything. Here are some lessons I learned the hard way:
- Use day-old rice: Freshly cooked rice is too moist and clumps together, making it nearly impossible to get crispy. If you’re in a pinch, spread freshly cooked rice on a baking sheet and cool it in the fridge for at least an hour.
- High heat is key: Don’t be shy about turning the burner to high. It’s what creates the toasty, caramelized bits that make this fried rice stand out.
- Don’t overcrowd the pan: If you add too much rice at once, it steams rather than fries. Cook in batches if needed.
- Let the rice sit: After spreading the rice in the pan, leave it alone for a couple of minutes to develop that crust before stirring. This patience pays off.
- Cook eggs separately: Scrambling eggs first and removing them prevents overcooking and keeps them soft and flavorful.
- Season at the right time: Add soy and oyster sauces when the rice is hot and starting to crisp so they coat evenly without making the rice soggy.
I remember one time rushing the step where the rice should crisp and ending up with mushy fried rice. Since then, I’ve learned that slow and steady wins the crispy race. Also, multitasking helps—while the rice crisps, you can chop green onions or prep side dishes, like a fresh quinoa salad to bring some bright contrast.
Variations & Adaptations
This fried rice recipe is a versatile canvas for all kinds of flavors and dietary tweaks. Here are some of my favorite ways to mix it up:
- Protein boost: Add diced cooked chicken, shrimp, or tofu for a heartier meal. Just toss them in before the soy sauce step to heat through.
- Vegetarian version: Skip oyster sauce and use mushroom soy sauce or extra regular soy sauce. Load up on veggies like bell peppers, broccoli florets, or snap peas.
- Spicy twist: Stir in a teaspoon of chili garlic sauce or a dash of sriracha for some heat that wakes up the dish.
- Low-carb option: Swap rice for finely chopped cauliflower rice and adjust cooking time accordingly.
- Seasonal variations: In spring, fresh peas and asparagus tips brighten it up. During colder months, add roasted root veggies like carrots and parsnips.
I once tried adding kimchi and a drizzle of toasted sesame seeds for a Korean-inspired version that was a total hit with friends. For a side dish that’s equally comforting, pairing this fried rice with crispy Reuben sandwich makes for a fun and satisfying combo.
Serving & Storage Suggestions
Serving this crispy better-than-takeout fried rice with egg is all about enjoying it hot and fresh. The crispy texture softens as it cools, so it’s best eaten immediately.
For a simple presentation, garnish with extra sliced green onions or a sprinkle of toasted sesame seeds. It pairs beautifully with light sides like cucumber salad or steamed greens to balance the savory richness.
If you have leftovers, store them in an airtight container in the refrigerator for up to 3 days. To reheat, spread the rice out in a skillet over medium-high heat and let it crisp back up for a couple of minutes, stirring occasionally. You’ll get close to that fresh texture again.
Flavors tend to deepen overnight, so sometimes reheated fried rice tastes even better the next day. Just add a splash of soy sauce or a drizzle of sesame oil when reheating to freshen it up.
Nutritional Information & Benefits
This recipe is a balanced, comforting dish with some nutritional perks. Here’s a rough estimate per serving (about 1.5 cups):
| Calories | 350-400 kcal |
|---|---|
| Protein | 12-15g (from eggs and optional added protein) |
| Carbohydrates | 45-50g |
| Fat | 10-12g (mostly from vegetable and sesame oils) |
| Fiber | 2-3g (from peas and carrots) |
Using eggs provides a good source of high-quality protein and essential amino acids, while the veggies add fiber and vitamins. Choosing low-sodium soy sauce helps keep the salt content moderate. For gluten-free diets, tamari is an easy swap.
Fried rice might not scream “health food,” but this homemade version skips artificial additives and you control the oil and seasoning, making it a realistic, satisfying meal that fits into balanced eating.
Conclusion
This crispy better-than-takeout fried rice with egg has become my quiet kitchen favorite because it’s reliable, comforting, and honestly, just plain delicious. It’s a recipe that lets you feel like you’ve got your takeout cravings handled without leaving the house or breaking a sweat.
Whether you stick to the classic ingredients or try one of the variations, it’s easy to make the recipe your own. And hey, there’s no shame in repeating it often—sometimes the simplest dishes are the best companions for busy midweek dinners or solo late-night snacks.
I’d love to hear how you make this recipe yours or any twists that worked for you. Drop a comment or share your version—I’m always up for swapping cooking stories. Here’s to crispy rice and cozy kitchens!
FAQs About Crispy Better-Than-Takeout Fried Rice with Egg
Can I use freshly cooked rice for this fried rice recipe?
It’s best to use day-old cold rice because freshly cooked rice is too moist and tends to clump, making it difficult to get that crispy texture. If you only have fresh rice, spread it on a baking sheet and refrigerate for at least an hour to dry it out.
What’s the secret to getting the rice crispy?
High heat and letting the rice sit undisturbed in the pan for a couple of minutes help the grains develop a golden crust. Also, don’t overcrowd the pan to avoid steaming the rice.
Can I make this recipe vegan?
Yes! Skip the eggs or replace them with scrambled tofu or chickpea flour scramble. Use soy sauce or tamari and add plenty of veggies to keep it flavorful.
How do I store leftover fried rice?
Store leftovers in an airtight container in the fridge for up to 3 days. Reheat in a skillet over medium-high heat to regain some crispiness, adding a splash of soy sauce or sesame oil if needed.
Is oyster sauce necessary?
Oyster sauce adds a nice depth and subtle sweetness but is optional. You can substitute with hoisin sauce, mushroom soy sauce, or simply use more soy sauce.
Pin This Recipe!
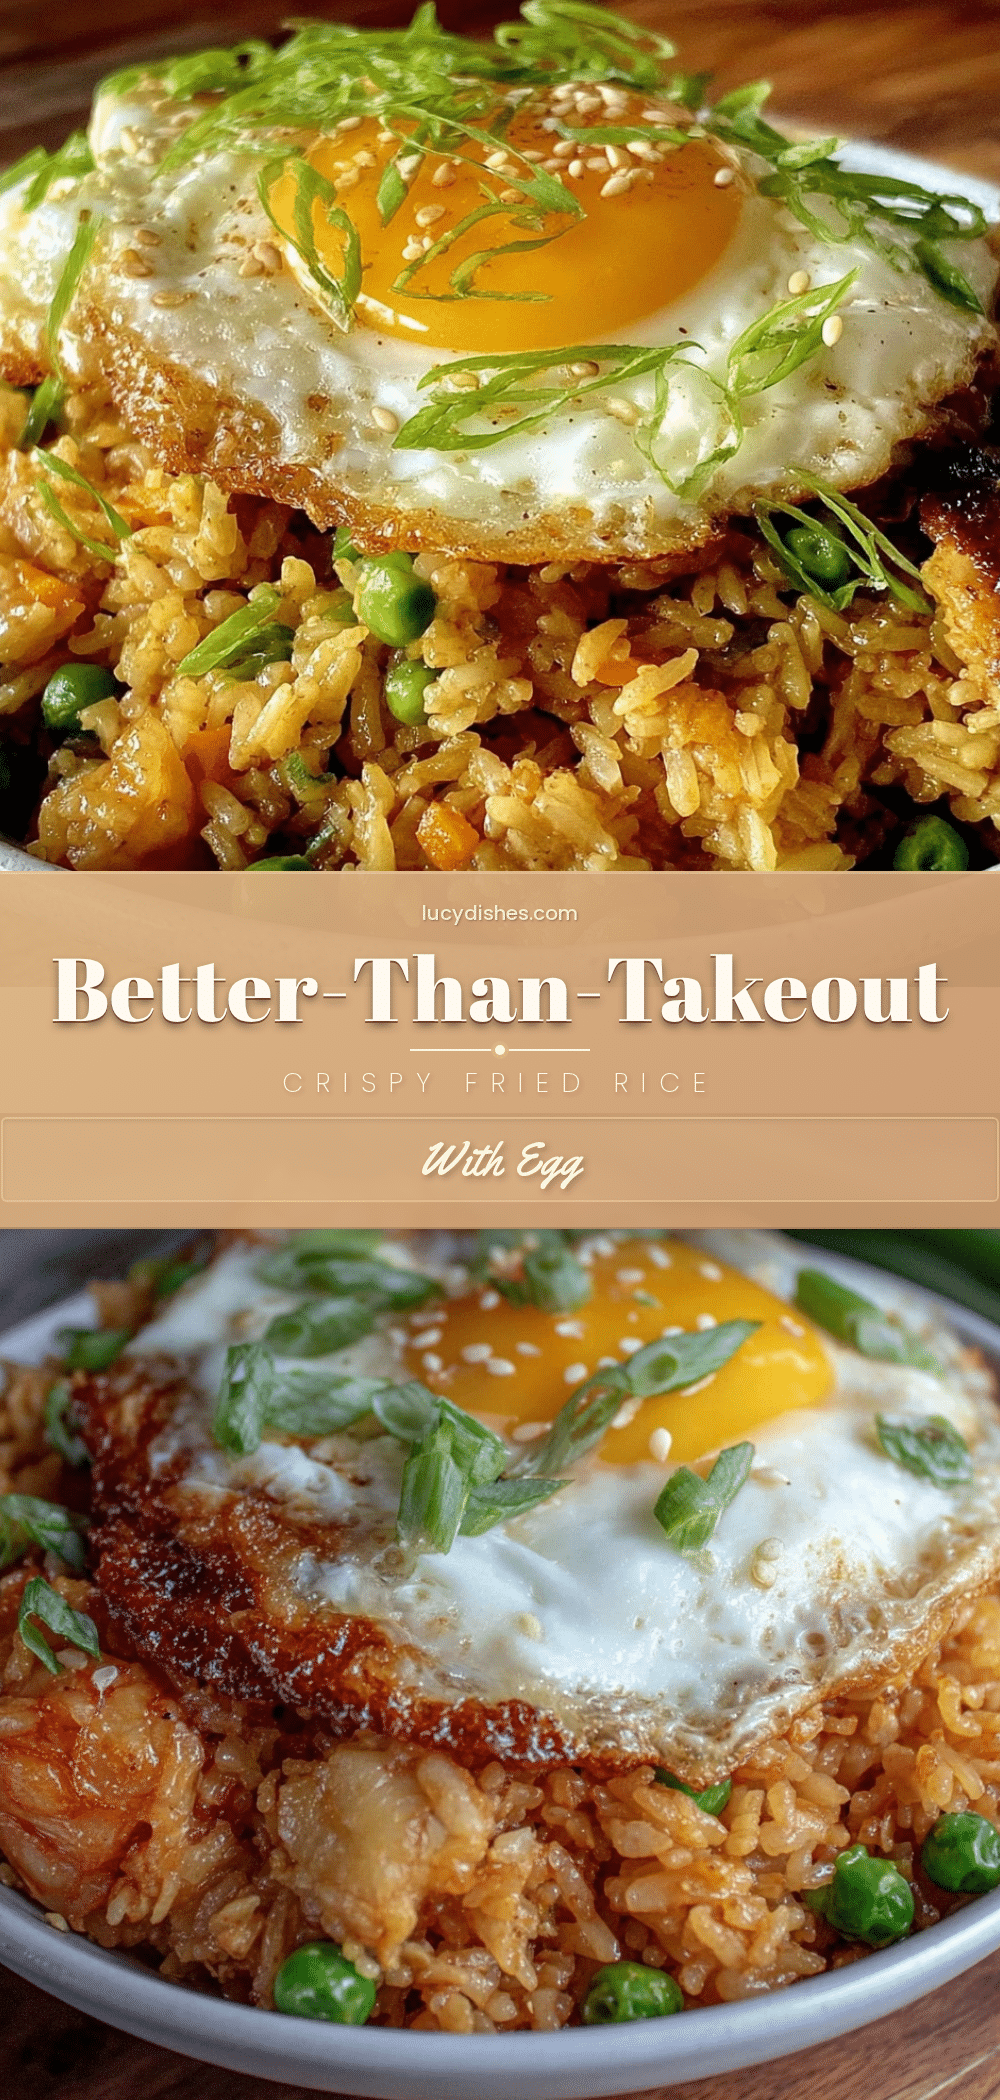
Crispy Better-Than-Takeout Fried Rice with Egg

A quick and easy fried rice recipe using day-old rice and eggs to achieve a crispy texture and savory flavor that’s better than takeout.
- Prep Time: 10 minutes
- Cook Time: 10 minutes
- Total Time: 20 minutes
- Yield: 3 servings 1x
- Category: Main Course
- Cuisine: Asian
Ingredients
- 3 cups (450g) day-old cooked white rice (Jasmine or long-grain preferred)
- 2 large eggs, beaten
- 2 tablespoons vegetable oil (canola or grapeseed preferred)
- 2 tablespoons soy sauce (regular or low-sodium)
- 1 tablespoon oyster sauce (optional)
- 2 cloves garlic, minced
- 2 stalks green onions, sliced thin
- ½ cup (about 75g) frozen peas and carrots
- 1 teaspoon sesame oil
- Salt and black pepper to taste
Instructions
- Prepare your rice: If you don’t have leftover rice, cook 1½ cups (270g) uncooked rice according to package instructions, then spread it out on a tray to cool thoroughly, ideally refrigerating overnight.
- Beat the eggs: In a small bowl, whisk 2 large eggs with a pinch of salt until smooth. Set aside.
- Heat your pan: Place your wok or skillet over medium-high heat and add 1 tablespoon of vegetable oil. Let it get hot but not smoking.
- Cook the eggs: Pour in the beaten eggs, tilting the pan to spread evenly. Let them set slightly for about 30 seconds, then scramble gently until just cooked but still tender. Remove eggs from pan and set aside.
- Increase heat and add oil: Add the remaining 1 tablespoon of vegetable oil to the pan and crank the heat to high.
- Sauté garlic and veggies: Toss in minced garlic and cook until fragrant, about 15 seconds. Quickly add frozen peas and carrots, stirring for another minute until heated through.
- Add the rice: Add cold, day-old rice to the pan, breaking up any clumps. Spread evenly and let sit undisturbed for about 2 minutes to crisp up on the bottom. Stir and repeat a couple more times for even crispiness, about 5-7 minutes total.
- Season: Drizzle soy sauce and oyster sauce (if using) evenly over the rice. Stir to combine and adjust salt and pepper as needed.
- Add cooked eggs back: Return scrambled eggs to the pan along with sliced green onions. Toss gently to mix and heat through for another minute.
- Finish with sesame oil: Remove from heat and drizzle sesame oil over the rice. Toss gently once more.
- Serve immediately while hot for best texture.
Notes
Use day-old rice for best crispiness. If using fresh rice, spread it on a baking sheet and refrigerate for at least an hour. High heat and letting the rice sit undisturbed in the pan are key to developing a crispy crust. Cook eggs separately to keep them tender. Oyster sauce is optional and can be substituted with hoisin or extra soy sauce. For gluten-free, use tamari instead of soy sauce.
Nutrition
- Serving Size: About 1.5 cups per s
- Calories: 375
- Sugar: 3
- Sodium: 600
- Fat: 11
- Saturated Fat: 2
- Carbohydrates: 48
- Fiber: 2.5
- Protein: 14
Keywords: fried rice, crispy fried rice, egg fried rice, easy fried rice, homemade takeout, quick dinner, leftover rice recipe