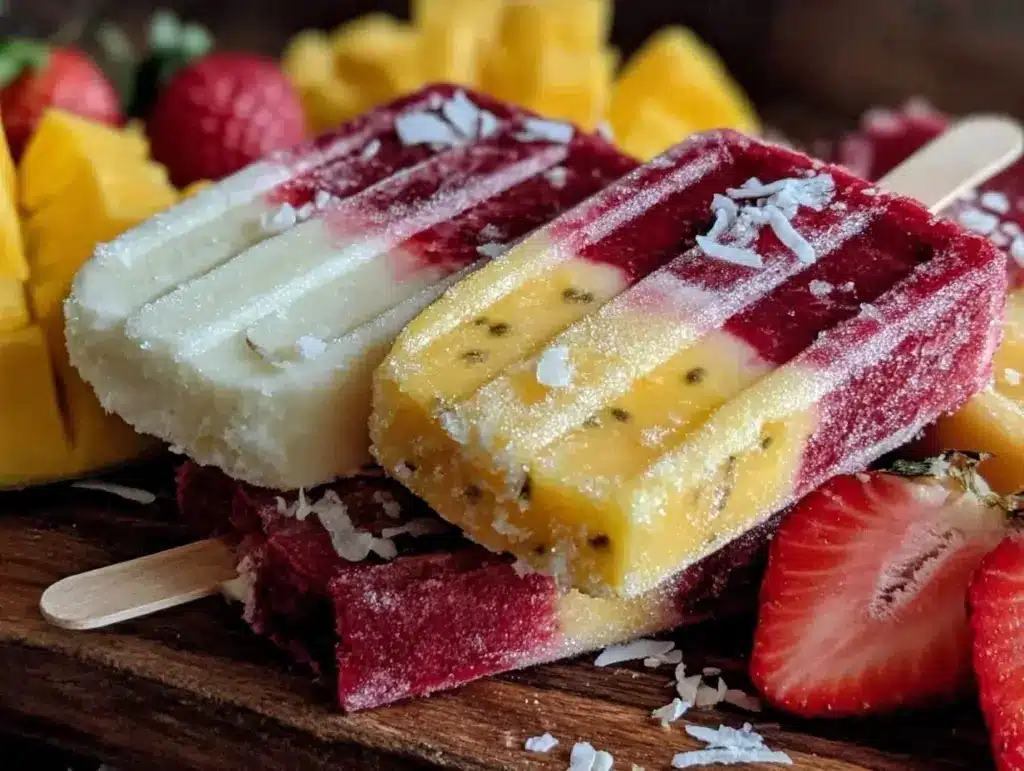
Let me tell you, the first time I made these easy homemade fruit popsicles, the aroma of fresh berries and citrus filled my kitchen, instantly transporting me back to those carefree summer afternoons when I was knee-high to a grasshopper. Honestly, it’s the kind of recipe that makes you pause, take a deep breath, and just smile because you know you’re onto something truly special. I stumbled upon this refreshing treat on a sweltering July day, trying to recreate that pure, nostalgic comfort of childhood popsicles without all the added sugars and mystery ingredients.
From the very first bite, I was hooked. The burst of natural fruit flavors mingled with a hint of citrus zing felt like a mini celebration in my mouth, and my family couldn’t stop sneaking them off the cooling rack (and I can’t really blame them). Years ago, I wish I had discovered this recipe sooner—perfect for those last-minute sweet cravings or a quick way to brighten up a picnic or backyard party. These easy homemade fruit popsicles have become a staple for our summer gatherings, gifting, and just because moments. You know what? They’re dangerously easy to make, and honestly, you’re going to want to bookmark this one.
Why You’ll Love This Recipe
This easy homemade fruit popsicles recipe isn’t just a crowd-pleaser; it’s a game-changer for anyone wanting a quick, wholesome, and delicious summer treat. Here’s why you’ll fall head over heels:
- Quick & Easy: Comes together in under 10 minutes, perfect for busy weeknights or those unexpected heatwaves.
- Simple Ingredients: No fancy grocery trips needed; you likely already have everything in your kitchen or can grab fresh fruit at your local market.
- Perfect for Summer Gatherings: Great for backyard barbecues, kid’s birthday parties, or just cooling off after a sunny afternoon.
- Crowd-Pleaser: Kids and adults alike rave about the fresh fruit flavors and the natural sweetness.
- Unbelievably Delicious: The texture is just right—icy but smooth, fruity but not overpowering.
What sets this recipe apart? It’s the simplicity and freshness. Instead of using artificial flavors or heavy syrups, blending cottage cheese or yogurt for creaminess, or swapping in seasonal fruit based on what’s ripe and ready. Honestly, it’s the kind of treat that makes you close your eyes after the first bite and sigh with contentment. It’s summer nostalgia in popsicle form—healthy, refreshing, and utterly satisfying.
What Ingredients You Will Need
This recipe uses simple, wholesome ingredients to deliver bold flavor and satisfying texture without the fuss. Most of these are pantry staples or fresh fruit you can find year-round.
- Fresh Fruit: Strawberries (hulled and chopped), blueberries, mango chunks, or peaches (peeled and diced). In summer, swap in fresh berries instead of frozen for extra brightness.
- Fruit Juice: Freshly squeezed orange juice or apple juice (adds natural sweetness and helps the popsicles freeze smoothly).
- Honey or Maple Syrup: Just a tablespoon for a touch of sweetness (optional and adjustable based on your fruit’s ripeness).
- Fresh Lemon or Lime Juice: One tablespoon for a zingy contrast that balances the sweetness.
- Water or Coconut Water: About ½ cup to thin out the mixture if needed—coconut water adds a subtle, tropical hint.
- Plain Greek Yogurt or Coconut Yogurt: Optional, ½ cup for a creamy texture and added protein (use dairy-free if needed).
Pro tip: I like to use organic fruit when possible, and for the best texture, ripe but firm pieces work wonders. If you want to keep it vegan, skip the honey and yogurt or substitute accordingly.
Equipment Needed
- Blender or Food Processor: To puree the fruit and mix all ingredients smoothly. I’ve tried both, and a high-speed blender makes the texture extra silky.
- Popsicle Molds: Silicone molds are my favorite because they’re flexible and make popping out the treats easier. If you don’t have molds, small paper cups with wooden sticks work just fine.
- Measuring Cups and Spoons: For precise ingredient amounts—trust me, it makes a difference in freezing and flavor balance.
- Mixing Bowl: Optional, if you want to combine ingredients before blending.
If you’re on a budget, you can skip the fancy molds and use reusable ice cube trays with popsicle sticks, but the fun shapes definitely make the treats more appealing, especially for kids. Also, keep your blender well-maintained by cleaning it right after use to avoid staining from colorful fruits.
Preparation Method
- Prepare Your Fruit: Wash, hull, peel, and chop your chosen fruit into small chunks. Measure about 2 cups (300 grams) total. This step usually takes 5-7 minutes. Watch out for any mushy spots—remove those to keep the popsicles fresh and vibrant.
- Blend the Base: In your blender, combine the fruit chunks, ½ cup (120 ml) of fruit juice, 1 tablespoon of honey or maple syrup, and 1 tablespoon of fresh lemon or lime juice. If you’re using yogurt, add ½ cup (120 grams) now. Blend until smooth but still slightly thick. This takes about 2 minutes. If the mixture is too thick to pour, add up to ½ cup (120 ml) of water or coconut water to thin it out.
- Taste and Adjust: Give your mixture a quick taste. If it’s too tart, add a bit more honey or maple syrup. If it’s too sweet, a splash more citrus juice can brighten it. This little adjustment makes all the difference, so don’t skip it!
- Pour into Molds: Carefully fill your popsicle molds, leaving a small gap at the top to allow for expansion when freezing. Insert the sticks and place the molds on a baking sheet for stability.
- Freeze: Freeze for at least 4-6 hours, ideally overnight. For best texture, avoid opening the freezer door too often during this time.
- Unmold and Serve: To remove the popsicles easily, run warm water over the outside of the molds for a few seconds. Gently pull the sticks, and enjoy your refreshing treat!
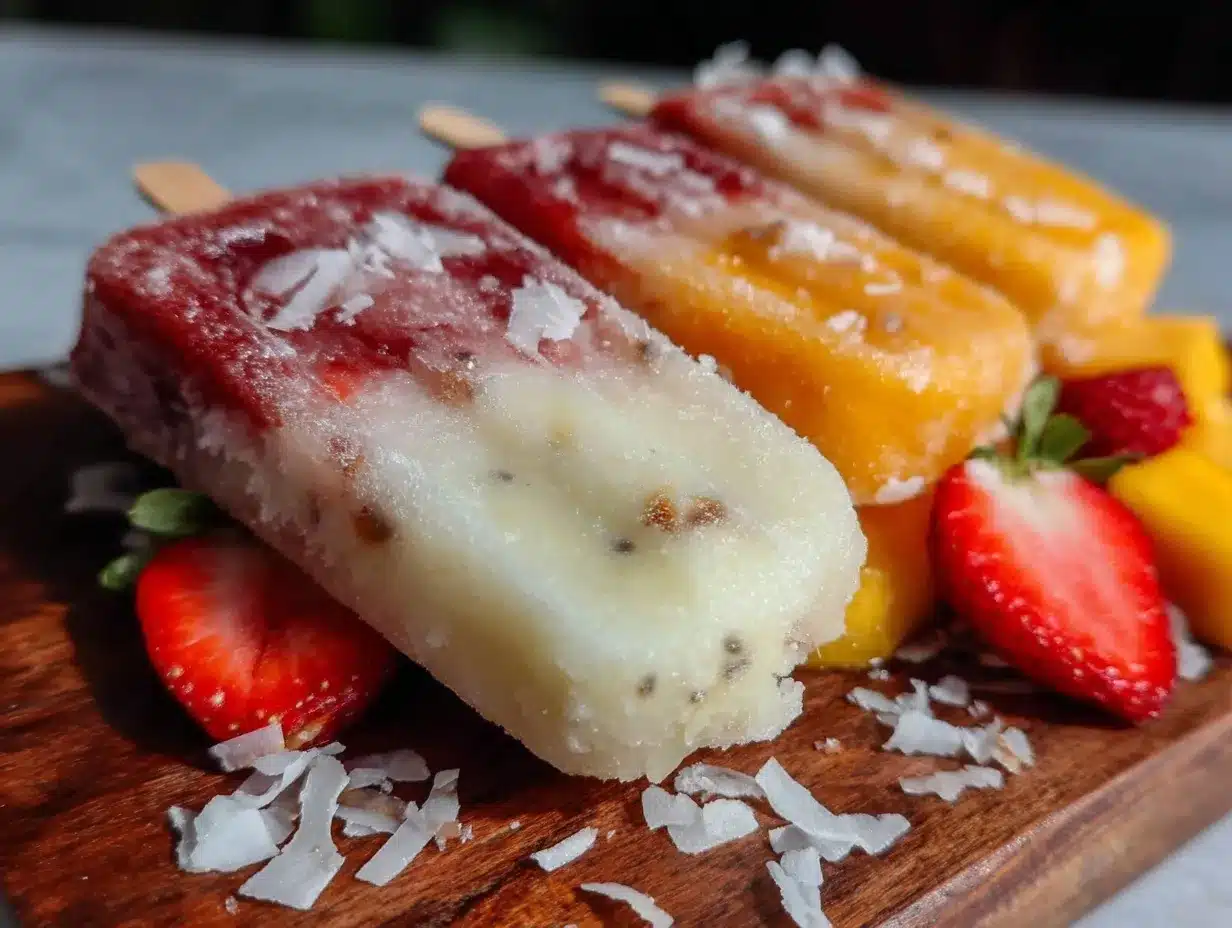
Pro tip: If you want layered popsicles (say, mango and berry), pour one fruit puree layer first, freeze for 30-40 minutes until slightly firm, then add the second layer and freeze fully.
Cooking Tips & Techniques
Making easy homemade fruit popsicles is straightforward, but a few tricks learned the hard way make all the difference. First, always use ripe but firm fruit—too mushy and your popsicles will freeze icy and less flavorful. Blending the ingredients just enough to keep a little texture helps avoid a rock-solid block of ice.
Don’t rush the freezing process. Letting them freeze fully overnight guarantees they’re set just right. Also, popsicle molds benefit from being placed on a baking tray before freezing, so they don’t tip over and spill. I learned this the messy way more than once!
When adding sweeteners, start small. You can always add more, but too much can overpower the natural fruit flavors. And if you’re including yogurt, blend it well to avoid separating during freezing.
Finally, multitasking helps—while your popsicles freeze, clean up your workspace or prep a simple snack to go with your new favorite treat. This way, you’re not just making popsicles, you’re creating a whole summer vibe in your kitchen.
Variations & Adaptations
One of the best things about easy homemade fruit popsicles is how versatile they are. Here are some fun variations to try:
- Dairy-Free Version: Skip the Greek yogurt and use coconut or almond yogurt for creaminess without dairy.
- Tropical Twist: Swap in pineapple and mango with a splash of coconut water for an island-inspired flavor.
- Green Popsicles: Blend spinach or kale with mango and apple juice for a sneaky veggie boost kids won’t suspect.
For different cooking methods, if you don’t have a blender, finely mash very soft fruit with a fork and mix with juice and sweetener, though the texture won’t be as smooth. For kids who prefer fun flavors, try adding a few whole berries or small fruit chunks before freezing—they add a nice surprise inside.
Personally, I once made watermelon-lime popsicles using just blended watermelon, lime juice, and a touch of honey. They were a huge hit for a backyard party and disappeared in no time.
Serving & Storage Suggestions
Serve your fruit popsicles straight from the freezer for that perfect icy chill. They’re great on their own or paired with fresh fruit salad, a scoop of vanilla ice cream, or even a dollop of whipped cream for a little extra indulgence. For beverages, a cold glass of iced herbal tea or lemonade complements the fruity flavors beautifully.
Store leftover popsicles in an airtight container or freezer bag to protect them from freezer burn. They keep well for up to 2 weeks, though honestly, they rarely last that long in my house! When reheating isn’t really an option here, but if they get too hard, just let them sit at room temperature for 5 minutes before enjoying.
The flavors often deepen after sitting overnight, so if you can wait, that’s even better. Just remember to keep them covered to avoid absorbing any freezer odors.
Nutritional Information & Benefits
These easy homemade fruit popsicles are a guilt-free treat packed with vitamins, antioxidants, and hydration. A typical popsicle contains roughly 60-80 calories depending on fruit choice and added sweetener, making it a light snack or dessert.
Key health perks include vitamin C from citrus and berries, potassium from mango and peaches, and probiotics if yogurt is added. Plus, the natural sugars from fruit satisfy sweet cravings without processed sugars.
They’re naturally gluten-free and can easily be made vegan. Just watch out for honey if serving to strict vegans—maple syrup is a perfect alternative.
From my own wellness perspective, these popsicles offer a refreshing way to enjoy real fruit without overdoing sugar or additives, helping keep everyone happy and hydrated when the temperatures soar.
Conclusion
In a world full of complicated recipes, this easy homemade fruit popsicles recipe is a breath of fresh air. Whether you’re making them for a quick cool-down or a fun family activity, they deliver natural flavor, simple ingredients, and pure summertime joy. Feel free to mix and match your favorite fruits and tweak the sweetness to your liking.
I love this recipe because it brings back those warm, carefree summer memories and makes healthy snacking a breeze. Go ahead, make a batch, share your twists in the comments, and don’t forget to pass it on to friends who need a little refreshing treat. Here’s to sunny days and tasty popsicles!
FAQs
Can I use frozen fruit instead of fresh?
Absolutely! Frozen fruit works great and can make the popsicles thicker. Just thaw slightly before blending for best results.
How long do homemade fruit popsicles last in the freezer?
They usually keep well for up to 2 weeks when stored properly in airtight containers or freezer bags.
Can I make these popsicles without added sweetener?
Yes, if your fruit is ripe and sweet enough, you can skip the honey or syrup entirely for a natural taste.
What if I don’t have popsicle molds?
No worries! Use small paper cups and insert wooden sticks. Just be sure to cover the cups with foil to hold the sticks upright while freezing.
Is it possible to make creamier fruit popsicles?
Definitely. Adding Greek yogurt or coconut yogurt gives a creamy texture that’s still refreshing but with a richer mouthfeel.
Pin This Recipe!
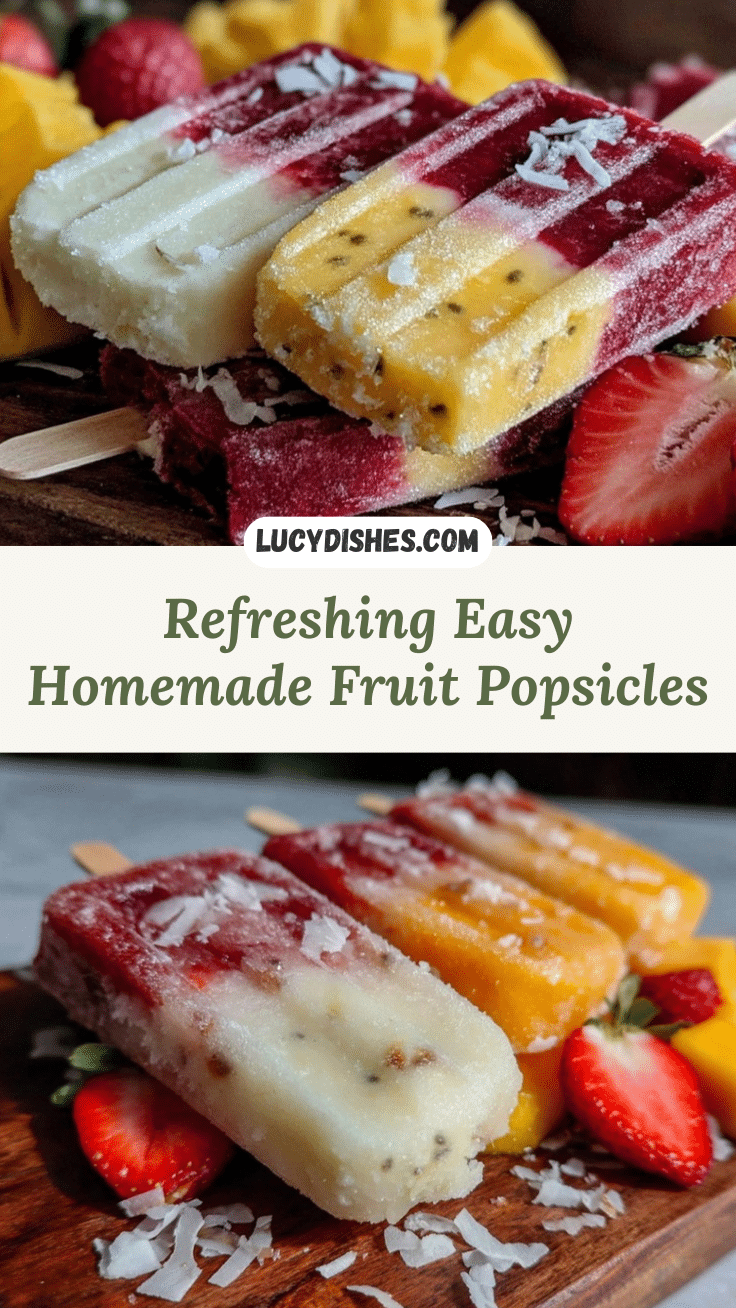
Easy Homemade Fruit Popsicles Recipe for a Perfect Summer Treat
A quick and wholesome recipe for refreshing fruit popsicles made with fresh fruit, natural sweeteners, and optional yogurt for creaminess. Perfect for summer gatherings and healthy snacking.
- Prep Time: 10 minutes
- Cook Time: 0 minutes
- Total Time: 4-6 hours (including freezing time)
- Yield: 6 popsicles 1x
- Category: Dessert
- Cuisine: American
Ingredients
- 2 cups (300 grams) fresh fruit (strawberries hulled and chopped, blueberries, mango chunks, or peaches peeled and diced)
- 1/2 cup (120 ml) freshly squeezed orange juice or apple juice
- 1 tablespoon honey or maple syrup (optional)
- 1 tablespoon fresh lemon or lime juice
- Up to 1/2 cup (120 ml) water or coconut water (to thin mixture if needed)
- 1/2 cup (120 grams) plain Greek yogurt or coconut yogurt (optional)
Instructions
- Prepare your fruit: Wash, hull, peel, and chop your chosen fruit into small chunks. Measure about 2 cups (300 grams) total. Remove any mushy spots.
- Blend the base: In your blender, combine the fruit chunks, 1/2 cup (120 ml) fruit juice, 1 tablespoon honey or maple syrup, and 1 tablespoon fresh lemon or lime juice. Add 1/2 cup (120 grams) yogurt if using. Blend until smooth but slightly thick. Add up to 1/2 cup (120 ml) water or coconut water if mixture is too thick to pour.
- Taste and adjust: Taste the mixture and add more honey/maple syrup if too tart or more citrus juice if too sweet.
- Pour into molds: Carefully fill popsicle molds, leaving a small gap at the top. Insert sticks and place molds on a baking sheet for stability.
- Freeze: Freeze for at least 4-6 hours, ideally overnight. Avoid opening the freezer door frequently.
- Unmold and serve: Run warm water over the outside of molds for a few seconds to loosen popsicles. Gently pull sticks and enjoy.
Notes
Use ripe but firm fruit for best texture. For vegan version, skip honey and use maple syrup and dairy-free yogurt. To make layered popsicles, freeze one layer partially before adding the next. Store popsicles in airtight containers or freezer bags for up to 2 weeks. Let popsicles sit at room temperature for 5 minutes before serving if too hard.
Nutrition
- Serving Size: 1 popsicle
- Calories: 70
- Sugar: 12
- Sodium: 15
- Fat: 1
- Saturated Fat: 0.5
- Carbohydrates: 16
- Fiber: 2
- Protein: 2
Keywords: fruit popsicles, homemade popsicles, summer treat, healthy dessert, natural sweetener, easy recipe, refreshing snack


