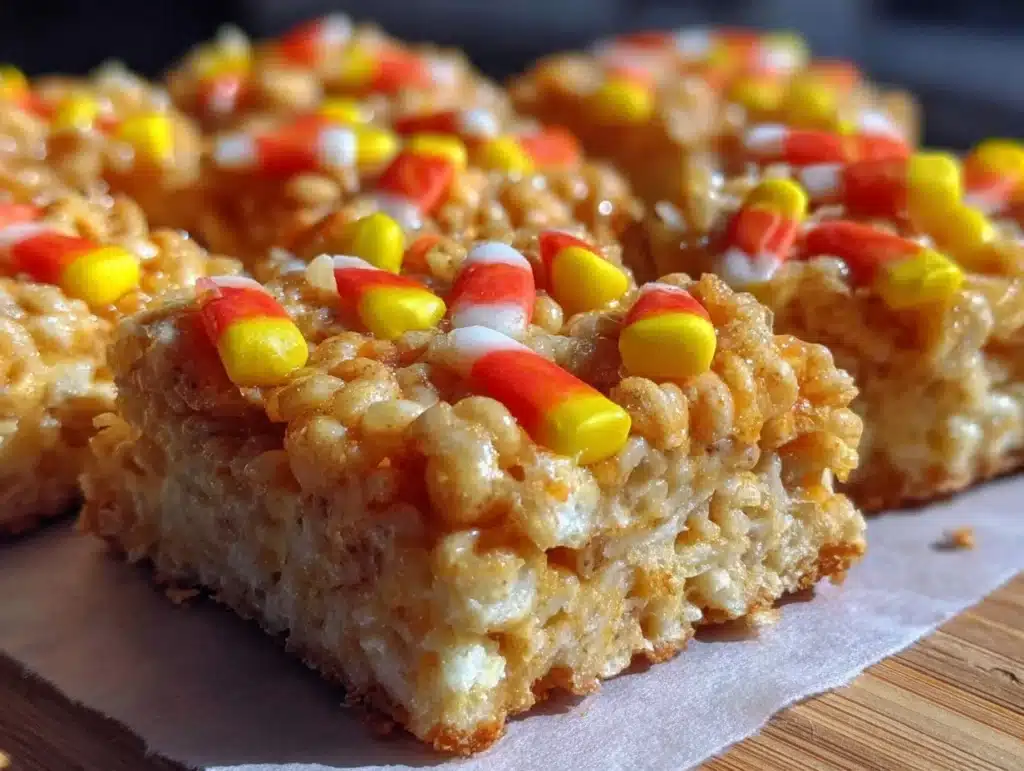
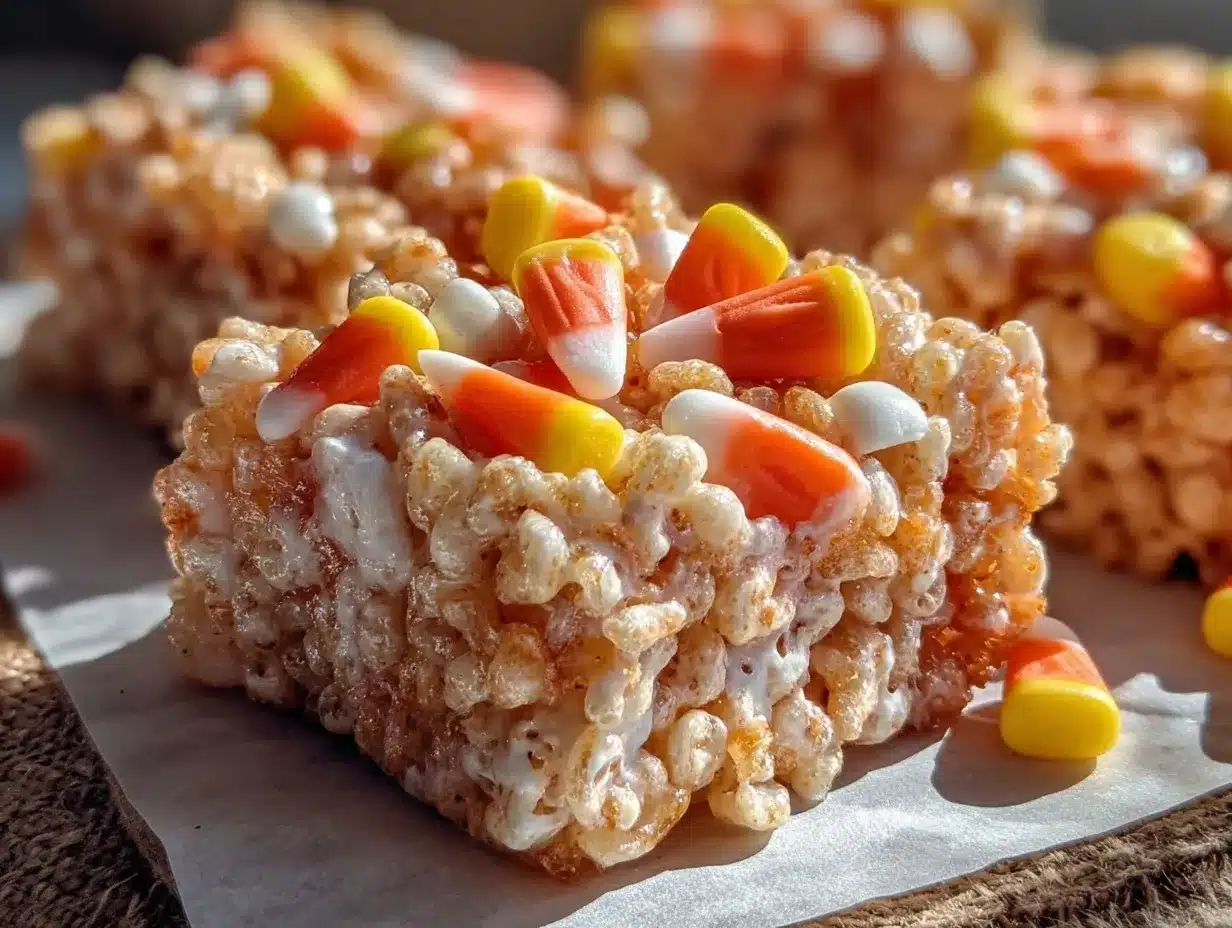
Imagine the sweet aroma of melted marshmallows and butter filling your kitchen, while your eyes feast on vibrant layers of orange, yellow, and white reminiscent of everyone’s favorite Halloween candy—candy corn. These festive Candy Corn Rice Krispie Treats are not only a celebration of the season but also a delightful treat that brings joy to kids and adults alike. The first time I made these was on a crisp October afternoon, and let me tell you—it was love at first bite. There’s something magical about sinking your teeth into a chewy, gooey Rice Krispie treat that’s equal parts fun and nostalgic.
My family couldn’t keep their hands off them! I had barely placed them on the counter, and everyone was sneaking bites before I even had the chance to finish layering them. (Let’s just say, I had to make a second batch that same day.) Honestly, these treats have become a staple for Halloween parties, potlucks, and even after-school snacks. They’re dangerously easy to make, and you’ll find yourself whipping them up more often than you thought. Trust me, this is one recipe you’re going to want to bookmark—it’s pure holiday happiness in every bite!
Why You’ll Love This Recipe
- Simple and Quick: These festive treats come together in under 30 minutes, perfect for busy holiday schedules.
- Kid-Friendly Fun: The bright candy corn-inspired layers make them irresistible for little ones.
- No Baking Required: Say goodbye to oven stress—this recipe is no-bake and perfect for beginners.
- Customizable: You can swap colors or add festive sprinkles to make them perfect for any occasion.
- Great for Sharing: These treats are portable and easy to slice, making them ideal for parties, Halloween gatherings, or even trick-or-treat goodies.
- Unbeatable Flavor: The buttery marshmallow goodness pairs perfectly with the crunch of Rice Krispies cereal, while the candy corn theme makes them extra special.
What sets this recipe apart? It’s all about the colorful layers! By dividing the mixture and adding food coloring, you create a treat that’s as fun to look at as it is to eat. Plus, the sweetness is perfectly balanced, so it’s indulgent without being overwhelming. It’s one of those recipes that makes people say, “Wow, how did you do that?”—and the best part is, it’s so simple! Whether you’re hosting a Halloween bash or just want to get into the festive spirit, these Candy Corn Rice Krispie Treats will become your new go-to recipe every fall.
What Ingredients You Will Need
This recipe uses simple, everyday ingredients that come together to create magic. You might already have most of these in your pantry!
- Rice Krispies cereal: The star of the show, bringing that classic crunchy texture.
- Mini marshmallows: The gooey binder that makes everything stick together. (I recommend using fresh marshmallows for the best results.)
- Unsalted butter: Adds a rich, creamy flavor to the treats.
- Vanilla extract: A hint of vanilla elevates the flavor beautifully.
- Yellow food coloring: For the festive candy corn middle layer.
- Orange food coloring: To create the bright top layer.
- Non-stick spray or butter: To grease the pan and ensure your treats come out easily.
Optional: You can sprinkle some candy corn pieces or festive sprinkles on top for added flair!
Ingredient Tips:
For best results, use fresh marshmallows—they melt more smoothly and give the treats a better texture. If you’re using food coloring, gel-based options work best because they’re more vibrant and won’t alter the consistency of the marshmallow mixture. And if you’re looking for a gluten-free option, make sure to use certified gluten-free Rice Krispies cereal.
Equipment Needed
Here’s what you’ll need to make these festive Candy Corn Rice Krispie Treats:
- Large saucepan: To melt the butter and marshmallows.
- Wooden spoon or silicone spatula: Perfect for stirring the sticky marshmallow mixture.
- 9×13-inch baking pan: For layering and setting the treats. If you don’t have this, use any similarly-sized pan or adjust the thickness of your layers.
- Non-stick spray or parchment paper: Helps prevent sticking when spreading the mixture.
- Mixing bowls: For dividing and coloring the marshmallow mixture.
If you’re using food coloring, a small whisk or spoon will come in handy for mixing the colors evenly. Trust me, having everything ready before you start makes the process so much smoother.
Preparation Method
- Grease your 9×13-inch baking pan with non-stick spray or line it with parchment paper for easy removal.
- In a large saucepan, melt 6 tablespoons of unsalted butter over low heat. Stir occasionally to prevent burning.
- Once the butter has melted, add 10 ounces (about 6 cups) of mini marshmallows to the saucepan. Stir continuously until the marshmallows are completely melted and smooth. Add 1 teaspoon of vanilla extract and mix well.
- Remove the saucepan from heat and stir in 6 cups of Rice Krispies cereal until evenly coated with the marshmallow mixture.
- Divide the mixture into three equal portions. If you’re looking for precision, use a kitchen scale to make sure the portions are evenly divided.
- Leave one portion as is (this will be the white layer). Transfer it to the prepared pan and press it down firmly to create an even layer.
- Take the second portion and add a few drops of yellow food coloring. Mix until the color is evenly distributed. Spread this yellow layer on top of the white layer in the pan, pressing it down gently but firmly.
- For the final portion, add a few drops of orange food coloring and mix well. Spread the orange layer over the yellow layer, pressing down to ensure it adheres properly.
- Let the layers set at room temperature for about 30 minutes or refrigerate for 15 minutes to speed up the process.
- Once set, use a sharp knife to cut the treats into triangles or squares. If you want to mimic the candy corn shape, trim them into triangular pieces.
Cooking Tips & Techniques
Here are some tips to ensure your Candy Corn Rice Krispie Treats turn out perfectly every time:
- Low heat is key: Melt the butter and marshmallows over low heat to prevent scorching or uneven melting.
- Work quickly: Once the marshmallow mixture is ready, you’ll want to act fast before it starts to set. Prepare all your tools and ingredients beforehand to keep things moving smoothly.
- Use wet or greased hands: When pressing the mixture into the pan, lightly wet your hands or coat them with a bit of butter to prevent sticking.
- Don’t over-color: A little food coloring goes a long way—start with a few drops and add more as needed.
- Cut with precision: Use a sharp knife for clean edges, especially if you’re going for the candy corn triangular shape.
And if you accidentally make the layers uneven, don’t sweat it. Imperfection adds character—and trust me, nobody will complain once they taste them!
Variations & Adaptations
Here are a few fun ways to customize your Candy Corn Rice Krispie Treats:
- Dietary adaptations: Use vegan marshmallows and dairy-free butter for a vegan-friendly version. Opt for gluten-free Rice Krispies cereal if needed.
- Seasonal swaps: Change the colors to match other holidays—red and green for Christmas or pastel shades for Easter.
- Flavor boost: Add a pinch of cinnamon or pumpkin spice to the melted marshmallow mixture for a seasonal twist.
- Mix-ins: Stir in mini chocolate chips or candy corn pieces before layering for extra fun and flavor.
Personally, I’ve tried adding a layer of melted white chocolate on top, sprinkled with edible glitter, and it was a huge hit for a birthday party. The possibilities are endless!
Serving & Storage Suggestions
These treats are best served at room temperature, where they’re soft, chewy, and easy to bite into. Arrange them on a festive platter or package them individually in clear bags tied with orange and black ribbons for a spooky touch.
Storage: Keep them in an airtight container at room temperature for up to 3 days. If you want to extend their shelf life, store them in the fridge for up to a week, but note that they’ll be firmer when chilled.
Reheating: Let them come to room temperature for a softer texture, or microwave them for 5-10 seconds to restore their gooeyness. Just be careful not to overheat!
And here’s a pro tip: these treats actually taste even better the next day when the layers have had time to meld together.
Nutritional Information & Benefits
Here’s a rough estimate of the nutritional values per serving (based on 1 treat):
- Calories: ~120
- Carbohydrates: ~25g
- Fat: ~3g
- Protein: ~1g
While they’re not exactly a health food, the simple ingredients make them a better option than heavily processed store-bought Halloween goodies. Marshmallows and Rice Krispies cereal are naturally gluten-free, making these treats suitable for gluten-sensitive eaters (if using certified gluten-free cereal). The colorful layers also make them a fun way to get creative with holiday celebrations!
Conclusion
If you’re looking for a festive, easy-to-make Halloween treat that everyone will love, these Candy Corn Rice Krispie Treats are your answer. They’re customizable, kid-approved, and perfect for bringing a little extra joy to any holiday gathering. Personally, I adore how cheerful they look and how quickly they disappear from the table—it’s proof that they’re a crowd favorite.
So grab your apron, whip up a batch, and let the festive fun begin! I’d love to hear how yours turn out—leave a comment below and share your own creative variations. And remember: the best recipes are the ones you make your own. Happy Halloween, and happy snacking!
FAQs
Can I make these treats ahead of time?
Absolutely! You can make them up to 3 days in advance and store them in an airtight container at room temperature.
What’s the best way to color the layers?
Gel-based food coloring works best for vibrant colors without altering the texture of the marshmallow mixture.
Can I use regular marshmallows instead of mini marshmallows?
Yes, regular marshmallows work just fine. Just cut them into smaller pieces so they melt faster.
How do I make them vegan?
Use vegan marshmallows and dairy-free butter to make a plant-based version.
Can I freeze these treats?
Yes, you can freeze them in an airtight container for up to a month. Just be sure to let them thaw at room temperature before serving.
Pin This Recipe!
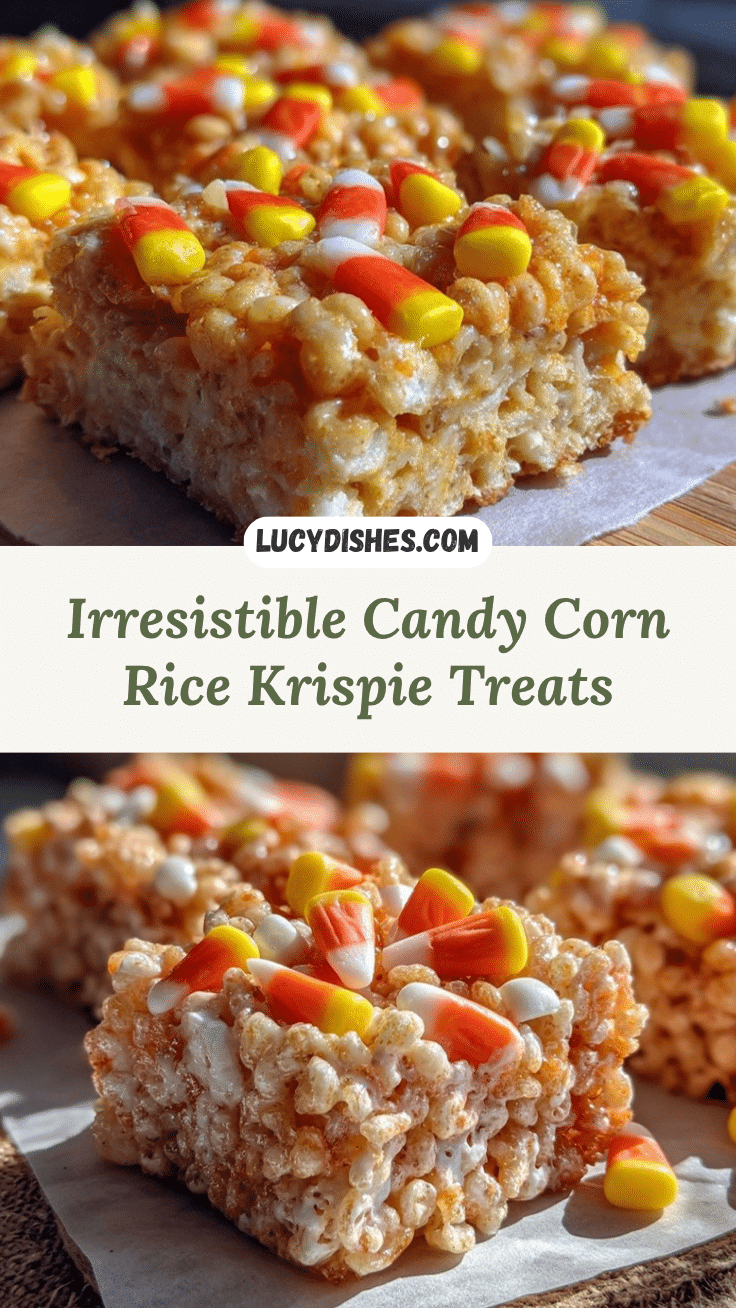
Festive Candy Corn Rice Krispie Treats Recipe Easy to Make
These festive Candy Corn Rice Krispie Treats are a colorful, no-bake Halloween treat that combines gooey marshmallows with crunchy Rice Krispies cereal for a fun and nostalgic snack.
- Prep Time: 15 minutes
- Cook Time: 15 minutes
- Total Time: 30 minutes
- Yield: 12 servings 1x
- Category: Dessert
- Cuisine: American
Ingredients
- 6 cups Rice Krispies cereal
- 10 ounces mini marshmallows
- 6 tablespoons unsalted butter
- 1 teaspoon vanilla extract
- Yellow food coloring
- Orange food coloring
- Non-stick spray or butter
Instructions
- Grease your 9×13-inch baking pan with non-stick spray or line it with parchment paper for easy removal.
- In a large saucepan, melt 6 tablespoons of unsalted butter over low heat. Stir occasionally to prevent burning.
- Once the butter has melted, add 10 ounces (about 6 cups) of mini marshmallows to the saucepan. Stir continuously until the marshmallows are completely melted and smooth. Add 1 teaspoon of vanilla extract and mix well.
- Remove the saucepan from heat and stir in 6 cups of Rice Krispies cereal until evenly coated with the marshmallow mixture.
- Divide the mixture into three equal portions. If you’re looking for precision, use a kitchen scale to make sure the portions are evenly divided.
- Leave one portion as is (this will be the white layer). Transfer it to the prepared pan and press it down firmly to create an even layer.
- Take the second portion and add a few drops of yellow food coloring. Mix until the color is evenly distributed. Spread this yellow layer on top of the white layer in the pan, pressing it down gently but firmly.
- For the final portion, add a few drops of orange food coloring and mix well. Spread the orange layer over the yellow layer, pressing down to ensure it adheres properly.
- Let the layers set at room temperature for about 30 minutes or refrigerate for 15 minutes to speed up the process.
- Once set, use a sharp knife to cut the treats into triangles or squares. If you want to mimic the candy corn shape, trim them into triangular pieces.
Notes
[‘Use fresh marshmallows for better texture.’, ‘Gel-based food coloring works best for vibrant colors.’, ‘Prepare all tools and ingredients beforehand to work quickly.’, ‘Lightly wet or grease your hands to prevent sticking when pressing the mixture into the pan.’, ‘Use a sharp knife for clean edges when cutting the treats.’]
Nutrition
- Serving Size: 1 treat
- Calories: 120
- Fat: 3
- Carbohydrates: 25
- Protein: 1
Keywords: Halloween treats, candy corn, Rice Krispie treats, no-bake dessert, festive snacks


