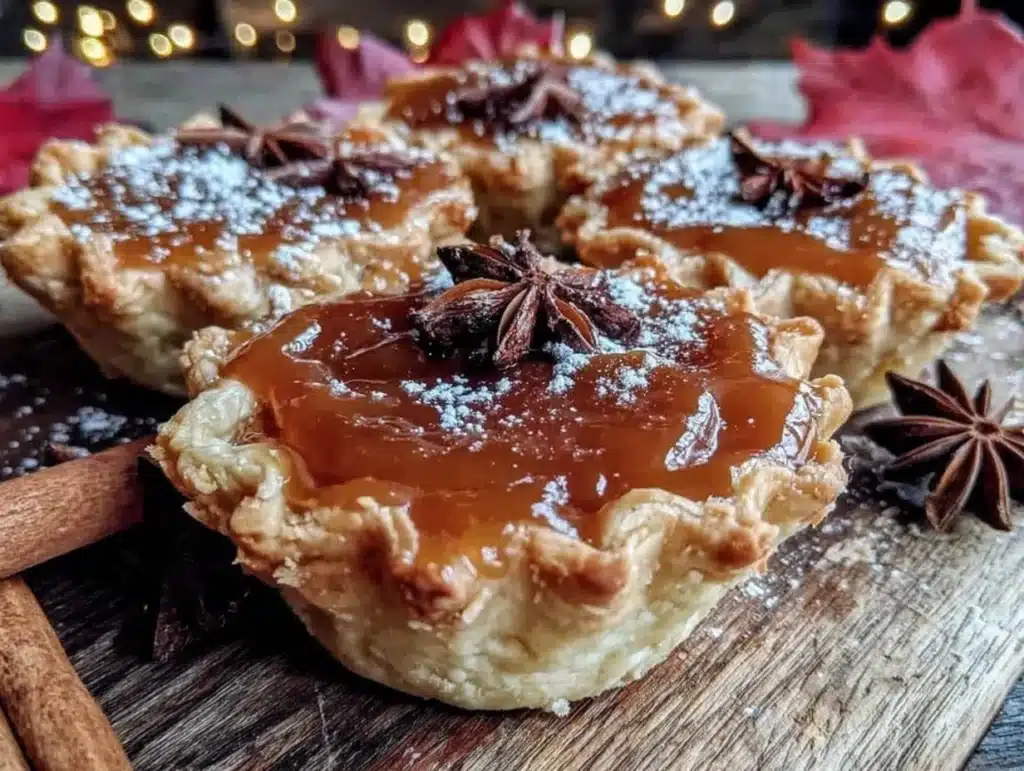
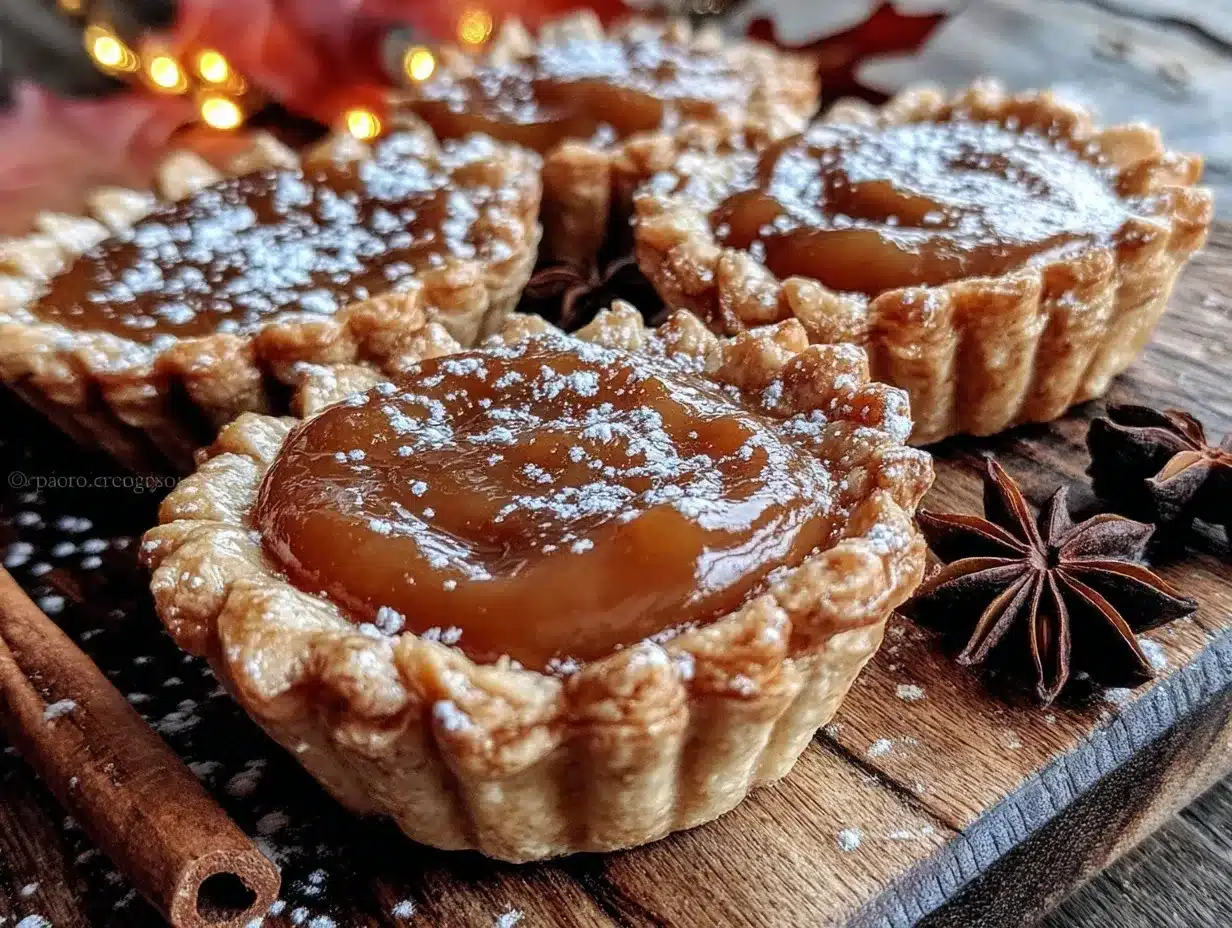
Imagine walking into your kitchen, the air filled with the warm, spicy aroma of cinnamon, nutmeg, and cloves. The sight of golden, flaky crusts cradling creamy pumpkin filling is enough to make anyone stop in their tracks. These Perfect Mini Pumpkin Pies are more than just adorable—they’re a bite-sized taste of fall that you’ll want to make again and again.
The first time I made these, I was trying to impress my friends at a fall gathering. I wanted something that screamed autumn but didn’t require me to wrestle with a full-size pie. When I pulled these little beauties out of the oven, the warm spices and sweet pumpkin filling spread through the house, and my guests couldn’t stop raving. They’re the kind of treat that makes you pause, smile, and reach for seconds without hesitation.
These mini pumpkin pies have become my go-to recipe for Thanksgiving, cozy evenings, and even those moments when I just need a little fall pick-me-up. My family loves to sneak them before they’ve fully cooled, and honestly, I don’t blame them. They’re perfect for sharing—or keeping all to yourself. Trust me, you’ll want to bookmark this one!
Why You’ll Love This Recipe
- Quick & Easy: These mini pies come together in under an hour, making them perfect for last-minute baking sessions.
- Simple Ingredients: No fancy shopping required—most ingredients are pantry staples, and the rest can be found at any grocery store.
- Perfect for Fall Gatherings: Whether it’s Thanksgiving, a cozy dinner, or a seasonal potluck, these pies are always a hit.
- Crowd-Pleaser: Their cute size and irresistible flavor make them a favorite among kids and adults alike.
- Unbelievably Delicious: The combination of creamy pumpkin filling and buttery, flaky crust is pure comfort food.
What sets this recipe apart is the balance of flavors—a perfect mix of warm spices without being overwhelming, and just the right amount of sweetness. Plus, their mini size means you get the perfect ratio of crust to filling in every bite. They’re also great for individual servings, so no messy slicing required!
Honestly, these mini pumpkin pies are everything you love about fall in one perfect little package. Whether you’re hosting a party or just indulging in some self-care baking, they’re guaranteed to bring warmth and happiness to your kitchen.
What Ingredients You Will Need
This recipe uses simple yet flavorful ingredients that come together beautifully to create these Perfect Mini Pumpkin Pies. Here’s what you’ll need:
- Premade pie crusts: Save time and hassle by using store-bought pie crusts. You can also make your own if you prefer.
- Pumpkin puree: Make sure it’s pure canned pumpkin, not pumpkin pie mix. Homemade puree works well too!
- Evaporated milk: Adds creaminess to the filling without watering it down.
- Granulated sugar: To sweeten the filling to perfection.
- Brown sugar: For a touch of added depth and that cozy molasses flavor.
- Eggs: Helps set the filling and gives it structure.
- Vanilla extract: Adds a subtle warmth and enhances the flavor of the spices.
- Cinnamon: The quintessential fall spice, a must-have for pumpkin pies.
- Nutmeg: Adds a gentle, earthy warmth to the filling.
- Ground cloves: A little goes a long way for a touch of spice.
- Salt: Just a pinch to balance the sweetness and bring out the flavors.
- Whipped cream: A dollop on top takes these pies to the next level.
If you want to customize, you can easily substitute the evaporated milk with coconut milk for a dairy-free option or use gluten-free pie crusts for those avoiding gluten. These ingredients are easy to tweak without sacrificing the flavor or texture of the recipe.
Equipment Needed
Here’s a quick list of the tools you’ll need to whip up these Perfect Mini Pumpkin Pies:
- Muffin tin: Essential for shaping and baking these mini pies.
- Rolling pin: To roll out the pie crusts if you’re using homemade dough.
- Cookie cutter: A round cutter, about 3-4 inches in diameter, works best for cutting the crust.
- Mixing bowls: You’ll need at least two—one for the dry ingredients and one for the wet ingredients.
- Whisk: For blending the pumpkin filling until smooth.
- Measuring cups and spoons: Precision matters here, especially for spices.
- Spatula: Helps to scrape every bit of that delicious filling into the crusts.
If you don’t have a muffin tin, you can use ramekins as an alternative, but they may require a bit longer to bake. And if you don’t have a cookie cutter, a sturdy drinking glass works perfectly to cut out circles from your pie crust.
Preparation Method
- Preheat your oven: Set your oven to 375°F (190°C) and grease a 12-cup muffin tin. This will prevent sticking and ensure your mini pies slide out easily.
- Prepare your crusts: Roll out your premade pie crust on a lightly floured surface. Use a round cookie cutter (or a glass) to cut out 12 circles, slightly larger than the diameter of your muffin cups. Gently press each circle into the muffin cups, ensuring they fit snugly against the sides.
- Mix the filling: In a large mixing bowl, whisk together 1 can (15 oz/425g) of pumpkin puree, 2/3 cup (160 ml) evaporated milk, 1/2 cup (100 g) granulated sugar, 1/4 cup (50 g) packed brown sugar, 2 large eggs, 1 teaspoon vanilla extract, 1 teaspoon cinnamon, 1/2 teaspoon nutmeg, 1/4 teaspoon ground cloves, and a pinch of salt. Whisk until smooth and creamy.
- Fill the crusts: Spoon the pumpkin mixture evenly into the prepared crusts, filling them almost to the top.
- Bake: Place the muffin tin in the preheated oven and bake for about 25-30 minutes, or until the filling is set and a knife inserted into the center comes out clean.
- Cool: Allow the mini pies to cool in the muffin tin for 10 minutes, then carefully remove them and transfer to a wire rack to cool completely.
- Serve: Top each pie with a dollop of whipped cream and a sprinkle of cinnamon or nutmeg before serving.
Pro tip: If your pie crust edges start to brown too quickly, cover them with small strips of aluminum foil halfway through baking to prevent burning!
Cooking Tips & Techniques
Here’s how to make sure your mini pumpkin pies turn out perfectly every single time:
- Don’t overfill the crusts: The filling will puff up slightly as it bakes, so leave a little space at the top to avoid overflow.
- Use room temperature eggs: This helps the filling mix together smoothly and bake evenly.
- Chill your pie crusts: If you’re making your own dough, refrigerate it for at least 30 minutes before rolling it out. This helps prevent shrinking while baking.
- Test for doneness: Stick a toothpick or knife in the center of a pie—it should come out clean when they’re ready.
- Customize your spices: Adjust the amounts of cinnamon, nutmeg, and cloves to suit your taste. Add a pinch of ginger or allspice for an extra flavor twist.
And here’s a little secret I learned the hard way: don’t rush the cooling process! Let the pies cool completely before removing them from the muffin tin to avoid cracks and spills.
Variations & Adaptations
One of the best things about mini pumpkin pies is how easily they can be customized. Here are a few ideas to make them your own:
- Gluten-Free Option: Swap out the regular pie crust for a gluten-free version. There are some great store-bought options, or you can make your own using almond flour.
- Dairy-Free Alternative: Use coconut milk instead of evaporated milk, and opt for a dairy-free whipped topping. The coconut flavor pairs beautifully with the pumpkin.
- Spice It Up: Add a hint of ground ginger or cardamom for an extra layer of warm spice.
- Chocolate Lovers: Sprinkle mini chocolate chips on top of the filling before baking for a fun twist.
- Nutty Delight: Add chopped pecans or walnuts to the filling for some crunch and extra depth of flavor.
When I first experimented with variations, I tried adding a layer of crushed graham crackers to the bottom of the crust—highly recommend! It adds a delightful crunch and a touch of extra sweetness.
Serving & Storage Suggestions
These mini pumpkin pies are best served slightly chilled or at room temperature. Arrange them on a dessert platter for a picture-perfect presentation. Add a dollop of whipped cream on each one and sprinkle with a hint of cinnamon or powdered sugar for an extra festive touch.
Pair these pies with a warm mug of spiced apple cider or a pumpkin spice latte for the ultimate fall experience. They’re also wonderful alongside a scoop of vanilla ice cream or a drizzle of caramel sauce.
To store, place the pies in an airtight container in the refrigerator for up to 5 days. For longer storage, you can freeze them in a single layer until solid, then transfer to a freezer-safe bag or container. When you’re ready to enjoy them, let them thaw in the fridge overnight and reheat in a 300°F (150°C) oven for about 10 minutes.
Nutritional Information & Benefits
These mini pumpkin pies are not just tasty—they’re also packed with wholesome ingredients. Here’s a quick breakdown of their nutritional perks:
- Calories: Approximately 200 calories per pie.
- Vitamins: Pumpkin is high in vitamin A, which supports eye health and immune function.
- Fiber: Pumpkin is naturally high in fiber, which keeps you feeling full longer.
- Low Fat Option: Use low-fat evaporated milk for a lighter version.
- Dietary Notes: Can be made gluten-free or dairy-free with simple substitutions.
With a touch of natural sweetness and warm spices, these mini pies are a delicious way to enjoy the health benefits of pumpkin without overindulging. Just try not to eat the whole tray in one sitting!
Conclusion
These Perfect Mini Pumpkin Pies are the ultimate fall dessert. They’re easy to make, packed with cozy autumn flavors, and a guaranteed crowd-pleaser. Whether you’re baking for a holiday gathering or treating yourself on a chilly evening, these little pies hit the spot every time.
What I love most about this recipe is how customizable it is. You can make them gluten-free, dairy-free, or add your own twist with flavors like chocolate or nuts. It’s a recipe that you’ll want to make over and over, and trust me, your friends and family will thank you!
So go ahead and give these mini pumpkin pies a try. Let me know how they turn out in the comments below—I’d love to hear your thoughts and any fun tweaks you come up with. Happy fall baking, my friends!
FAQs
Can I use homemade pumpkin puree instead of canned?
Absolutely! Just make sure your homemade puree is smooth and not too watery for the best results.
Can I make these mini pumpkin pies ahead of time?
Yes, you can! Bake them a day or two in advance and store them in the fridge. Add whipped cream just before serving.
How do I prevent the crust from getting soggy?
Blind-baking the crust for a few minutes before adding the filling can help prevent sogginess, but it’s not necessary for this recipe.
Can I freeze these pies?
Yes, they freeze beautifully! Let them cool completely, then store in an airtight container. Thaw in the fridge overnight and reheat in the oven.
What if I don’t have a muffin tin?
You can use ramekins or small tart pans as an alternative. Just adjust the baking time as they may take a bit longer to cook.
Pin This Recipe!
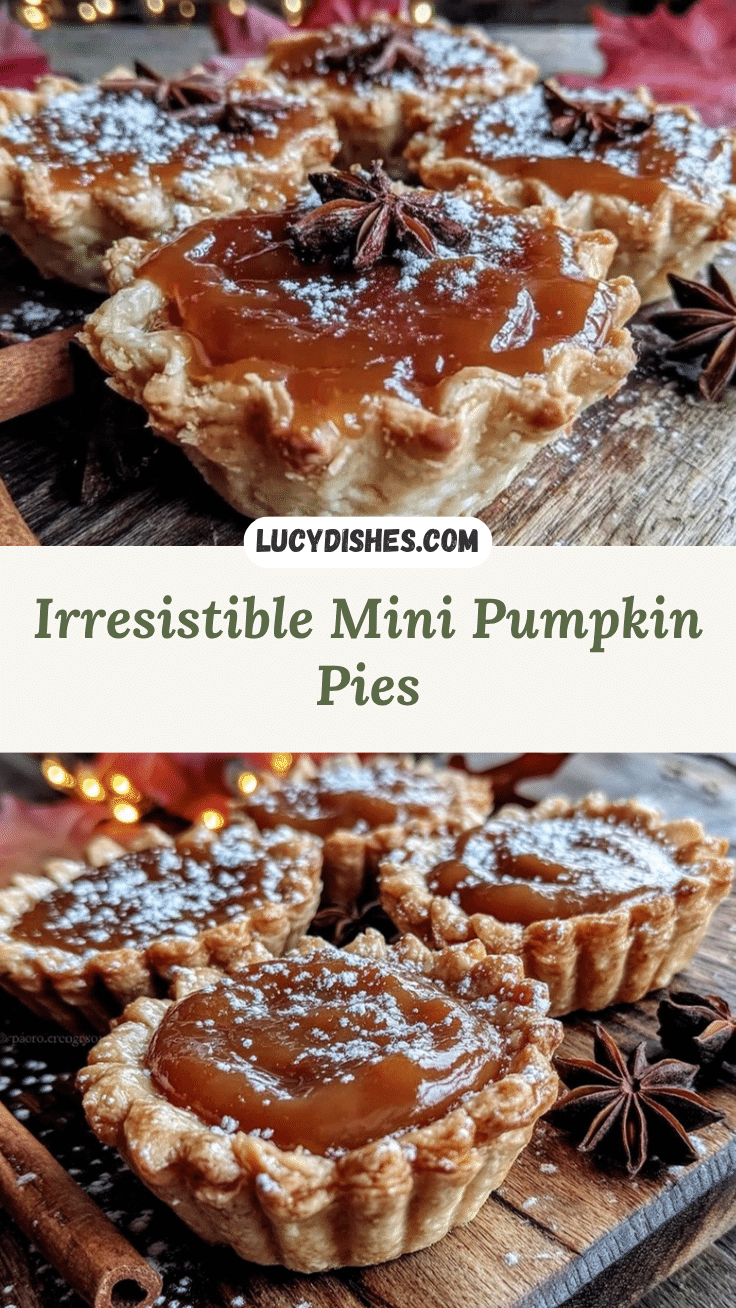
Perfect Mini Pumpkin Pies Recipe for Easy Fall Baking
These Perfect Mini Pumpkin Pies are bite-sized treats filled with creamy pumpkin goodness and warm spices, perfect for fall gatherings or cozy evenings.
- Prep Time: 15 minutes
- Cook Time: 30 minutes
- Total Time: 45 minutes
- Yield: 12 servings 1x
- Category: Dessert
- Cuisine: American
Ingredients
- Premade pie crusts
- 1 can (15 oz/425g) pumpkin puree
- 2/3 cup (160 ml) evaporated milk
- 1/2 cup (100 g) granulated sugar
- 1/4 cup (50 g) packed brown sugar
- 2 large eggs
- 1 teaspoon vanilla extract
- 1 teaspoon cinnamon
- 1/2 teaspoon nutmeg
- 1/4 teaspoon ground cloves
- Pinch of salt
- Whipped cream
Instructions
- Preheat your oven to 375°F (190°C) and grease a 12-cup muffin tin.
- Roll out your premade pie crust on a lightly floured surface. Use a round cookie cutter (or a glass) to cut out 12 circles, slightly larger than the diameter of your muffin cups. Gently press each circle into the muffin cups, ensuring they fit snugly against the sides.
- In a large mixing bowl, whisk together pumpkin puree, evaporated milk, granulated sugar, brown sugar, eggs, vanilla extract, cinnamon, nutmeg, ground cloves, and salt until smooth and creamy.
- Spoon the pumpkin mixture evenly into the prepared crusts, filling them almost to the top.
- Place the muffin tin in the preheated oven and bake for about 25-30 minutes, or until the filling is set and a knife inserted into the center comes out clean.
- Allow the mini pies to cool in the muffin tin for 10 minutes, then carefully remove them and transfer to a wire rack to cool completely.
- Top each pie with a dollop of whipped cream and a sprinkle of cinnamon or nutmeg before serving.
Notes
If your pie crust edges start to brown too quickly, cover them with small strips of aluminum foil halfway through baking to prevent burning. Let the pies cool completely before removing them from the muffin tin to avoid cracks and spills.
Nutrition
- Serving Size: 1 mini pie
- Calories: 200
- Sugar: 18
- Sodium: 150
- Fat: 8
- Saturated Fat: 3
- Carbohydrates: 28
- Fiber: 2
- Protein: 3
Keywords: Mini Pumpkin Pies, Fall Dessert, Thanksgiving Recipe, Easy Baking, Pumpkin Spice


